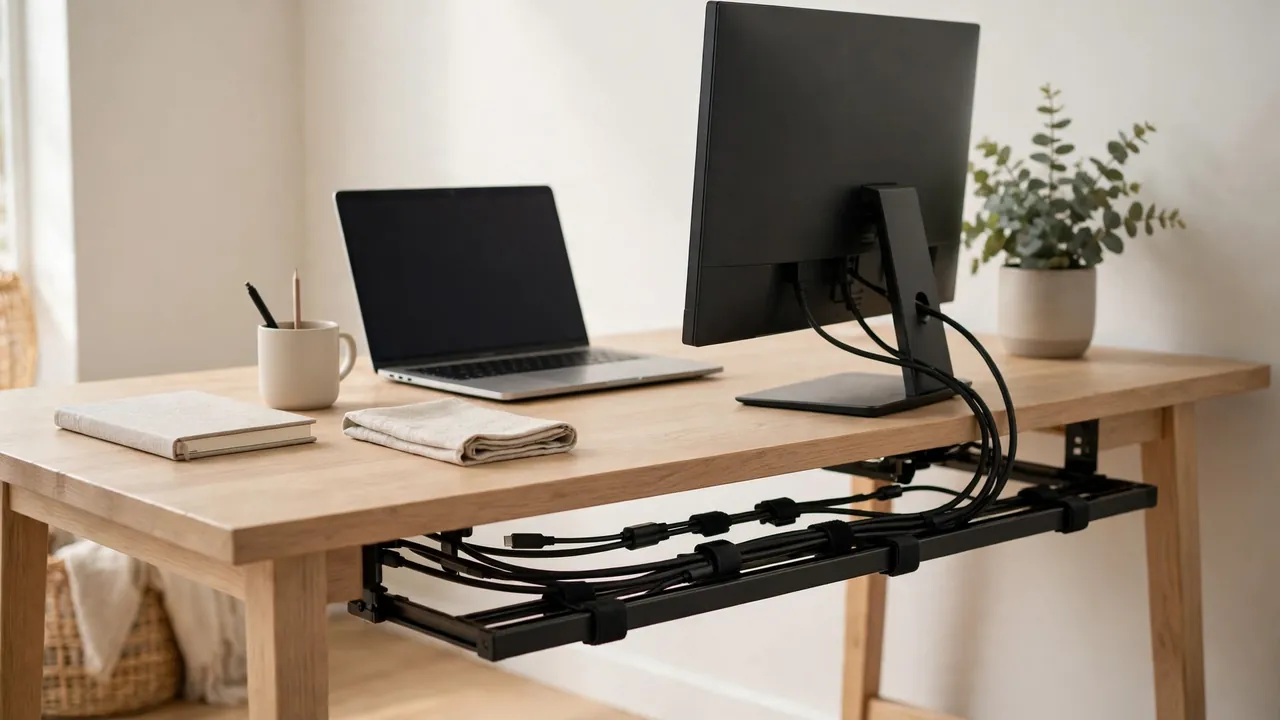
To stop cables hanging behind your desk, give every cable a supported route from device to socket, take up the slack that pulls it down, and fix that route to the desk itself. Shorten or coil excess length, run cables through an under-desk tray or along adhesive clips, and support power adapters rather than letting them hang from their plugs. Most desks can be tidied in under an hour with a tray, a handful of clips, and a few reusable ties.
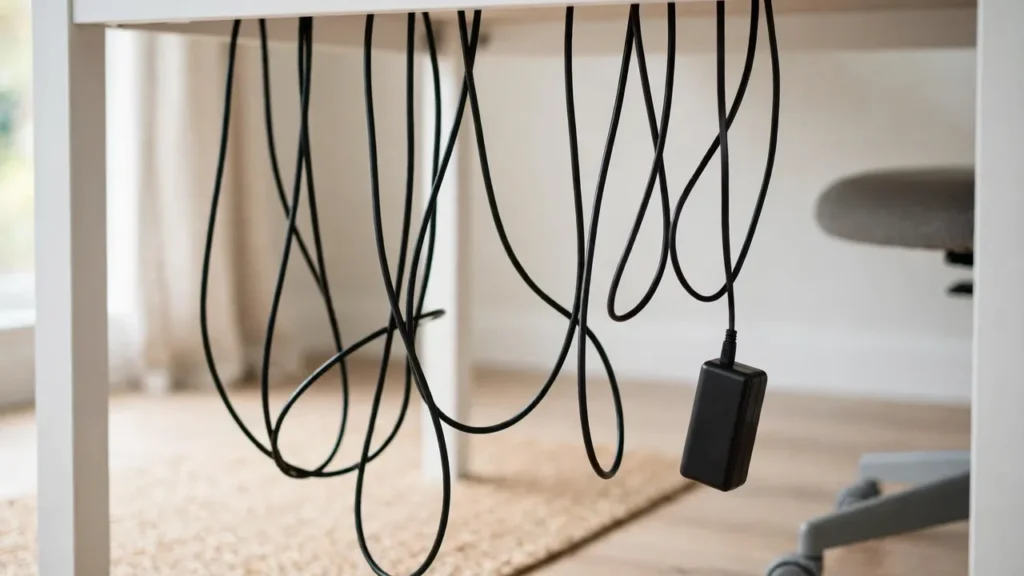
Loose loops catch on feet and chair castors, and get tugged out of sockets. Add support points, remove the slack, and the hanging stops.
Why Cables Hang Behind Your Desk
Four factors usually combine, and understanding them helps you choose a fix that lasts.
Gravity and unsupported length
A cable is flexible, so any length between two fixed points hangs in a curve. A cable running straight down a desk leg has almost no unsupported length; one crossing open space has a lot. Shortening the span, or adding a support point in the middle, is the core of every lasting fix.
Excess length
Most cables are sold in standard lengths, and the length you need is rarely the length you get. A monitor cable that needs 80 centimetres may be two metres long, leaving well over a metre spare. That spare length has weight, and it pulls the whole run down. A loose coil hanging in the air will still sag, so excess length must be stored on a support, not just pushed out of sight.
The weight of adapters and power strips
Small cables are light, but power adapters are not. A laptop charger or monitor power brick hanging from a cable acts like a weight on a string, dragging the cable down and straining the plug and socket. The same applies to an unfixed power strip: its own weight, plus everything plugged into it, pulls every connected cable down. Supporting the adapter and the strip separately is often the biggest improvement you can make.
No planned route
Most desk setups grow one device at a time, and each new cable is draped over the back edge and left to find its own way down. Without one consistent planned route, they cross, tangle, and hang at different heights. Planning the route first saves a lot of rework.
Before You Start: Plan the Route
- List every cable. Count what is behind the desk — monitor, charger, dock, speakers, lamp, phone charger — and note where each one connects.
- Find the natural route. For most desks, run cables horizontally under the desktop, then drop vertically at one point — usually near a desk leg — to the power strip. One drop is far easier to manage than several.
- Decide where the power strip lives. Ideally it sits in a tray beneath the desktop, so cables run to it without crossing open air. Otherwise, fix it to the wall or a desk leg so its cables stay short.
- Leave slack for movement. On a height-adjustable desk, leave enough slack for the desk to rise and fall without pulling plugs out — the same applies to a swivelling monitor arm.
- Unplug before you rearrange. Switch off and unplug devices before moving cables around, and check them for damage while they are out.
What You Will Need
| Item | What it does | Low-cost alternative |
|---|---|---|
| Under-desk cable tray | Holds the power strip and spare length under the desktop | A sturdy basket fixed under the desk |
| Adhesive cable clips | Hold cables along a chosen route | Small adhesive hooks |
| Reusable hook-and-loop ties | Bundle cables without pinching them | Short lengths of soft cord, tied loosely |
| Cable sleeve or spiral wrap | Groups several cables into one bundle | Ties spaced along the bundle |
Adhesives vary in how much weight they can hold, and the rating depends on the surface: laminate, painted wood, and bare wood all behave differently, and dust or grease weakens the bond. Check the manufacturer’s weight rating and surface guidance before relying on adhesive for anything heavy, and clean the surface first. For a heavy strip, a screwed-in tray is more reliable; a clamp-on tray is a reasonable no-drill compromise.
Step by Step: Stop Cables Hanging Behind Your Desk
Step 1: Unplug, untangle, and inspect
Switch everything off at the socket and unplug each cable. Lay them out and untangle them properly — pulling a tangled bundle straight can strain the connectors. Inspect each one for frayed insulation, exposed wires, or cracked plugs, and replace any damaged cable rather than hiding it. Remove cables you no longer use.
Step 2: Shorten the excess length
Work out the shortest sensible route for each cable, then fold the spare length into a loose loop, roughly the size of your hand, and secure it with a reusable hook-and-loop tie. Do not fold a cable sharply back on itself or wind it tightly around something, as repeated tight bends can damage the conductors inside. If a cable is still far too long, swap it for a shorter one.
Step 3: Fit a tray under the desk
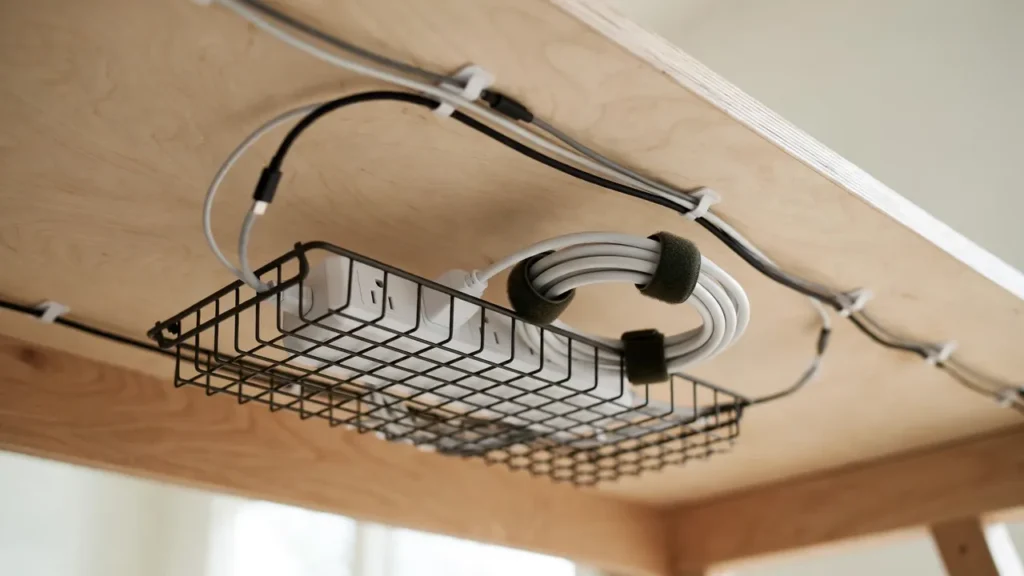
Fit an under-desk cable tray along the back edge of the desktop, to hold the power strip, coiled excess cable, and power adapters — everything heavy, in one supported place. Run device cables into the tray from above, and let only the strip’s own mains lead leave the tray to reach the wall socket. Position it where you can reach the strip’s switch without crawling under the desk.
Step 4: Route cables along the desk, not through the air
Route each cable from its device to the tray along the underside or back edge of the desk, using adhesive clips spaced every 20 to 30 centimetres. A heavy or stiff cable needs clips closer together; a light, flexible one can span further. Avoid pulling any cable tight around a sharp desk edge, where the edge can wear through the insulation — place a clip just before it.
Step 5: Support the adapters
Power adapters should never hang from their cables. Put each adapter in the tray, or fix it to the underside of the desk with a holder rated for its weight. If an adapter is too large for the tray, place it on the floor directly below the desk, flat and out of the way of feet, with airflow around it. Never cover an adapter with fabric or paper, or enclose one in a sealed box: adapters generate heat, and covering them can cause overheating.
Step 6: Make one tidy vertical drop
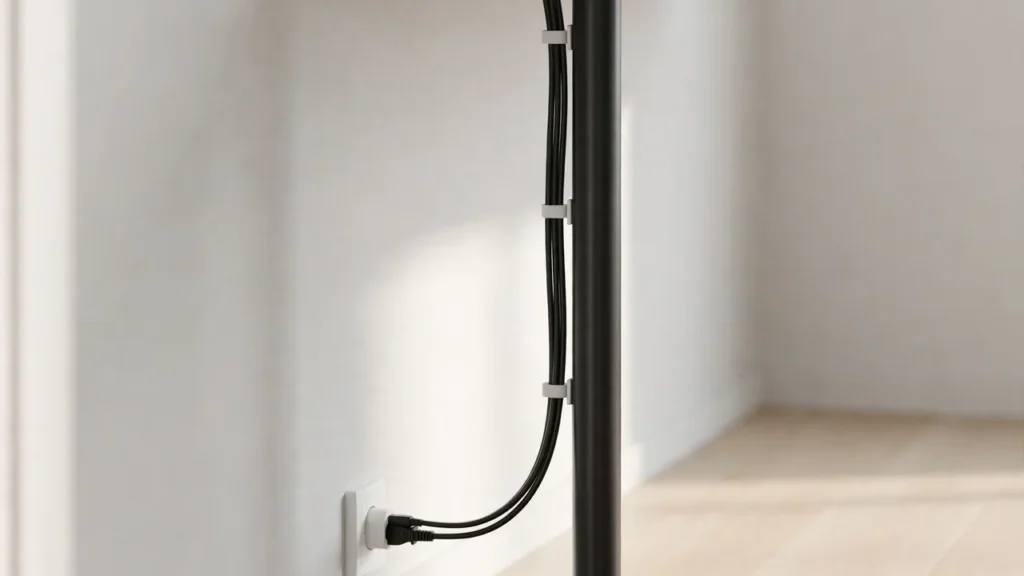
If the power strip cannot live under the desk, the cables still need a supported route down. Fix the strip to the wall or a desk leg, then run the cables down that same leg or along the wall using clips, keeping the drop close to a fixed surface. A single vertical bundle looks far tidier than several cables at different angles, and is much less likely to be caught by a foot or a chair. Never run cables across a walkway or under a rug, where they can be crushed.
Desk Against a Wall vs Freestanding Desk
A desk against a wall is the easier case: the wall gives you a second fixed surface, and the gap between desk and wall hides a surprising amount. A tray still works well, but you can also fix trunking or clips to the wall just behind the desk and drop cables straight down behind it. Leave a few centimetres so cables are not pinched between desk and wall.
A desk in the middle of a room has no wall to hide behind, so the underside of the desk has to do all the work. A tray becomes essential rather than optional, and the mains cable needs a route to the nearest socket that does not cross a walkway. Also consider the view from the other side: cables invisible from your chair may be fully visible from the rest of the room — a tray solves both views at once.
Keeping Cables Off the Floor — and Easy to Reach
Cables on the floor are the ones that get damaged: chair castors roll over them, feet catch them, and vacuum cleaners pull at them. Keeping cables off the floor is a practical goal, not just a cosmetic one. A tray achieves this for most of the run; for the final stretch to a floor-level socket, keep the cable short and run it against the wall or a desk leg, with no loop resting on the floor.
Do not make the setup so permanent that you cannot change it. You will need to unplug things to move the desk, replace a device, or add a new one, so avoid fixing cables in a way that cannot be undone without cutting. Reusable ties and clips that open are worth the small extra cost. Label cables at the power strip end with masking tape and the device name.
Common Mistakes
- Sticking clips to a dusty surface. Adhesive clips fall off when the surface is dusty or greasy. Wipe the area clean and let it dry first.
- Pulling cables tight. A cable pulled drum-tight strains its plugs and leaves no room for a monitor arm to move or a desk to rise.
- Bundling everything into one giant knot. One thick bundle is harder to change than two or three smaller ones, so group cables by where they go.
- Overloading a power strip. A tidy tray does not increase the number of devices a strip can safely supply. Do not plug one strip into another, and do not exceed its rated load — check the manufacturer’s guidance.
Frequently Asked Questions
What is the simplest way to fix cables hanging behind desk setups?
Fit an under-desk cable tray, put the power strip and spare cable length in it, and clip each cable along the underside of the desk to the tray. That single change removes the unsupported span that causes most of the sagging.
Can I stop cables hanging without drilling into my desk?
Yes. Clamp-on trays, adhesive trays and adhesive clips all work without drilling, provided you choose fixings rated for the weight and follow the manufacturer’s guidance. Keep heavy items in the tray, and check the fixings after the first few days.
Final Check
Once everything is in place, sit at the desk and look behind it. Nothing should hang in a loop, rest on the floor, or pull at a plug. Tug each cable gently at the device end: it should have a little give, not pull the power strip with it. Try unplugging one device — you should be able to do it without disturbing the rest.
Stopping cables hanging behind your desk is a small job with an outsized effect. A supported route, a tray for the heavy parts, and a little slack where things move will keep the back of your desk tidy and keep cables out of the way of feet, chair wheels, and vacuum cleaners.