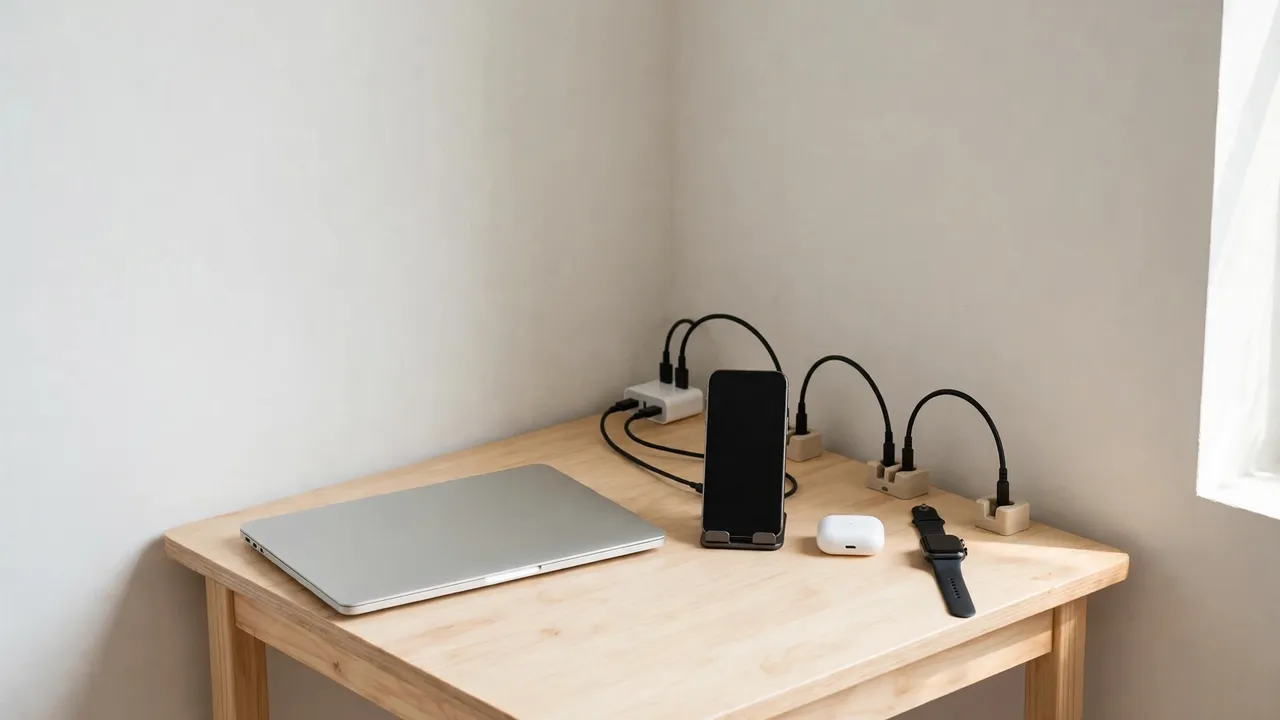
For good small desk charger organisation, give every charger one fixed home at the back or side of the desk, keep only the cable ends you use daily within reach, and shorten or coil the rest out of the way. Start by unplugging everything and keeping only the chargers you actually use, then park each cable end in a holder or clip so it never falls behind the desk. A single multi-port charger, used within its manufacturer ratings, can replace several separate plugs and free up most of a tiny desk.
A tiny desk leaves no room for error. One phone charger, one laptop charger, one for earbuds and one for a watch is four cables and four plugs — before a tablet joins in. On a desk barely wide enough for a laptop, that tangle eats the working surface. The fix is not a bigger desk. It is a smaller system: fewer chargers, shorter runs, and a fixed place for every cable end.
Why Charger Cables Take Over a Tiny Desk
Chargers are the worst kind of desk clutter because they are always half in use. A laptop charger is thick and heavy, a phone cable is thin and slippery, and a watch puck slides everywhere. Leave them loose and gravity does the rest: the moment you unplug your phone, the cable end slides off the back edge and drops to the floor. Most chargers also ship with cables of one to two metres, far more than a tiny desk needs, and the spare length ends up coiled on the desk. Add four separate plugs competing for sockets, and the clutter is complete.
Start With an Audit: Keep Only the Chargers You Use
Before buying anything, unplug every charger and lay them out. You will probably find at least one you no longer need: an old phone charger with the wrong connector, a spare cable kept “just in case”, or a charger for a device you replaced months ago. Remove those first — every charger you remove is one less cable, one less plug and one less thing to organise.
Next, check what each remaining device actually needs. Many modern phones, tablets and earbuds charge over USB-C, so one cable type can often serve several devices, though not necessarily at the same speed. Check the device manual or the manufacturer’s guidance for the connector type and the power the device expects, and keep the cable that came with the device or a replacement that matches its specification. Retire lookalike cables you cannot identify. Then count your daily chargers — typically a laptop, a phone, wireless earbuds and possibly a smartwatch — and write the list down, because it decides how many ports you need and how long each cable run should be.
What You Will Need
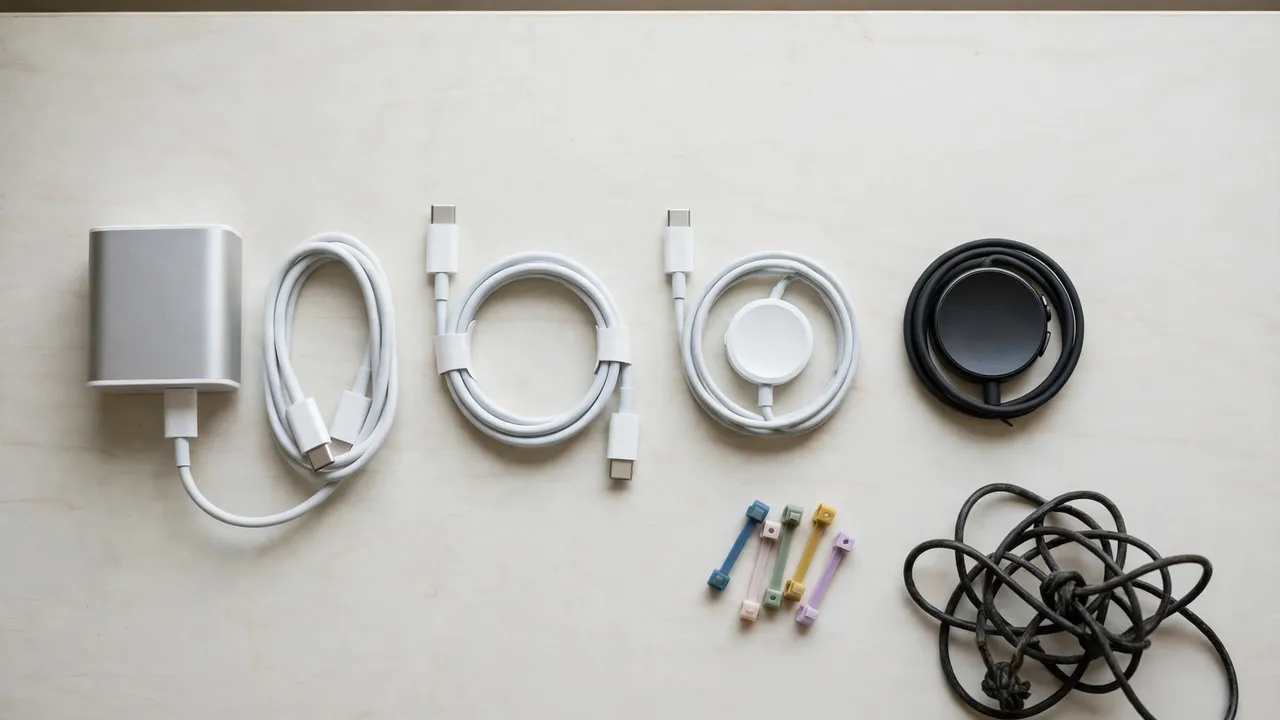
A small dock, tray or weighted cable holder; adhesive cable clips sized for your cable count; reusable hook-and-loop ties; short cables (around 30 cm is often enough); small labels or coloured tape; and a multi-port charger, if you consolidate — matched to your devices’ power needs, within the manufacturer’s ratings. Buy holders after the audit, not before: a five-slot holder is wasted on three cables.
Step-by-Step: Organise Charger Cables on a Tiny Desk
Step 1: Choose one charging zone
Pick a single spot for charging and keep it fixed. On a tiny desk, the back corner furthest from your dominant hand works best, because it keeps cables out of your writing and mouse space. If your desk sits against a wall, the back edge is ideal: cables can drop straight down behind the desk to a socket without crossing your work area. If the desk is freestanding, choose the side nearest the wall socket.
Step 2: Consolidate plugs with a multi-port charger
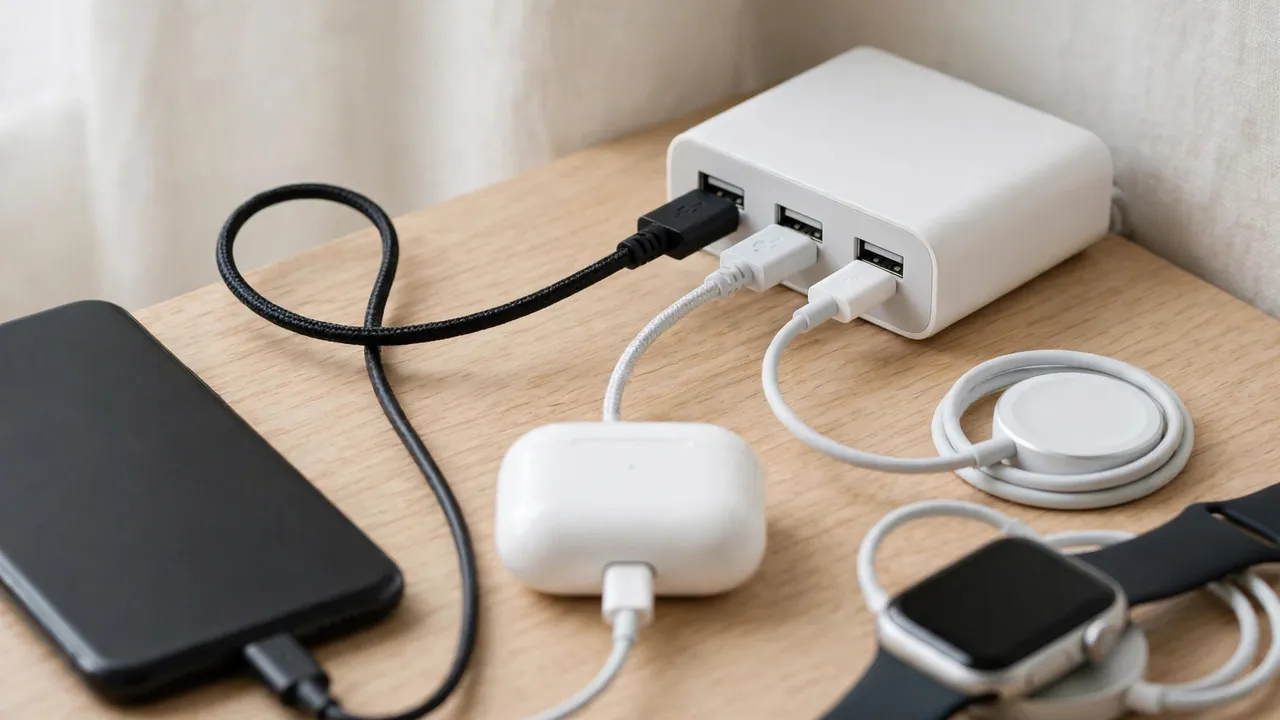
A multi-port charger is the most effective space saver for a tiny desk, because it replaces several separate plugs with one. One charger with three or four USB ports can serve your phone, earbuds and watch, while your laptop keeps its own charger if it needs more power than a USB port can supply.
Choose a multi-port charger by adding up what your devices need and comparing that with the charger’s rated total output — the figure printed on the charger or in its manual. Do not guess, and do not exceed the manufacturer’s ratings. If the total power your devices draw is close to or above the rating, use fewer ports at once or keep a separate charger for the hungriest device. Never overload a charger, a socket or a power strip, and never daisy-chain power strips together to create more sockets: that is a fire risk, not a space-saving trick. Keep the charger in the charging zone, where air can circulate around it, and never cover a power adapter with papers, fabric or a closed box — adapters get warm in normal use, and covering them traps heat.
Step 3: Stop cable drop with holders or clips
Cable drop — the cable end sliding off the desk when unplugged — is the most annoying part of charger clutter, and the easiest to fix. A weighted cable holder grips each cable in a slot so the end stays put; adhesive cable clips do the same job fixed to the back edge. Either works; holders are easier to move, clips are neater and take up less space. Fit one slot or clip per cable, close to where the device sits while charging, and leave a short length between the holder and the device — enough to lift the phone while plugged in, but not so much that it pools on the desk. If the cable end still slips, the slot is too wide for that cable; try a smaller clip.
Step 4: Shorten every run
Work out the shortest length that still reaches comfortably from the charger to the device, with a little slack, then deal with the rest. The simplest method is to buy a shorter cable: a 30 cm cable is often plenty between a charger on the back edge and a phone a few centimetres away. Match the connector and power rating to the device. If you want to keep your existing cables, coil the spare length loosely and secure it with a reusable hook-and-loop tie, then tuck the coil behind the desk or under it — never across the working surface. Never run a cable where it can be crushed — under a desk leg, through a closing drawer, or under a heavy monitor stand. Crushing damages the insulation over time, and a damaged charger cable should be replaced, not taped up and kept in use.
Step 5: Route cables along the back edge
Route each cable from the charger along the back edge of the desk to its holder, using adhesive clips spaced along the edge to hold the run in place. If your desk has a grommet hole, route through it — that keeps the cables off the surface entirely. Keep cables away from the front edge, where your wrists rest: a cable crossing the front of the desk is a snag waiting to happen.
Step 6: Label everything
On a tiny desk, four similar black cables are impossible to tell apart by looking. Label each one at both ends: a small flag of tape with “Phone”, “Earbuds” or “Watch” written on it, or a coloured tie — one colour per device — does the job. Label the charger end too, so you know which cable to unplug without tracing it back.
Small Desk Charger Organisation: Docks and Charging Stations
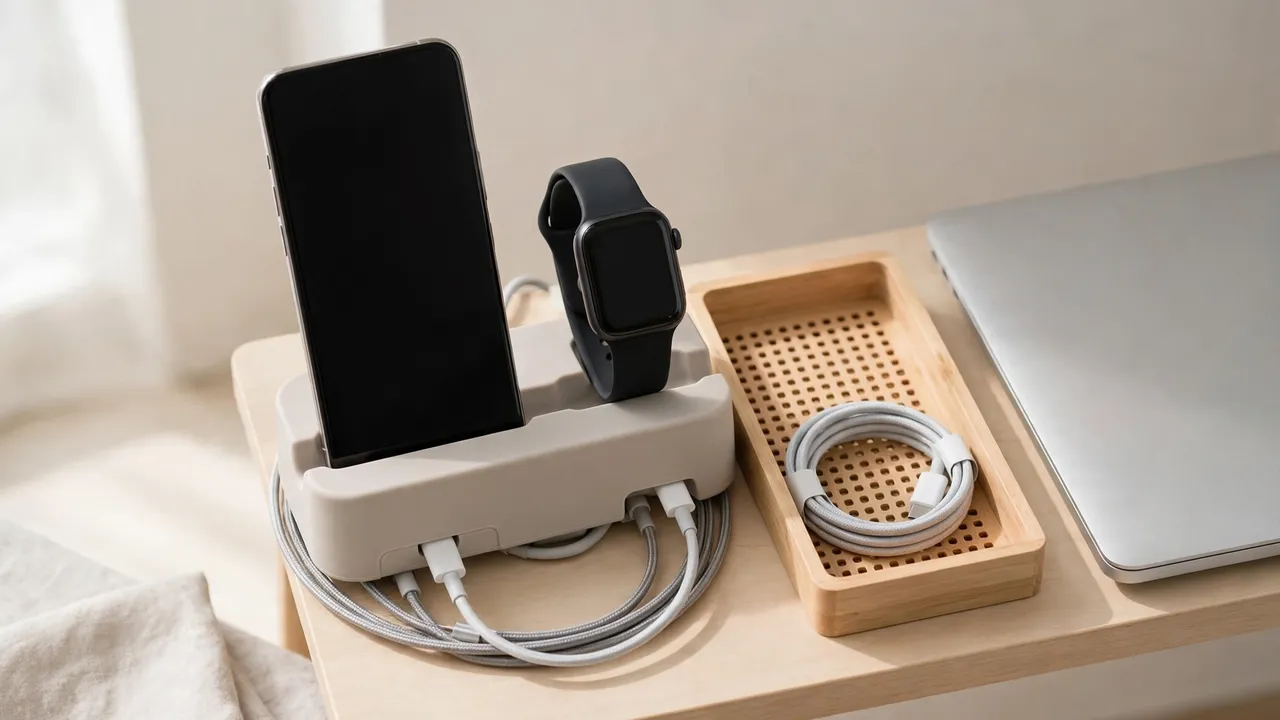
You do not need a large charging station on a tiny desk — a large one defeats the purpose. A compact multi-device dock holds two or three devices upright in slots and routes their cables underneath, using vertical space instead of surface space; check that your devices and cases fit the slots before buying. A small tray or shallow box can act as a charging bay, with the charger and coiled spare cable inside and only the cable ends poking out — but only if it is open or ventilated, never sealed, and never piled with papers: if the tray feels warm after an hour of charging, it needs more airflow.
Common Mistakes to Avoid
- Buying holders before auditing chargers. Audit first, buy second, or you will end up with the wrong number of slots.
- Keeping every old cable. Each spare takes a slot, a plug and a share of your attention.
- Overloading a multi-port charger. Check the rated total output and stay within it.
- Daisy-chaining power strips. Never plug one strip into another to get more sockets — that is a fire risk, and a job for an electrician if you need more sockets.
- Covering a warm adapter. Tucking a charger under papers or inside a sealed box traps heat.
- Ignoring a damaged cable. A frayed or crushed charger cable should be replaced, not taped up and kept in use.
Troubleshooting
The cable end still falls behind the desk
The holder slot is probably too wide for that cable, or the holder is too far from the device. Move the holder closer, or switch to a narrower clip.
The phone charges slowly from the shared charger
Try the cable that came with the phone first — a damaged or very old cable may not carry enough power. Then check the port: on many multi-port chargers, ports share a total power budget, so charging several devices at once slows each one down. Charge the hungriest device on its own charger.
A charger feels very hot
Warm is normal; too hot to touch comfortably is not. Unplug it, let it cool, and check that it is not covered, that air can circulate, and that it is not overloaded. If it still runs very hot with a single device and good airflow, stop using it and replace it.
Frequently Asked Questions
How many chargers do I really need on a tiny desk?
As few as possible. Most people can manage with one multi-port charger for their phone, earbuds and watch, plus the laptop’s own charger if the laptop needs one.
Can I hide the charger inside a box on my desk?
Only in an open or well-ventilated container, with the charger uncovered and air able to circulate. A sealed box, or a box piled with papers, traps heat and is not safe.
A Quick Checklist
- Audit your chargers and retire the ones you do not use.
- Choose one charging zone at the back or side of the desk.
- Consolidate with a multi-port charger, within its manufacturer ratings.
- Give every cable end a holder or clip so it cannot fall.
- Shorten each run with a short cable or a loosely coiled, tied spare length.
- Route cables along the back edge, never across the front.
- Label every cable at both ends, and keep adapters uncovered and ventilated.
Small desk charger organisation is not about buying a lot of accessories. It is about a few deliberate decisions — one charging zone, one charger where several used to sit, a holder for every cable end, and the shortest cable that reaches — and then keeping to them.