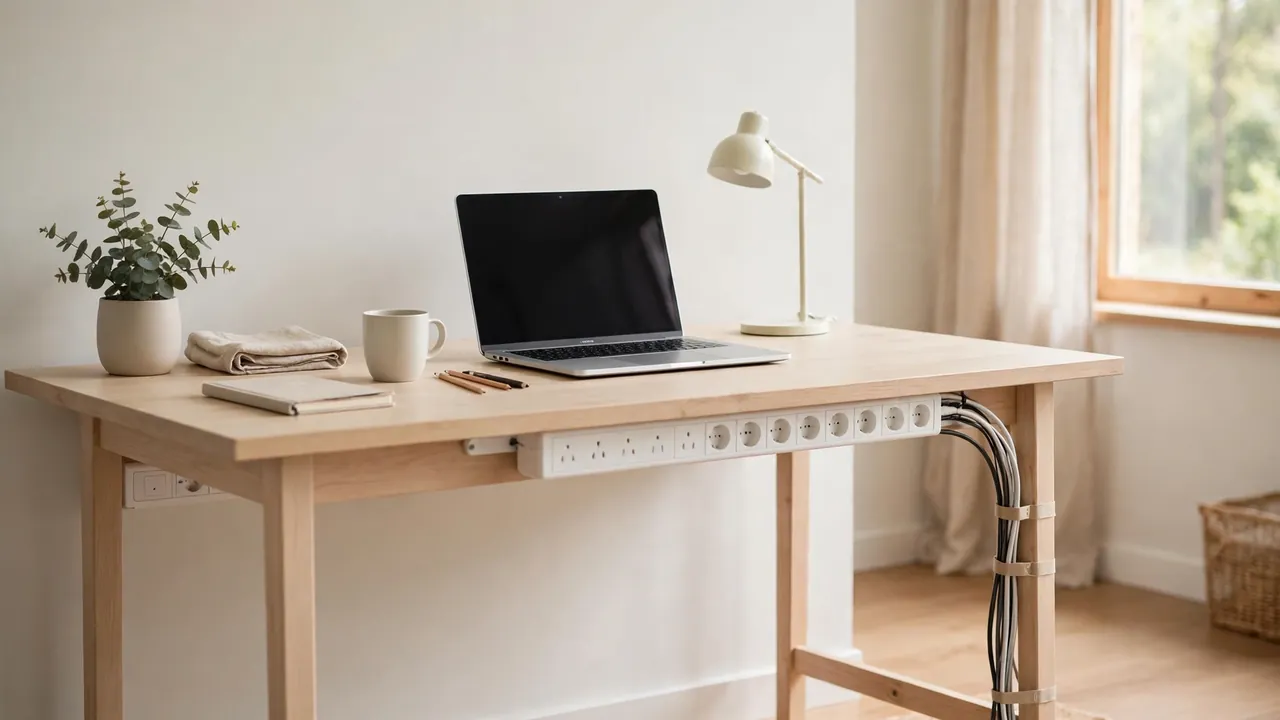
To mount a power strip under a desk safely, fix it to the underside with the mounting method made for your strip — screw brackets, a clamp-on tray, or adhesive holders rated for its weight — with the sockets facing outwards, the switch reachable, and the strip not overloaded. Keep it away from the floor, leave air around any adapters that get warm, and never daisy-chain one strip to another.
A power strip under a desk keeps plugs off the floor, stops cables trailing across walkways, and makes it easy to switch everything off at once. It also puts mains electricity where you cannot see it, so it deserves more care than a cable clip. A strip that is overloaded, covered up, or hanging from weak adhesive is a fire and trip risk.
Before You Start: Safety Checks
Check the strip itself before you mount it. Look for cracked casing, loose sockets, a damaged cable or plug, or a switch that sticks. If any of those are present, replace the strip — do not mount a damaged one and hope it will be fine out of sight.
Check what is plugged into it. A monitor, a laptop charger, a printer and a phone charger are a normal desk load, but a heater, a kettle or a high-power device does not belong on a desk strip. Never plug one strip into another, or into an extension lead. Use a strip whose cable reaches the wall socket comfortably.
Check the wall socket too: no scorch marks, loose fitting or buzzing. If you are unsure about the socket, wiring or load, ask a qualified electrician. Fixed wiring work is not a DIY job.
Choose the Right Mounting Method
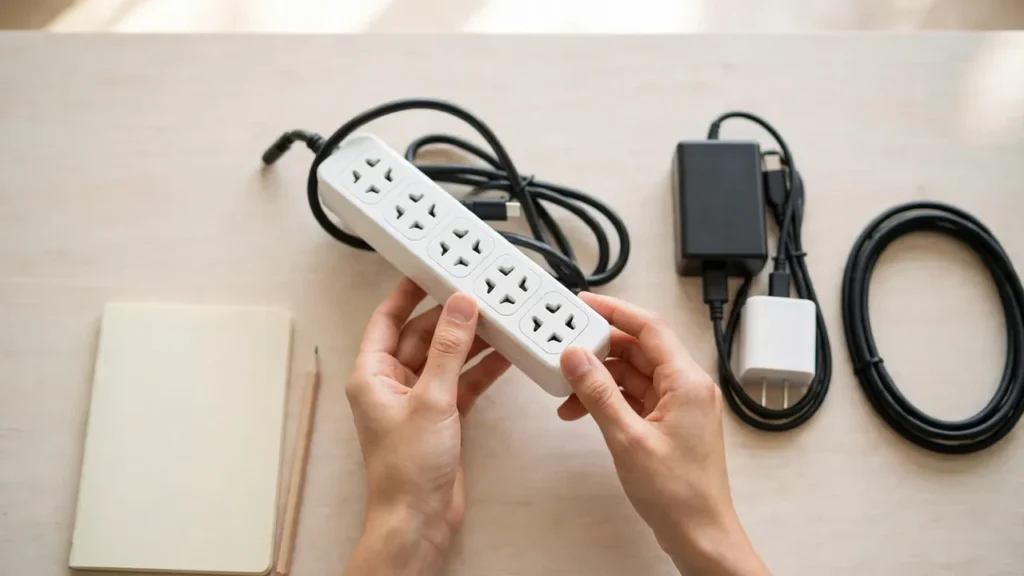
There are four common ways to mount a power strip under a desk. The best one depends on whether the strip has mounting holes, what your desk is made of, and whether you are allowed to drill.
Screw brackets and mounting holes
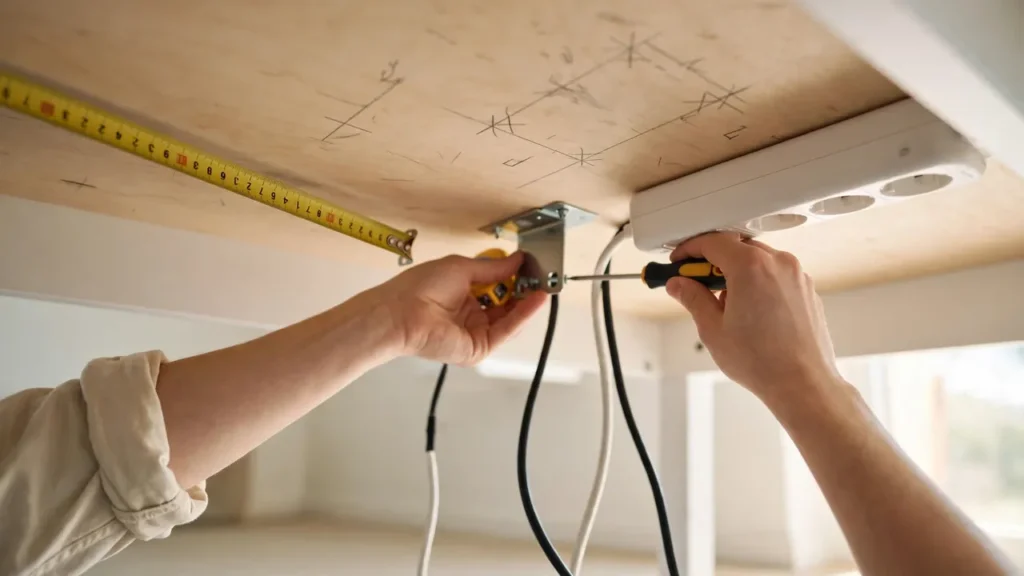
Many power strips have keyhole slots or holes on the back, made for screws. This is the strongest method, and the best choice if you own the desk and can drill. Mark the screw positions with the strip held in place, drill pilot holes if the desk material needs them, and use screws of the right length — long enough to hold, short enough not to poke through the top. Check the desk thickness first.
Mounting brackets made for the strip
Some strips are sold with a bracket, or a bracket is available for that model. The bracket screws or clamps to the desk, and the strip slides or clips into it. This holds the strip firmly and makes it easy to remove later for cleaning or replacement. Follow the bracket instructions, and do not force a strip into a bracket made for a different model.
Clamp-on tray or basket
If you cannot or do not want to drill, put the strip in a clamp-on cable tray or basket that grips the back edge of the desk. The strip sits inside the tray, sockets up or outwards, with its cable running to the wall. This is a good rented-home option, and it also hides the cables. Check the tray is long enough for the strip and that the clamp suits the thickness of your desk top.
Adhesive holders
Adhesive holders can work on a smooth, clean desk underside, but they are the weakest option. Only use adhesive rated for the weight of your loaded strip, and follow the curing time on the packet. Do not use ordinary double-sided tape, or hang a loaded strip from a single small pad. If the surface is rough, waxed or textured, choose a clamp or screw method instead.
What You Will Need
- The power strip, in good condition, with a cable long enough to reach the wall socket.
- The mounting method you have chosen: screws and brackets, a clamp-on tray, or adhesive holders rated for the weight.
- A tape measure and a pencil: for marking the position.
- A screwdriver or drill, if you are using screws — and only if you are allowed to drill the desk.
- A cleaning cloth and rubbing alcohol or a suitable cleaner, if you are using adhesive.
- Reusable hook-and-loop cable ties and a cable sleeve: for routing the cables from the strip into a tray or along the desk.
Step-by-Step: Mounting the Strip
Step 1: Choose the position. Hold the strip against the underside of the desk, close to the back edge, on the side you sit on so the switch is easy to reach. Check that it does not clash with drawer runners, a modesty panel, desk legs or, on a standing desk, the moving frame. Mark the position with a pencil. The strip should be hidden from the front but reachable without crawling under the desk.
Step 2: Prepare the surface or mark the holes. For adhesive, clean the area, let it dry completely, and mark the holder positions. For screws, mark the hole positions and check the screw length against the desk thickness. For a clamp-on tray, check the clamp fits the desk edge and does not foul a drawer.
Step 3: Fix the bracket, tray or holders — empty. Fit the mounting first, without the strip in it. For adhesive, press each pad firmly and leave it to cure for the time on the packet, often several hours, before you load it. Loading adhesive before it has cured is the commonest reason a mounted strip falls down.
Step 4: Seat the strip. Place the strip in the bracket or tray, sockets facing outwards and the switch accessible. It should sit flat and not rock. If it rocks, the bracket is not level or the strip is not seated properly — fix that now, not after the cables are plugged in.
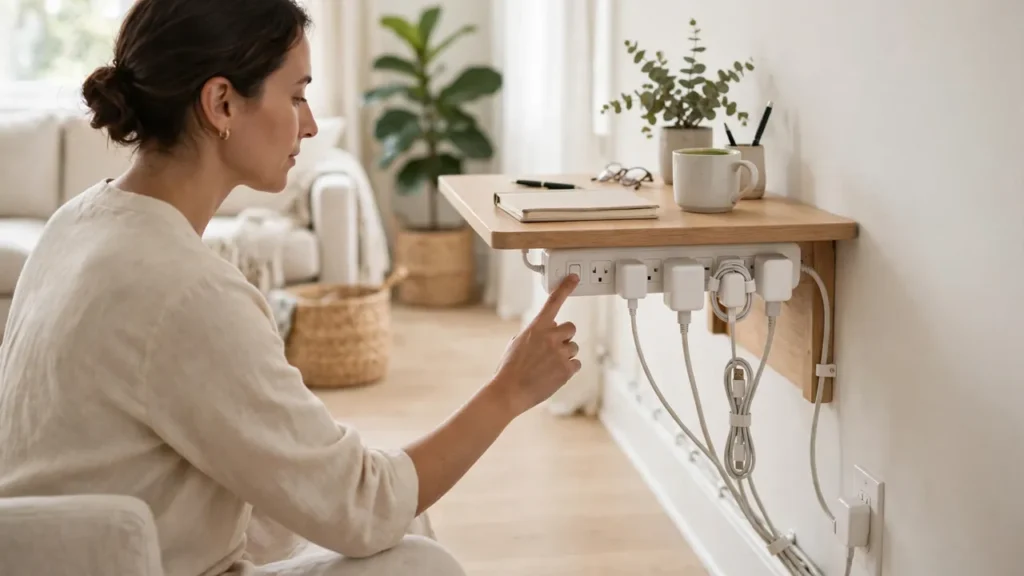
Step 5: Plug in, one device at a time. Plug each device into the strip, keeping the plugs fully pushed in. Route each cable with a gentle curve, not a sharp bend near the plug, and leave a little slack so moving a monitor or laptop does not tug at the socket. Bundle the cables loosely with hook-and-loop ties or a sleeve, and guide them into a tray where you can.
Step 6: Connect to the wall and test. Run the strip cable to the wall socket with a gentle loop of slack, not stretched tight, across a walkway or under a chair leg. Switch on, check each device powers up, and check the switch is easy to reach and the strip does not move when you press it.
Where to Put the Strip — and Where Not To
The best place is under the back edge of the desk, near the side you sit on, with air around it. The worst places are on the floor under your feet, behind a drawer that closes on the cable, inside a closed box with no ventilation, or anywhere the cable is pinched, crushed or walked on.
Leave space around the strip. Adapters that get warm need air, and a strip packed tight with plugs and cables is harder to use and harder to check. If you need more sockets, buy a strip with more sockets — do not add a second strip to the first.
Common Mistakes to Avoid
- Overloading the strip: too many high-power devices on one strip is a fire risk. Keep the load to normal desk equipment and follow the manufacturer’s guidance.
- Daisy-chaining strips: never plug one power strip into another, or into an extension lead, to get more sockets or more length.
- Using weak adhesive for a heavy strip: a loaded strip is heavy. Use a fixing rated for that weight, or a screw or clamp method.
- Loading adhesive before it cures: wait for the curing time on the packet, even if the holder feels solid straight away.
- Covering the strip or adapters: do not wrap the strip in fabric, seal it in a box with no airflow, or pile cables on top of warm adapters.
- Mounting it where you cannot reach the switch: if you have to crawl under the desk to turn it off, the position is wrong.
- Running cables where they can be crushed: keep cables away from chair legs, drawers and moving desk frames.
Troubleshooting
The strip fell down. Switch everything off and unplug it before you touch it. The cause is usually weak adhesive, loading before curing, or overloading. Clean the surface, use fresh pads rated for the weight, or switch to a screw or clamp fixing.
The strip rocks or moves when I press the switch. It is not seated properly in its bracket, or the bracket is not level. Remove the strip, refit the bracket, and check it is flat before you put the strip back.
A plug keeps working loose. The socket may be worn, or the cable may be pulling tight. Add slack, route the cable with a gentler curve, and if the socket is loose, replace the strip.
An adapter feels hot. Give it more air and space, and do not cover it. If it stays hot or smells scorched, unplug it and check the device manual.
I cannot reach the switch. Move the strip closer to the side you sit on, or turn it so the switch faces outwards. Do not leave a strip switched on all the time because you cannot reach it.
Frequently Asked Questions
Is it safe to mount a power strip under a desk? Yes, if the strip is in good condition, not overloaded, not daisy-chained, and not covered or sealed in a box with no airflow. Keep it accessible, keep cables from being crushed, and follow the manufacturer’s guidance. If you need fixed wiring work, ask a qualified electrician.
Can I mount a power strip under a desk without drilling? Yes. A clamp-on tray or basket, or adhesive holders rated for the weight on a smooth, clean surface, will do it. Clamp-on is the more reliable no-drill option for a heavy loaded strip.
Should the sockets face up or down? Sockets facing up or outwards are best. Sockets facing down let plugs work loose and let dust collect in the sockets. Outwards also makes it easier to see which plug is which.
How do I know if I am overloading the strip? Follow the manufacturer’s guidance for the strip, and keep the load to normal desk equipment. If the strip, a plug or a cable feels hot, smells hot or looks scorched, switch it off, unplug it and ask a qualified electrician for advice.
Can I mount a strip under a standing desk? Yes, provided the strip is fixed to the moving desktop, not to the fixed frame, and all cables have enough slack for the full height range. Test the full movement before you load it.
Mount a power strip safely by choosing a fixing rated for the loaded weight, mounting it empty first, seating the strip flat with the switch reachable, and routing every cable with slack and air around it. Check it after a few days, and again whenever you add a device.