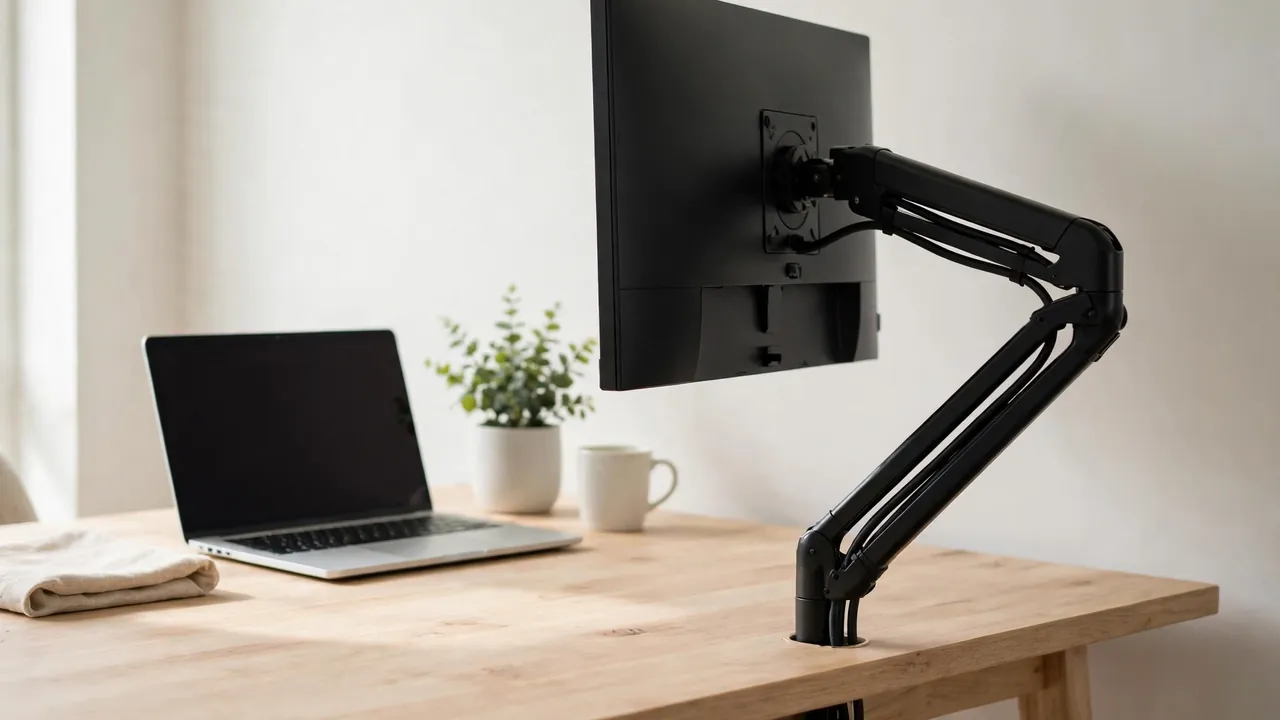
To route cables through a monitor arm, unplug everything, thread each cable through the arm’s built-in channel or clips from the monitor down to the desk, leave a small slack loop at every joint, and guide the cables into a tray or sleeve under the desk. Start at the monitor end, work down one joint at a time, and test the full range of movement before you tie anything off.
Monitor arms are one of the best tools for a tidy desk, because they lift the monitor off the desk and give its cables a ready-made path to follow. But that path only works if the cables are routed with the arm’s movement in mind. An arm that swivels, tilts and extends will tug, twist and pinch any cable that was routed as if the arm never moved. This guide explains monitor arm cable routing in five steps.
What You Will Need
You probably need less than you think. Most of the work is planning and patience, not new kit.
- Your monitor arm’s manual: to find its cable channel, removable covers and clip positions, and any cable limits the manufacturer sets.
- Reusable hook-and-loop cable ties: for bundling cables loosely along the arm. Avoid single-use zip ties, because you will open the bundle when you adjust the routing.
- Adhesive cable clips: for the run from the base of the arm into a tray or sleeve under the desk.
- A cable tray, sleeve or split tubing: to take over from the arm at desk level and hide the rest of the run.
- Video and power cables of the right length: a cable that only just reaches will pull tight the first time the arm extends. Measure with the arm fully extended.
- Coloured tape or small labels: to mark which cable is which before they disappear into the channel.
Do not force a cable into a channel it does not fit. A thick power cable that will not sit alongside the video cable should be routed outside the channel with clips, or it will be pinched every time the arm moves.
Step 1: Understand Your Arm Before You Route Anything
Look at the arm before you touch a cable. Most monitor arms have one of three cable systems: an open channel along the underside of each arm segment, a series of clips or hooks, or a removable cover that hides the cables completely. Some have a combination — a channel on the lower arm and clips on the upper arm, for example.
Find every joint: the base where the arm meets the desk, the elbow in the middle, and the joint where the arm meets the monitor. Each joint moves, and each one needs slack. A cable routed tightly across a joint will be pulled every time that joint turns, and over time the pulling works the connector loose or damages the cable.
Move the arm through its full range while it is empty: extend it fully, swing it left and right, tilt the monitor up and down, and rotate it if it supports rotation. Watch how the joints move and where a cable would be stretched or pinched. This two-minute test tells you where the slack loops need to go, and it is much easier to do before the cables are in place.
Step 2: Unplug, Label and Measure
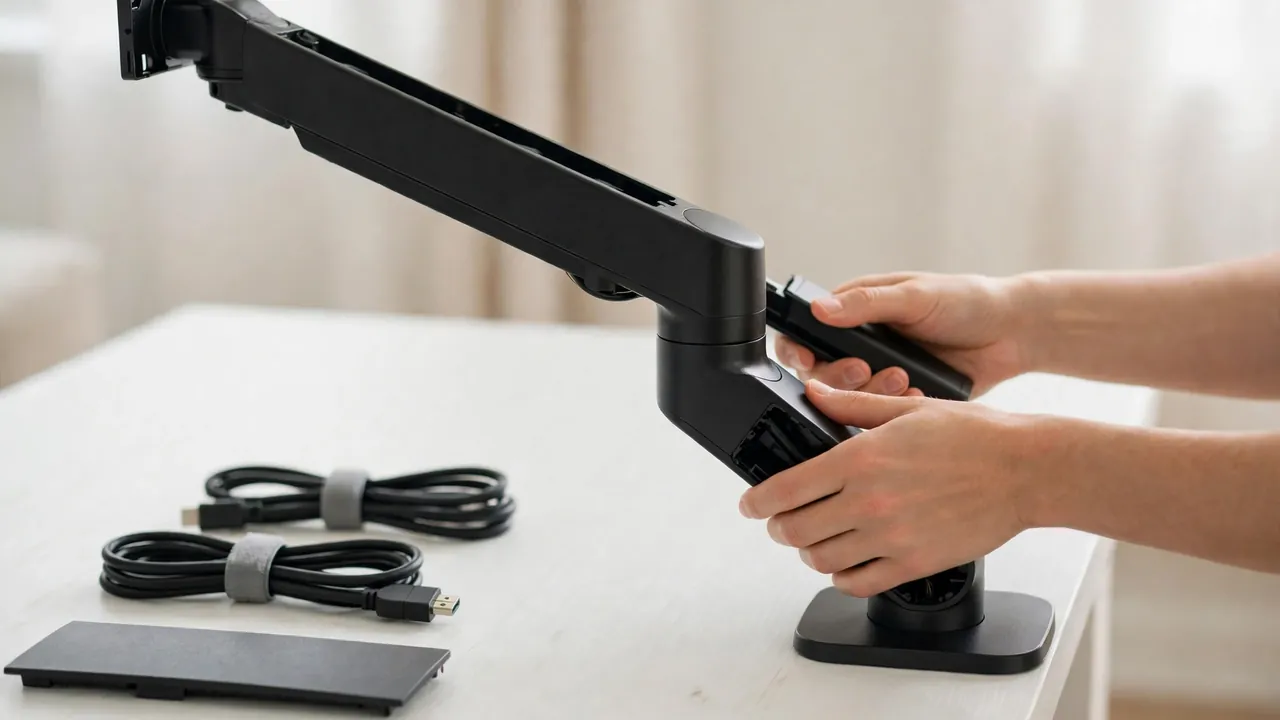
Switch the monitor off and unplug every cable from the monitor and from the wall or computer. Working with the cables disconnected lets you thread them through the channel properly instead of forcing connectors through gaps they were never meant to fit.
Label each cable at both ends before you start threading. A power cable and a video cable look very similar once they are inside a channel, and you will need to know which is which when you plug them back in. A small piece of coloured tape around each end does the job.
Measure each cable against the route with the arm fully extended. The cable needs to reach from the monitor, along the whole arm, down to the desk, and on to its socket or the computer, with slack to spare at every joint. If a cable is too short, buy a longer one now — no amount of clever routing will fix a cable that is too short. Check the cables for damage while they are out, and replace any that are frayed or cracked rather than routing them.
Step 3: Thread the Cables Through the Arm
Start at the monitor end and work down toward the desk. This is the opposite of what feels natural, but it means you are feeding the cables toward the exit rather than pushing them uphill, and it leaves the connectors where you can reach them at the end.
If your arm has a removable cover, take it off first and lay the cables in the channel underneath, then replace the cover. Do not try to push connectors through a closed channel — you will damage the connector, the channel or both. If the arm has an open channel, lay the cables in from above. If it has clips, thread the cables through each clip in turn, working down the arm.
Route the cables so they stay parallel: power cable on one side of the channel, video cable on the other, USB cable in the middle if there is room. Parallel cables slide past each other when the arm moves; crossed cables twist and knot. Do not overfill the channel — the cables should fill no more than about two-thirds of the space, so they have room to shift slightly as the arm moves. If you have to force the cover back on, one cable should be routed outside it.
Step 4: Leave Slack at Every Joint
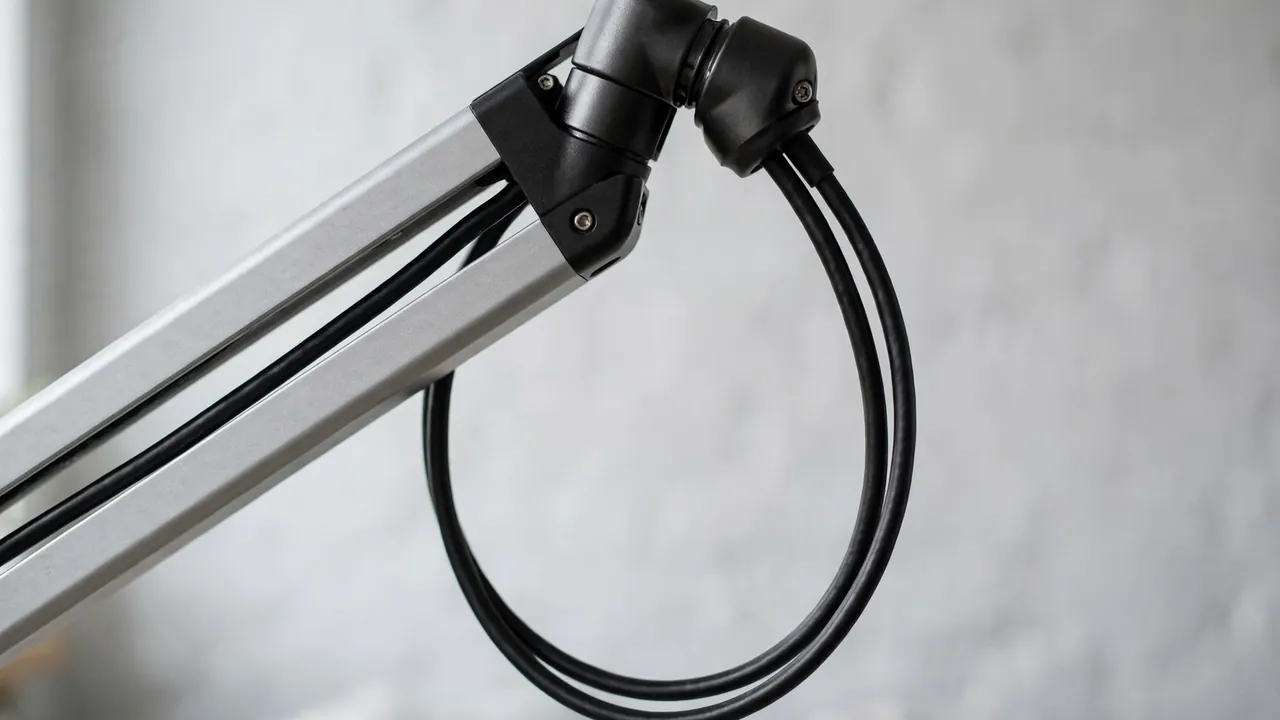
Slack is the whole secret of monitor arm cable routing. At each joint — the monitor joint, the elbow and the base — leave a gentle loop of extra cable, roughly a hand’s width, that can open and close as the joint moves. The loop should be a smooth curve, not a kink or a tight bend, because a sharp bend damages a cable over time.
The monitor joint needs the most slack in the shortest space, because tilting and rotating the monitor pulls the cable in several directions at once. Let the cables drop a little below the joint in a soft curve before they enter the arm’s channel, and check the curve does not catch on the back of the monitor when you tilt it.
The elbow needs slack that can lengthen and shorten as the arm extends and folds, and the base joint needs slack to absorb the twist when you swing the arm left or right. Once the loops are in place, move the arm through its full range again. Each loop should open and close smoothly — add slack where one pulls tight, and shorten or clip any loop that swings or catches.
Step 5: Guide the Cables From the Arm Into the Desk Run
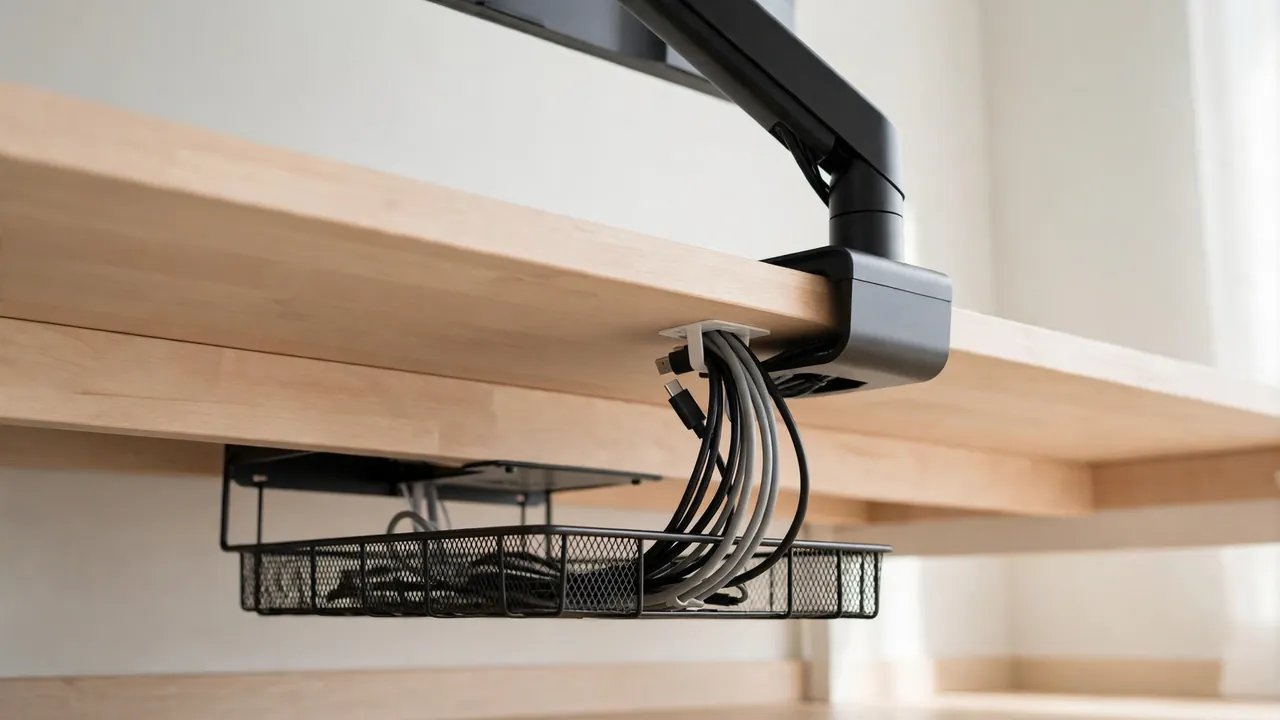
Where the cables leave the base of the arm, they need to join the rest of your desk’s cable route. The tidiest option is a cable tray under the back edge of the desk, with the cables dropping straight from the arm base into the tray. Use an adhesive clip at the base to guide them down and stop them swinging.
Plug everything back in one cable at a time, checking as you go that the monitor shows a picture. Then move the arm through its full range once more with the cables connected. This is the real test: the cables are now carrying their own weight and connected at both ends, which is when pulling and pinching actually show up.
Monitor Arm Cable Routing: Systems Compared
| Arm cable system | How it works | Best for | Watch out for |
|---|---|---|---|
| Removable cover channel | Cables hidden under a clip-on cover | The tidiest finish | Overfilling; covers that pop off |
| Open channel | Cables sit in a groove on the arm | Easy access and changes | Cables slipping out when arm moves |
| Clips or hooks | Cables held by a row of clips | Thick or mixed cables | Clips breaking under heavy cables |
Common Mistakes When Routing Monitor Arm Cables
- Routing with no slack at the joints: the arm will pull the cables tight the first time it extends, and the connectors will work loose.
- Forcing thick cables into a narrow channel: a pinched cable is damaged a little more every time the arm moves. Route it outside the channel instead.
- Overfilling the channel: if the cover will not close easily, the channel is too full. Move one cable out.
- Using single-use zip ties on the arm: every adjustment means cutting ties. Reusable ties let you open the bundle, adjust and close it again.
- Crossing cables inside the channel: crossed cables twist when the arm moves. Keep them parallel from monitor to desk.
- Covering a hot power adapter: if the monitor has an external adapter, give it air. Do not bury it inside a closed channel or a sealed sleeve.
Troubleshooting
The monitor loses its picture when you move the arm
This is almost always a video cable being pulled tight or pinched at a joint. Move the arm to the position where the picture drops out, then look at each joint in turn. You will usually find one cable pulled taut or kinked. Add slack at that joint, re-route the cable so it does not cross the joint at a sharp angle, and test again.
A cable keeps slipping out of the channel
The channel may be overfilled, or the cable may be too stiff to sit in the groove. Try routing the stiffest cable outside the channel with clips, and leave more room inside for the flexible ones. A small piece of hook-and-loop tie around the bundle at intervals along the arm can also hold cables in an open channel.
Frequently Asked Questions
Can I route a power cable and a video cable in the same channel?
Yes, in most cases. Monitor power and video cables are low-voltage at the monitor end and are routinely routed together in arm channels. Keep them parallel and do not overfill the channel.
What if my monitor arm has no cable channel at all?
Use adhesive clips or small hook-and-loop ties along the underside of the arm to create your own route. Space the clips every 15 to 20 centimetres so the cables cannot sag between them, and leave the same slack loops at each joint. It will not look as clean as a built-in channel, but it works just as well.
The Quick Version
Learn your arm’s cable system, unplug and label everything, and measure each cable with the arm fully extended. Thread the cables from the monitor down, keeping them parallel and the channel no more than two-thirds full. Leave a gentle slack loop at the monitor joint, the elbow and the base, then guide the cables from the arm into a tray or sleeve.