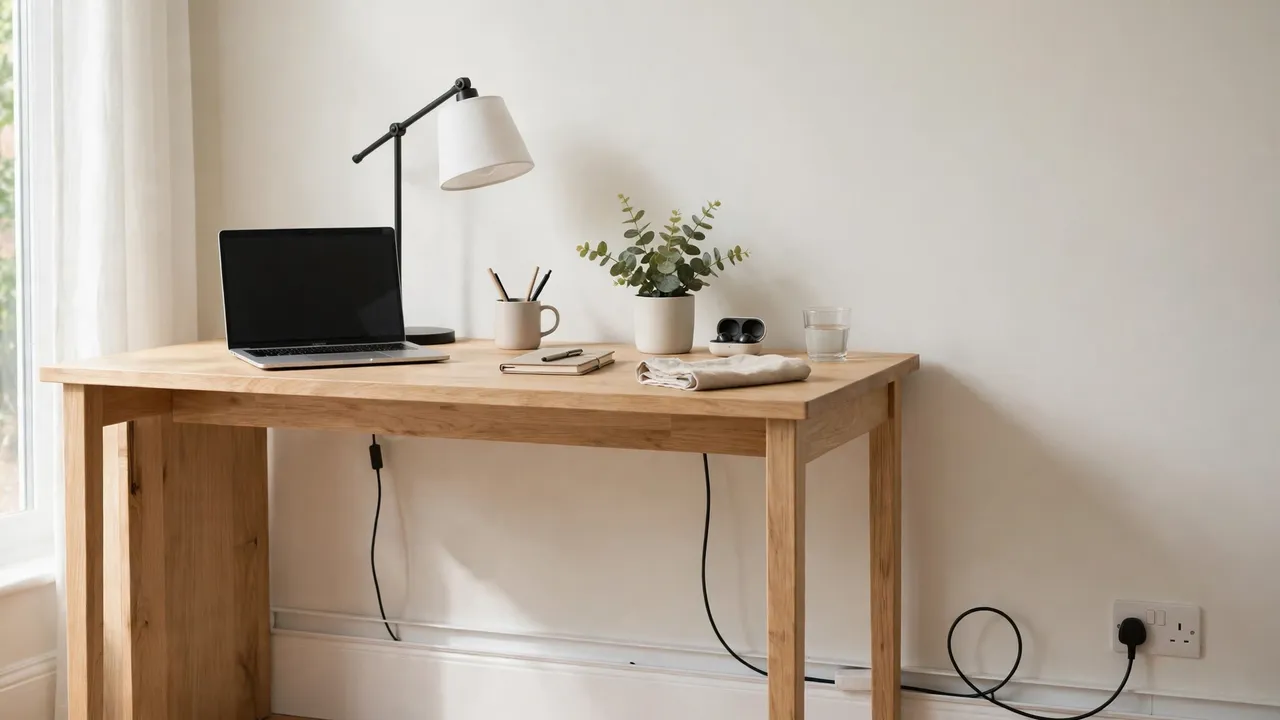
You can route desk cables along skirting board runs neatly and without damage by following the line where the skirting meets the wall, using adhesive clips or a slim self-adhesive cable raceway. Keep every cable loose enough to move without pulling at its plug. Plan the route from desk to socket first, take corners with gentle bends, and bridge door frames above floor level so nothing is walked on or trapped.
Skirting boards are useful because they already run where you need cables to go: along the bottom of the wall, from desk to socket. They give you a straight, low line to follow, but they vary greatly, from flat modern boards to deep moulded profiles, and a fixing that grips one may not grip another.
What You Will Need
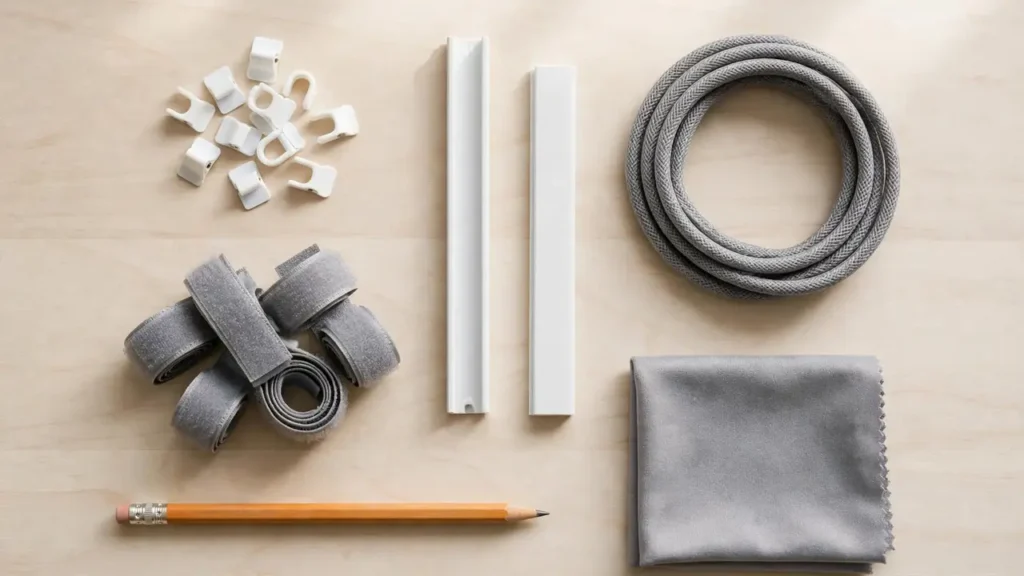
You do not need specialist tools. Buy only what suits your skirting profile, wall surface, and cables.
- Adhesive cable clips: small sticky-backed clips that hold one cable, or a small bundle, against the skirting or the wall just above it.
- A slim self-adhesive cable raceway: a shallow channel with a clip-on lid that hides several cables at once.
- Reusable hook-and-loop cable ties: for bundling cables loosely before they enter a clip or raceway.
- A cable sleeve or spiral wrap: for grouping the short run from the desk down to the skirting.
- A tape measure and a pencil: for measuring the route and marking clip positions.
- A cleaning cloth and a suitable cleaner: for preparing the skirting and wall so adhesive bonds properly.
Keep the packaging: weight ratings, suitable surfaces, and curing times vary between brands, and a clip for a thin cable will not hold a thick power cable.
Step 1: Plan the Route From Desk to Socket
Switch everything off and trace each cable from device to socket, working out the shortest sensible route along the skirting. In most rooms that means dropping down behind the desk and running along it to the socket. Avoid routes that cross a walkway or pass in front of a door.
Walk the route and note where the skirting changes direction and where it meets a door frame. Check each cable against the route, allowing for the drop behind the desk, the run along the skirting, and a loop of slack near the socket. A cable that only just reaches when pulled straight will tug at its plug once it follows corners.
Decide what will carry the cables. One thin cable can sit in adhesive clips; three or four together usually look tidier inside a slim raceway, or bundled loosely in a sleeve and held by clips. Plan for the weight of the whole bundle, not just one cable.
Step 2: Understand Your Skirting Profile Before You Fix Anything
A flat board gives you a clean face to stick clips or a raceway to. A curved torus or ogee profile leaves gaps behind a flat-backed raceway and gives adhesive pads less grip. A short board may leave you running just above it on the wall instead.
Look at the board from the side and check whether the bottom edge sits flush with the floor or leaves a gap. Cables must not be trapped or compressed where the skirting meets the floor; if the gap is narrow, keep them above it, on the skirting face or the wall just above it.
Check the surface too. Fresh paint takes adhesive well once clean and dry; flaking paint, chalky plaster, textured wallpaper, or dust will not. In a rented home, test adhesive on a hidden spot first.
Step 3: Choose a Rental-Friendly Fixing
Adhesive cable clips
Clips are the simplest option for one or two cables, sticking to the skirting face or the wall just above it. Space them evenly, and closer together where the cable changes direction or the bundle is heavy. Clean the surface, press each pad firmly, and leave clips empty for the curing time on the packet. Their weakness is weight: a thick cable can pull them off, especially on a curved profile.
Slim self-adhesive raceway
A raceway hides several cables inside a shallow channel with a lid, so the run looks like a neat strip along the skirting. Choose the narrowest size that fits your bundle: too wide looks bulky, too narrow pinches the cables. It sits best on a flat skirting face or the wall just above it; on a curved profile, mount it on the wall above the board, in sections, leaving a gap at corners and door frames.
Hook-and-loop ties and sleeves
Ties and sleeves do not fix cables to the wall, but they make the other methods work better: a loose bundle is easier to guide than four separate cables and puts less strain on clips. Do not pull ties tight enough to squash cables, and do not wrap a power adapter tightly or cover one that gets warm.
Step 4: Run Desk Cables Along Skirting Board Lengths
Start at the desk and work towards the socket, fixing the first clip or section of raceway, laying the cables in loosely, and only then moving on. Working in short sections stops the bundle pulling itself out of clips you have just fitted.
Keep the run level: follow the top edge of the board, or the same height on the wall above it. Leave a gentle loop of slack at each end — behind the desk and near the socket — so small movements do not tug at the plug. Avoid sharp bends, especially near plugs, and never pull cables tight.
Step 5: Getting Around Corners
Internal corners
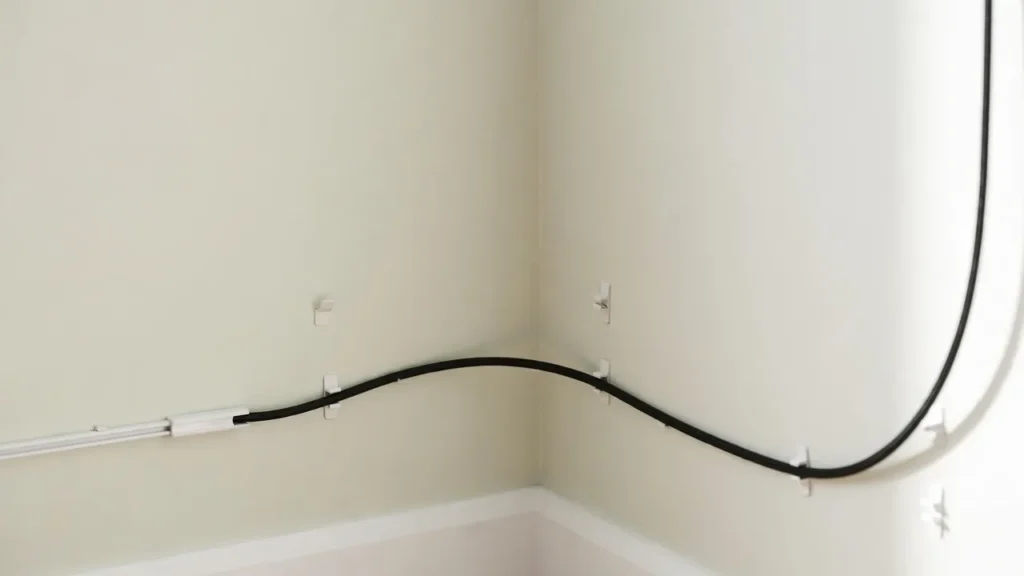
An internal corner usually gives you the most room. Bring the cables in with a gentle curve, not a sharp right angle, and add a clip on each wall close to the corner. If you are using a raceway, end one section just before the corner and start the next just after it.
External corners
An external corner is harder: the cable needs more length and support, and is more exposed to knocks from feet and chair legs. Add a clip on each face close to the corner and keep the bend wide. If a flat raceway will not sit flat on a deep moulding, mount it on the wall above the skirting.
Step 6: Door Frames, Gaps and Crossing the Room
Never run a cable under a door, across a threshold at floor level, or through a gap where the door closes on it. A cable trapped under a door will be damaged over time, and it creates a trip hazard every time someone steps over it.
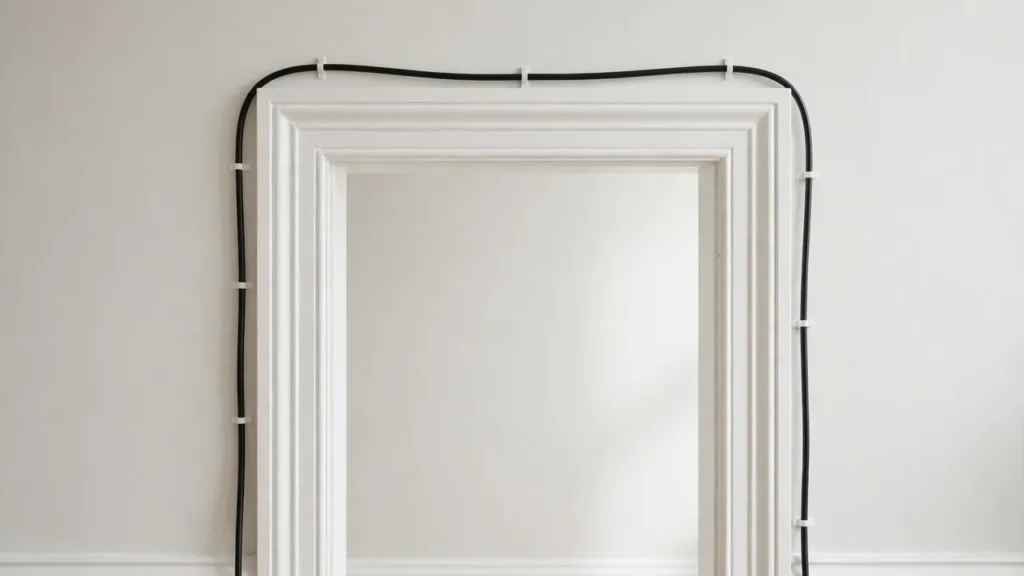
Go over the door frame instead, following the architrave up one side, across the top, and down the other side, using adhesive clips and keeping the bend at the top gentle. The architrave is often deeper than the skirting, so add a clip just before the frame and another just after it.
Bridge other gaps above floor level with clips on the wall, rather than dropping the cable to the floor. To reach a desk away from the wall, move the desk closer instead: a cable across open floor is a trip hazard.
Step 7: Bridging the Gap Between Desk and Wall
Check how big the gap is first. A desk hard against the wall may leave only a centimetre or two, enough for cables to drop straight down. A desk pulled out for a chair or radiator may leave a much wider gap, and cables crossing it will sag unless supported.
For a narrow gap, bundle the cables loosely and let them drop behind the desk in a gentle curve; one clip above the skirting stops the bundle swinging. For a wider gap, add a clip where the cables leave the desk. Do not trap cables between the desk and the wall, or wedge them behind a desk leg.
Keeping Cables Off the Floor
Check the finished run at floor level. No cable should rest on the floor, sag to touch it, or hang low enough for a foot or chair leg to catch it — especially on long runs and around corners. Adding one more clip there is cheaper than replacing a crushed cable. Keep adapters off the floor, where air can move around them, and do not cover one that gets warm.
Cost-Conscious Alternatives
Adhesive clips are the cheapest option for a short run. A raceway costs more but covers several cables at once, so compare it with the price of enough clips for the same bundle. Before you buy, check what you already have: spare ties, a leftover sleeve, or a short length of raceway can often be reused.
Common Mistakes to Avoid
- Pulling cables tight: tight cables tug at plugs, wear at bends, and pull clips off. Leave slack at each end and at every corner.
- Trapping cables at the floor: never push a cable into the gap where skirting meets the floor, under the board, or behind it.
- Running cables under doors: a cable under a door will be crushed, and one across a doorway is a trip hazard. Go over the frame.
- Skipping cleaning: adhesive on a dusty, greasy, or flaking surface will peel away, often overnight.
- Overloading clips or a raceway: check the weight rating and size. A bundle too heavy or thick for its fixing will sag.
Troubleshooting
Clips keep falling off. The surface may be dusty or flaking, the adhesive may not have cured, or the profile may be too curved. Clean the surface, leave clips empty for the full curing time, and try a larger pad — or move the clips to the flat wall just above the skirting.
The raceway lid will not close. The raceway is probably too small, or a cable is sitting across the channel. Remove one cable and route it separately, or move to a wider raceway.
Cables sag between clips. The clips are too far apart for the bundle. Add a clip halfway between each pair, or switch the heaviest cables into a raceway.
Frequently Asked Questions
Can I run desk cables along skirting board in a rented home? Yes, if you use removable fixings such as adhesive clips or a self-adhesive raceway, test the adhesive on a hidden spot first, and check your tenancy terms. Avoid screws or nails, and keep the removal instructions.
Is it safe to run a power cable along a skirting board? Yes, if the cable is in good condition, is not trapped where the skirting meets the floor, is not run under a door or where it can be crushed, and is not overloaded at the socket. Do not daisy-chain power strips or cover an adapter that gets warm. If you need fixed wiring work, ask a qualified electrician.
Measure the route, check the profile, choose a fixing that suits the surface and the weight of your cables, and treat each corner and door frame as its own step. Keep the cables off the floor, leave them slack, and never trap them where the skirting meets the floor or under a door.