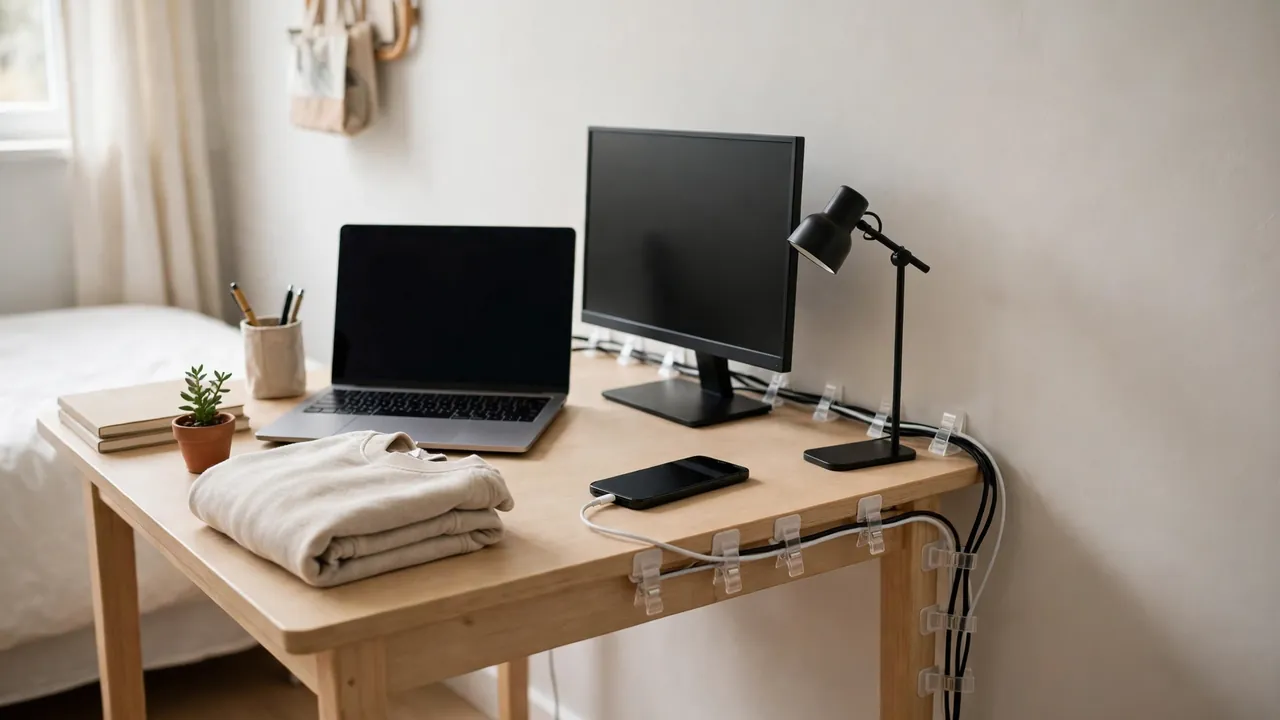
The simplest student desk cable management fix is to give every cable one short route: plug a single power strip directly into the wall socket, run the cables along the back edge of the desk and down one leg, and hold them with removable adhesive clips and reusable hook-and-loop ties. That takes most setups from a tangled pile to a tidy desk in under an hour, costs very little, and leaves no deposit damage.
Student rooms make this different from a home office. The desk is usually small and supplied by the halls or landlord, and you cannot drill or screw into it. The room is small or shared, so a cable on the floor is a trip hazard.
What a Typical Student Desk Setup Looks Like
Before buying anything, count what you actually plug in. A typical student desk has a laptop charger, a phone charger, a desk lamp, and often one extra device: a monitor, a games console, speakers, or an occasional printer. That is four or five plugs, plus a USB cable or two.
Also note where the wall socket is: behind the desk, beside it, or low on the wall a metre or more away. If it is to one side, plan the run along the skirting board, and check the strip lead is long enough. Never fix a short lead by plugging one strip into another. Finally, check the desk top — laminate, wood, metal, or glass — and whether it sits against a wall or in the middle of the room, where the back is visible.
What You Need (and What You Can Skip)
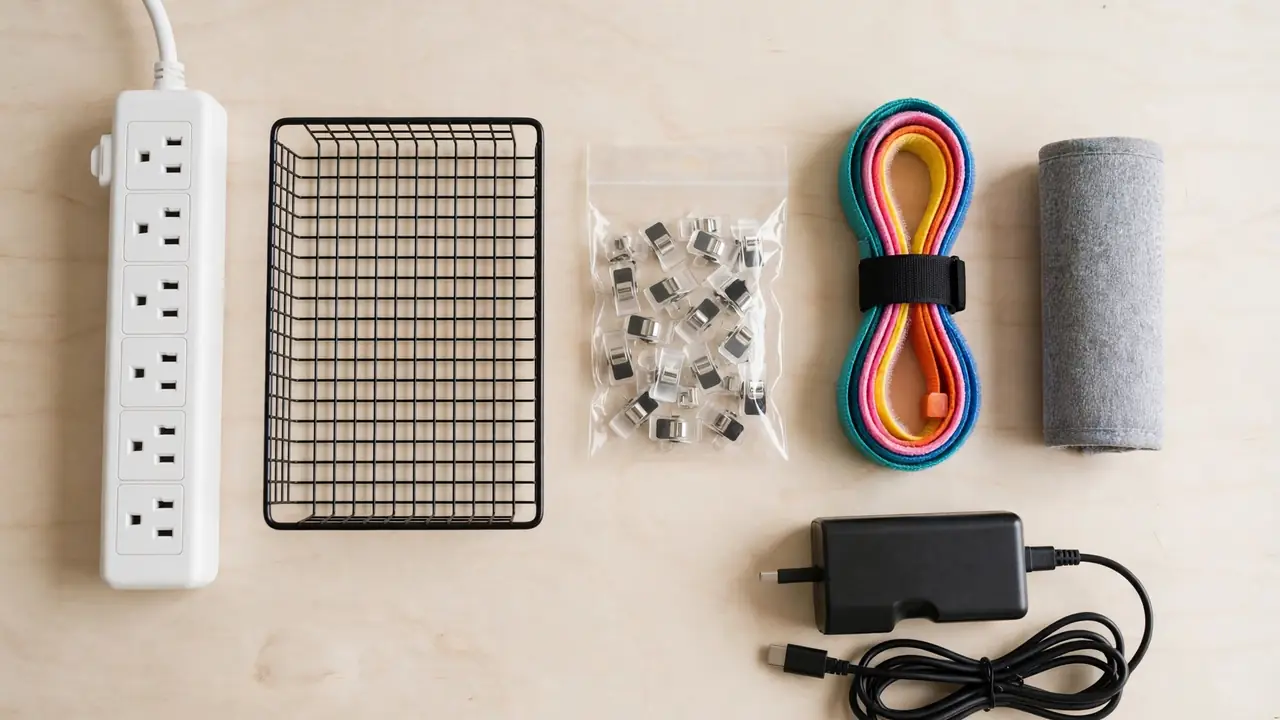
You do not need a full cable management kit: five inexpensive items cover most student desks. First, a power strip with enough sockets for everything and a lead long enough to reach the wall socket.
Second, a small tray, basket, or fabric pouch under the desk to hold the strip and the slack. Third, removable adhesive clips for one or two cables each, to guide cables along the back edge. Fourth, reusable hook-and-loop ties, which open again when you add a cable. Fifth, a short cable sleeve for the drop to the floor, if the back of the desk is on show.
Skip a second power strip, a large tray meant for a home office, and any fixing that needs screws or drilling. A cable box with a lid only works if it is ventilated; a sealed box that traps heat is worse than no box at all.
Plan the Route Before You Stick Anything Down
A good route has three parts: across the back of the desk, down one leg, and along the skirting board to the socket. Everything plugs into the strip, and the cables travel together along that one path. Nothing crosses the floor, and nothing is pulled tight.
Place the strip first, under the back edge of the desk and close to the side nearest the wall socket, with the switches facing you. If you have a tray, the strip goes in there. If not, it can hang from two removable adhesive hooks rated for its weight, or sit on the floor behind the desk leg.
Next, lay the cables in position without fixing anything. Put each device where you actually use it, plug it in, and let the cable fall naturally. Leave a gentle loop of slack, roughly a hand’s width, near each device and near the strip, so you can move a laptop without tugging the whole bundle. Then pick the drop: the desk leg nearest the wall socket.
Step by Step: Tidy a Student Desk in Under an Hour
Step 1: Unplug everything and start clean
Unplug every cable, clear the desk, and untangle the pile. Wipe the back edge of the desk and the leg where clips will go, because adhesive sticks poorly to dust. Check each cable for damage: frayed insulation or a bent plug means it should be replaced.
Step 2: Fit the strip and the tray
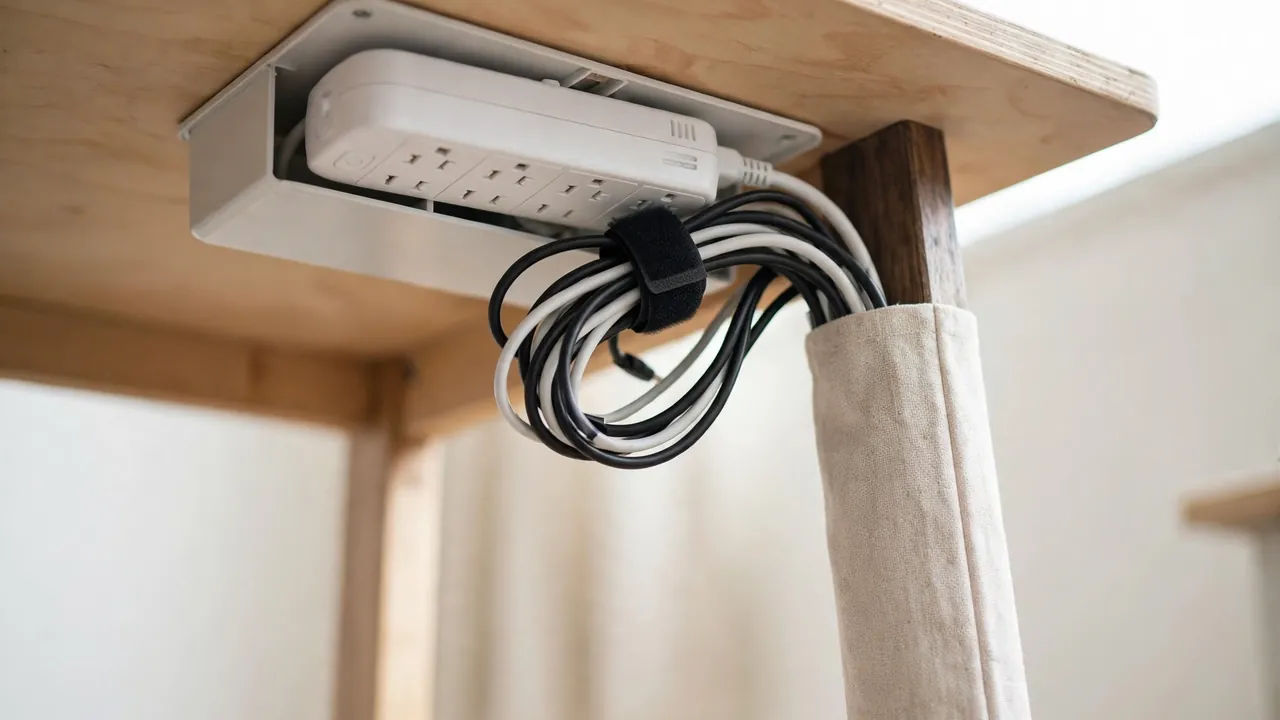
Fit the tray first, following the manufacturer’s instructions, then place the strip inside it. Leave adhesive hooks for the recommended time before hanging any weight on them. Plug the strip directly into the wall, never into another strip, and never beyond its printed rating.
Step 3: Route the cables along the back edge
Plug each device into the strip, then guide its cable along the back edge with clips spaced about a hand’s width apart. Keep the route flat, with no sharp bends where a cable enters a clip. Leave the phone cable slightly longer at the desk end so you can pick the phone up while it charges.
Step 4: Bundle the slack and drop it down one leg
Gather spare cable into a loose loop under the desk and hold it with a hook-and-loop tie. Do not wind spare cable tightly around an adapter or coil it into a hard knot: tight coils trap heat and stress the cable. Bring the bundle together and run it down the chosen leg in a sleeve or with clips.
Step 5: Sort the charging corner
Most student desks end up with a charging corner: phone, earbuds, maybe a tablet or controller. Keep those cables together at one end of the desk, with a short USB cable for each device. Do not stack chargers or bury them under books and clothes, because chargers need air around them.
Step 6: Test it like you live with it
Test the setup as you will actually use it. Sit down, pull the laptop forward, pick up the phone, and move the chair in and out. Does anything pull tight or catch on a chair wheel? Push the desk out from the wall and back again: nothing should tug or snag.
Dealing With Limited Sockets in Halls and Shared Flats
Limited sockets are the most common student room problem, and the answer is almost always one good strip, not more adapters. Choose a strip with at least one spare socket, so adding a device later does not mean unplugging something else. A USB charging hub can take the phone, earbuds, and tablet off the mains sockets entirely.
Be careful in shared flats. Do not run a cable from your room into a hallway or another room, and do not share a strip between two desks. Do not unplug a heater or fridge to make room, and do not use a multi-way adapter that is not rated for the load. If you do not have enough sockets for safe use, raise it with your landlord or accommodation office. Fixed wiring is a job for a qualified electrician.
Student Desk Cable Management on a Budget
A basic power strip, a pack of adhesive clips, and a pack of hook-and-loop ties together usually cost less than a takeaway, and they do most of the work. A small tray is the next purchase, worth it if your strip currently sits on the floor collecting dust. Moving the desk closer to the socket removes trailing cable for free, and putting rarely used devices such as a printer on a shelf, plugged in only when needed, frees a socket. When you buy, check clip size and adhesive weight rating against your bundle.
Monitors, Consoles, and Laptop Chargers
A monitor adds a power cable and a video cable, usually HDMI or DisplayPort. Route them together along the back edge, loosely separated so the video cable is not crushed, with enough slack to tilt the monitor. A games console also needs airflow: never put one in a closed cable box, under cables, or against a wall with its vents covered.
Removable Fixes That Will Not Cost You Your Deposit
Take adhesive clips off slowly, pulling the tab in the direction the instructions show, not ripping the clip off the desk. Heat from a hairdryer on a low setting can soften adhesive, but test it on a hidden corner first. Before fitting anything, check what your tenancy or halls agreement says about adhesive fixings: most allow removable products, but some forbid anything stuck to furniture or walls. If you are unsure, use fixings that clamp or hang rather than stick.
Common Mistakes in a Student Room
Buy before planning, and you end up with a tray that does not fit, clips too narrow for a laptop charger, or a strip whose lead is too short. Measure first and buy second. Hide cables so well you cannot reach them, and they will be ripped out the first time a cable fails: build for change, with reusable ties and clips you can open. Ignore heat, and an adapter buried in a packed tray or sealed in a closed box can overheat. Treat a strip as unlimited, and you risk overloading it: keep heaters and kettles on their own wall socket, and never daisy-chain strips.
Troubleshooting: When It Keeps Going Wrong
| Problem | Likely cause | Fix to try |
|---|---|---|
| Clips fall off | Dusty or textured surface, or bundle too heavy | Clean the surface, use fewer cables per clip, or switch to a clamp clip |
| Cables slide off the desk | No clip at the back edge | Add a clip at the edge; leave more slack at the desk end |
| One device keeps unplugging | Its cable is pulled tight when the device moves | Add a slack loop near the device; loosen the nearest tie |
Moving Out: Taking It All Down in Minutes
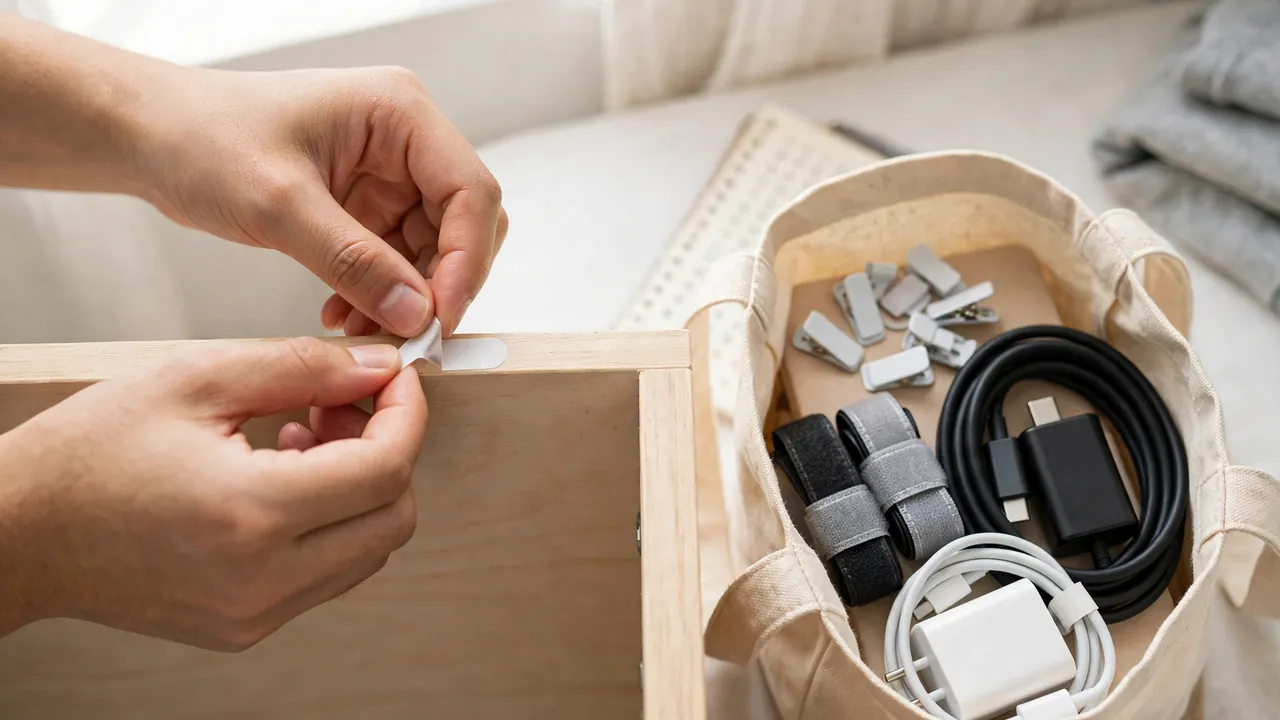
Keep a small bag for the clips and ties so they travel with you to the next room. When the term ends, unplug everything, remove the clips slowly following the manufacturer’s instructions, and wipe the desk surface. Do not leave cables behind in a shared flat, and do not leave a power strip plugged in when you go.
Frequently Asked Questions
How many sockets does a student desk need?
Most student desks need four or five mains sockets: laptop, phone charger, lamp, and one or two extras for a monitor, console, or speakers. A strip with six sockets and at least one spare is a good choice.
Can I use adhesive clips in halls or a rented flat?
Usually yes, if the product is designed to be removable and you follow the manufacturer’s removal instructions, but check your tenancy or halls agreement first. If you are unsure, use clamp-on or edge-mounted fixings that do not use adhesive at all.
Is it safe to put a power strip under a desk?
Yes, if the strip is plugged directly into the wall, kept within its load rating, and given air around it. Do not daisy-chain strips, do not cover the strip or its adapters, and keep the strip where you can reach its switches. If the strip or any adapter feels hot, smells strange, or looks damaged, stop using it.
A tidy student desk is not about buying the most equipment. It is about one short route, one strip plugged directly into the wall, removable fixings you can take down at the end of term, and enough slack and air for everything to work safely.