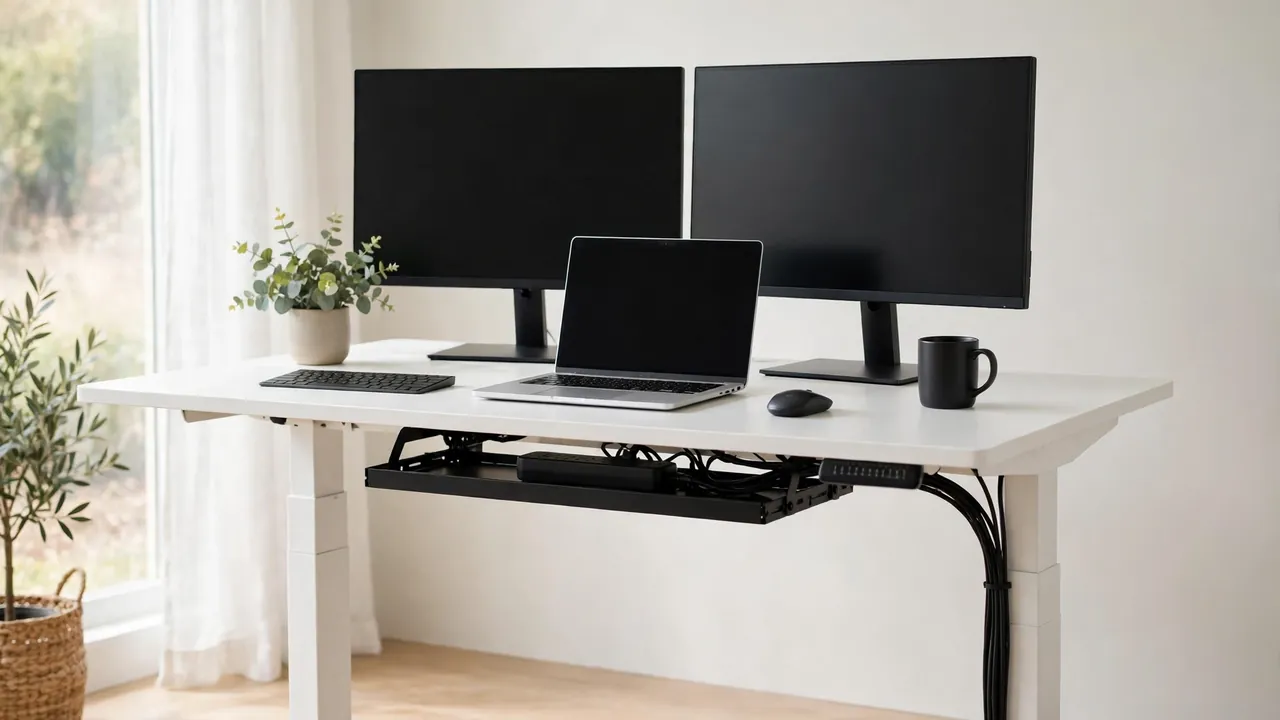
A standing desk cable checklist, in brief: count and label every cable before assembly, plan a route clear of the lifting columns, crossbar and motor, leave slack for the full height range, seat every plug fully, keep the strip’s switch reachable and adapters ventilated, and test the desk up and down — empty, then loaded — before you call the job done. Recheck after a week.
On a height-adjustable desk, every cable attached to the desktop must move with it. A cable slightly too short is yanked from a monitor or pinched in a column the first time you raise the desk. Most problems come from setups tested only at sitting height — an hour of planning and testing before first use prevents them.
What You Will Need
- A tape measure, for cable runs and the desk’s height range.
- Labels or masking tape and a marker.
- Reusable hook-and-loop cable ties.
- Adhesive clips or a screw-on tray — check the weight rating first.
- A cable sleeve or spine (optional).
- A power strip with enough sockets.
- A torch, for checking under the desktop.
Masking tape labels as well as printed ones. If your desk came with a tray or spine, use it first — it was designed for your frame.
Step 1: Plan Before You Assemble
Read the manufacturer’s guidance first: frames differ, so note where the lifting columns, motor, control box and handset cable are — the parts cables must never touch.
Decide where the desk will stand before assembling it. Measure the distance to the wall socket at both the lowest and highest settings — a desk close to a socket at sitting height may be much further from it when raised. Keep the route away from walkways and chair wheels.
Decide where each device will live: monitors, dock, lamp, speakers and chargers each add at least one cable. Sketch the layout on paper — two minutes that prevents placing a monitor where its power cable cannot reach the strip. Keep heavy adapters near the strip, and the strip where you can reach its switch.
Step 2: Count, Label and Measure Every Cable
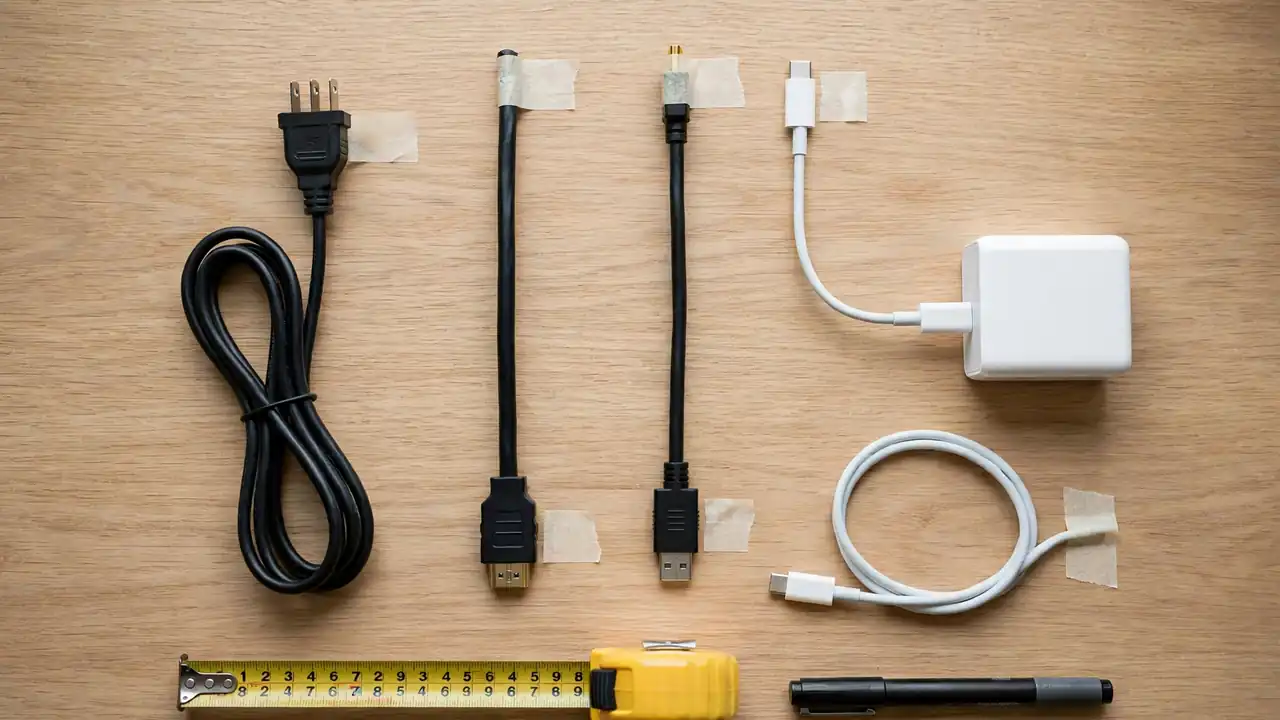
Before assembly, lay out every device and count its cables: monitor power and video leads, laptop charger, dock, keyboard, mouse, lamp and phone charger — plus the desk’s own power and handset cables; the forgotten one is usually the second monitor’s video lead.
Label every cable at both ends before routing. A flag of masking tape reading “Monitor 1 — power” takes seconds and saves frustration when you need to unplug one device without disturbing the rest.
Then measure each cable: does it reach from its device to the planned strip position with slack to spare at full height? If one is too short, replace it now, or move the device or strip closer — do not stretch a short cable into place. A cable under tension pulls on its plug and fails first when the desk rises. The extra length needed varies by desk, so Step 4 gives a test, not a single number.
Step 3: Plan the Route — Keep Cables Clear of Moving Parts
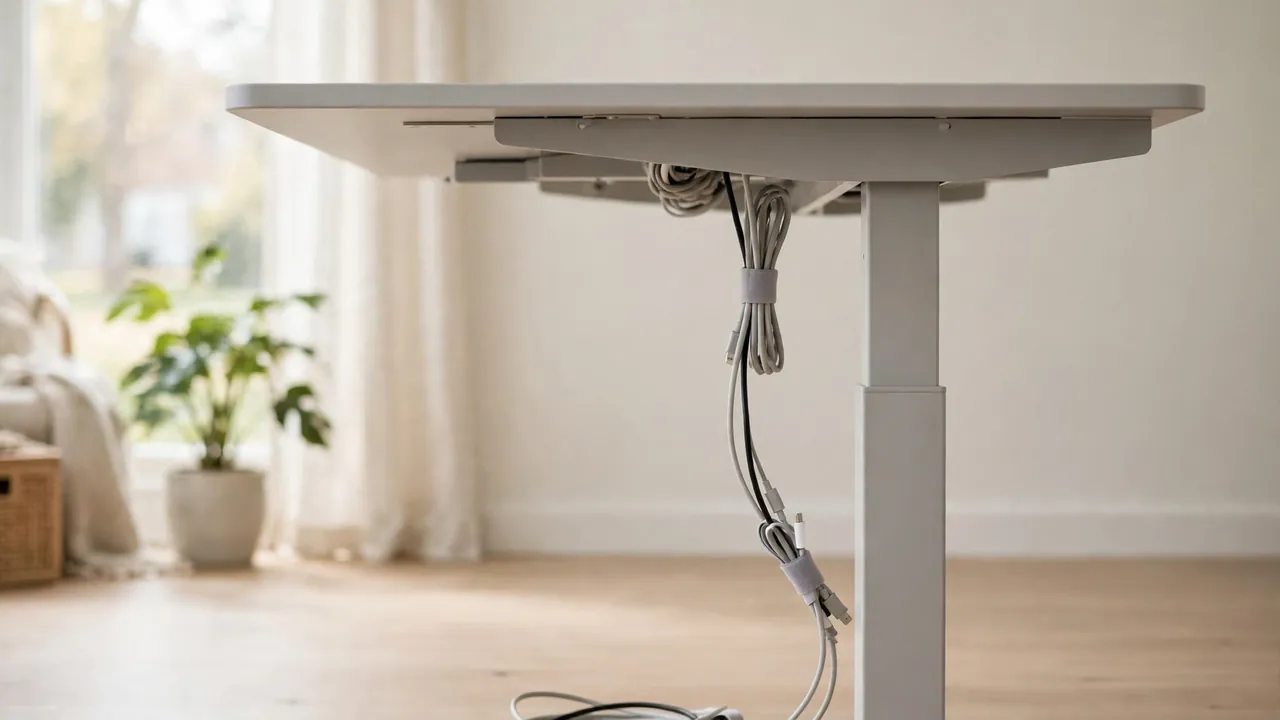
Plan one route: gather cables into a tray or along the back edge, run the bundle down one leg — or through a spine — to the floor, then along the skirting board to the socket.
Golden rule: no cable should touch a lifting column, the crossbar, the motor or the control box — those parts move, and anything on them will be pinched or dragged. Check at the lowest setting, when the gap under the desktop is smallest; shine the torch underneath and move any cable without a clear gap.
Keep power and data cables loosely separated: thick mains leads are heavy and stiff; thin video and USB cables are light and easily crushed. Power on one side of the tray and data on the other, with gentle bends everywhere — a sharp bend where a cable enters a clip is a cable under stress. Never run a cable where it will be stepped on. If your desk has a cable spine, use it, feeding cables through loosely with slack inside.
Step 4: Test the Slack at Full Height and at the Lowest Position
Test slack at both ends of the travel before fixing any cable permanently.
- With the desk empty, raise it to maximum height. Every cable should still have a gentle loop or droop, and no plug should feel tight when wiggled. A cable straight as a bowstring is too short — replace it or move the strip.
- Lower to minimum height: cables may bunch or press against the crossbar. Gather excess into a wide, loose loop — never a tight coil — and check nothing is pinched.
- Watch the bundle as the desk moves through the whole range: cables catching on a column, snagging on a screw head, or rubbing the crossbar — a faint scraping sound is a cable rubbing where it should not.
- Put a hand on each plug as the desk moves: a plug that shifts or tilts is being pulled — reseat it, add slack, or reroute.
Do not apply a fixed slack length to every desk; the right amount depends on height range, strip position and route. The test is the method: slack at the top, no pinching at the bottom, no pulling in between. A cable that passes at both extremes has enough slack.
Mount the strip under the desktop in a travelling tray and only its mains lead must cope with the height change; a floor strip works too, but then every cable must cope with the full range.
Step 5: Power Safety Checks
Work through these with the power off.
- Every plug fully seated. Push each plug firmly home and give it a gentle tug: it should not slide out. A half-seated plug can arc or work loose when the desk moves.
- No daisy-chaining. The strip plugs directly into a wall socket — no strip into a strip, no extension lead feeding another. If you need more sockets, buy a strip with enough outlets.
- Load within rating. Check the rating printed on the strip and add up what is plugged into it. Heaters and kettles do not belong on a desk strip.
- Adapters ventilated. Adapters generate heat and need air around them: let each sit flat in a ventilated tray with space around it. Never cover one with fabric, bury it under cables, or seal it in a closed box. If one feels uncomfortably hot, unplug it.
- No crushing or pinching. No cable under a desk leg, through a closing gap, or across a sharp edge. Recheck where cables pass the columns at the lowest setting.
- No trip hazards. The run from desk to socket follows the skirting board or one leg, never across a walkway.
- Handset cable routed clear of the columns with its own slack. This thin cable is easy to overlook; pulled tight, the handset can stop working.
For fixed wiring work, ask a qualified electrician. Replace any socket, plug or cable that looks damaged, scorched or cracked before use.
Step 6: Secure and Label the Bundle
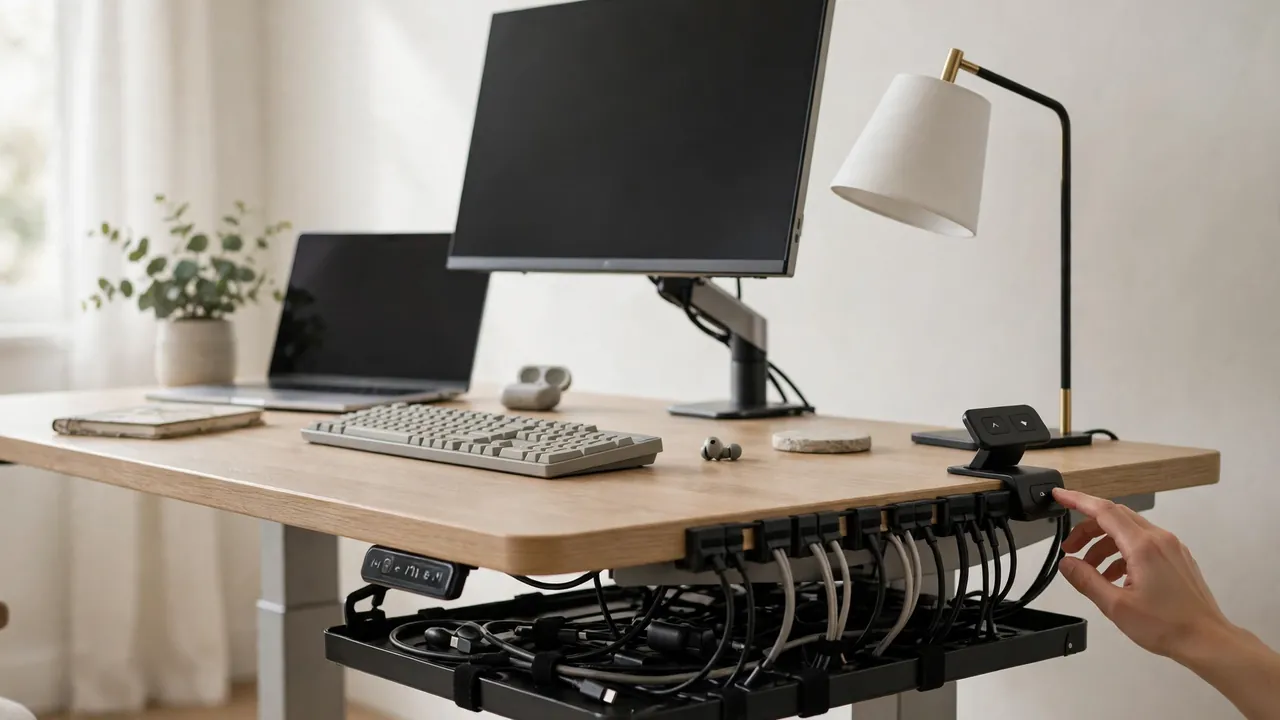
Secure cables only once the slack test has passed. Use hook-and-loop ties, spaced widely and left loose enough that a cable can slide a little inside the tie — that movement lets the bundle flex as the desk rises and falls.
Match fixings to the load: light adhesive clips suit light cables, but on thick power leads they hold for a day, then fail overnight. Check the weight rating, clean the surface first, and test one fixing under load — adhesive grips smooth laminate and painted metal well, and raw wood or textured finishes poorly. For heavy bundles use screws where drilling is allowed, or clamp fixings. Keep the strip switch, every plug and the control box reachable.
Step 7: The Final Full Travel Test — Empty, Then Loaded
Test twice. First, with the desk empty: raise it slowly to full height, watching the bundle — stop if anything pulls or scrapes — then check every plug is seated and nothing touches a column or the crossbar. Lower it slowly and check nothing is pinched.
Then repeat with everything in its working position. Monitor cables are the usual failure: an arm swings and a cable that was fine with the monitor flat suddenly pulls at the top of the travel. Move each monitor through its tilt, swivel and height range at both heights, then work for a few minutes at each. If anything fails, fix it and repeat the whole test.
Common Mistakes and Quick Fixes
- Testing only at sitting height — cables pull taut at full height.
- Routing over the crossbar or columns — pinching and crushed insulation. Route down one leg or through a spine.
- Daisy-chaining power strips — overloaded strip and socket. One strip, plugged directly into the wall, within its rating.
- Covering adapters — heat build-up. Adapters flat in a ventilated tray with air around them.
- A plug working loose — the cable is pulling on it. Add slack or reroute.
What to Recheck After a Week of Use
Cables settle and adhesive cures, so recheck after seven days: run the full range and watch the bundle, check every plug is still seated, press each adhesive fixing for peeling edges, and feel each adapter after a normal session — warm is fine, very hot is not. After that, a quick monthly check is enough.
Printable Standing Desk Cable Checklist
Tick each item off before first use. If an item fails, fix it and retest.
- ☐ Manufacturer’s guidance read; moving parts located.
- ☐ Socket distance checked at both height extremes.
- ☐ Every cable counted and labelled at both ends.
- ☐ Every cable measured — reaches with slack at full height.
- ☐ One route planned, clear of all moving parts.
- ☐ Slack tested at maximum height; no plug under tension.
- ☐ Slack tested at minimum height; no pinching or bunching.
- ☐ Strip plugged directly into a wall socket.
- ☐ Every plug seated; adapters ventilated; strip load within rating.
- ☐ No cable across a walkway or under a chair wheel.
- ☐ Bundle secured with loose ties; fixings rated for the weight.
- ☐ Full travel test passed empty, then loaded; recheck booked.
Frequently Asked Questions
How much slack should a standing desk cable have?
There is no single length for every desk — it depends on the height range, strip position and route. Use the Step 4 test: a gentle loop at maximum height, nothing pinched at minimum height, no plug moving as the desk travels.
Should the power strip go under the desktop or on the floor?
Either works. A strip in a tray under the desktop travels with the desk, so only its mains lead must cope with the height change.
A standing desk is at its best when you never have to think about its cables: press the handset, the desk rises, and everything just works. That is the result of an hour spent before first use.