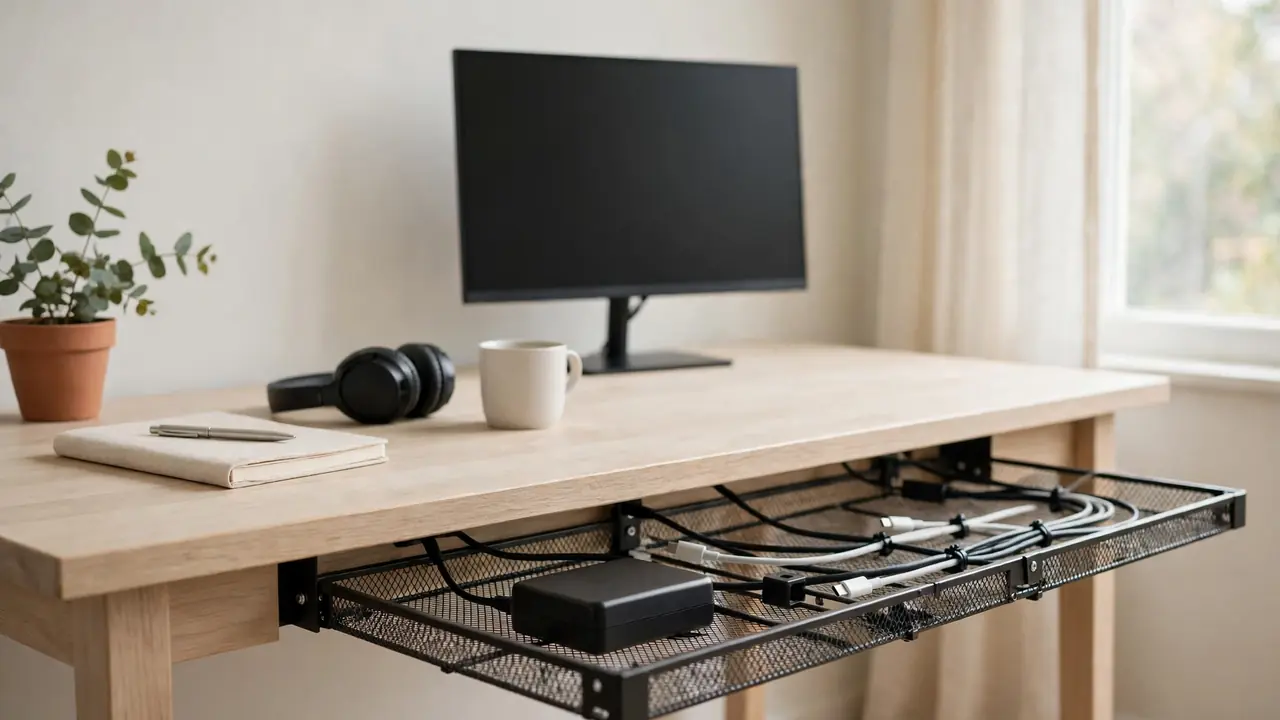
To hide monitor power adapter bricks behind a desk, place each adapter flat in a ventilated under-desk tray or basket, with air flowing freely around it, then route the short DC lead up to the monitor and the mains lead down to a power strip or wall socket, leaving a small slack loop at each end. Never seal an adapter in a closed box, wrap it in fabric, bury it under cables, or tape it where heat cannot escape.
A ventilated tray fixed near the back edge keeps the bulky brick out of sight, supports its weight, and still lets it cool normally. This guide covers one monitor or several, fixed and standing desks, and low-cost options.
Why Monitor Power Adapters Are Different
A monitor power adapter is a small power supply, converting mains electricity into the lower-voltage direct current your monitor needs. That conversion produces heat, which the brick sheds through its casing into the surrounding air. Enclose it, cover it, or pack cables tightly around it, and it runs hotter than intended, which can shorten its life or damage the adapter or monitor.
What You Will Need
- A ventilated under-desk tray, basket or shelf, in metal mesh or ventilated plastic, large enough for the adapter to lie flat with air around it.
- A power strip with a switch, mounted under the desk or placed where it reaches the wall socket without stretching.
- Wide reusable hook-and-loop cable ties, plus small clips for thin data cables only.
- Fixings suited to your desk: screws for solid wood or thick chipboard where drilling is allowed, or a clamp-on tray or heavy-duty adhesive bracket rated for the adapter’s weight.
- A measuring tape, a pencil, and a torch or phone light.
Plan the Route Before You Fix Anything
Unplug the monitor and adapter, then lay everything out behind the desk as it will sit. Start with the adapter, because it is the largest and heaviest item and dictates the route. Check it lies flat in the tray, with at least a finger’s width of clear air around it, and that neither lead bends sharply to reach it. The DC lead should reach the monitor with a gentle curve and a small slack loop, not stretched tight, and the mains lead should reach the power strip the same way.
Method 1: A Ventilated Under-Desk Tray
A ventilated tray is the best starting point for most desks. Look for a metal mesh or ventilated plastic tray wide and deep enough for the adapter to lie flat, with open ends so both leads can enter and leave without sharp bends. A tray around 10 cm deep, at least as wide as the adapter with room to spare, is a useful guide — but trust your measurements: if the adapter only just fits, the tray is too small.
Fix the tray horizontally along the back edge, using screws if possible, so the DC lead drops straight down into it. If screws are not an option, use a clamp-on tray or a heavy-duty adhesive tray rated for the full weight of tray, adapter and cables. Follow the manufacturer instructions exactly, including any waiting time for adhesive to cure, and tug each fixing firmly before trusting it. Place the adapter flat, casing fully exposed to air, with no cables piled on top. Use wide hook-and-loop ties loosely, and do not force a lid shut over a full tray. A ventilated basket behind a desk leg is a no-fixings alternative for larger adapters, provided it is open mesh, never a lidded box, and the adapter lies flat with air around it.
Method 2: A Small Shelf or Bracket
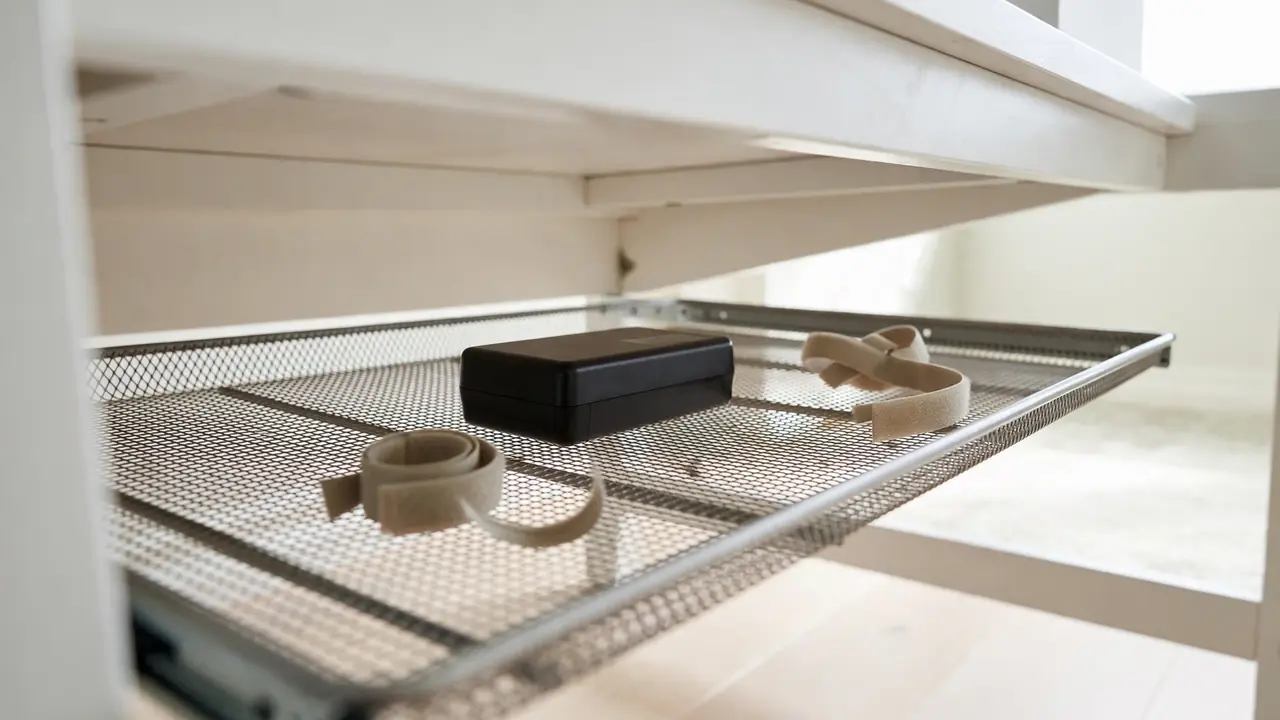
A small shelf or bracket works well when a tray is not suitable — for example on a thin desktop, or where a modesty panel blocks a tray. Look for a ventilated shelf or a bracket designed for power adapters, with a flat base, raised edges or a strap to stop the brick sliding off, and open sides for airflow. Avoid solid, enclosed shelves with no ventilation, and brackets that hold the adapter vertically against a surface where one face is pressed flat and cannot lose heat.
Fix the shelf to the underside or back edge, using screws where possible, and check the weight rating carefully. An adhesive-only bracket needs a rating comfortably above the adapter’s weight, because heat and dust weaken adhesive over time. Fasten any strap snugly enough to stop sliding, but not so tightly that it squeezes the casing. A shelf keeps the adapter separate from other cables, making it easy to check and remove — but choose one the whole adapter sits on, with a small margin all round.
Routing the DC Lead and the Mains Lead
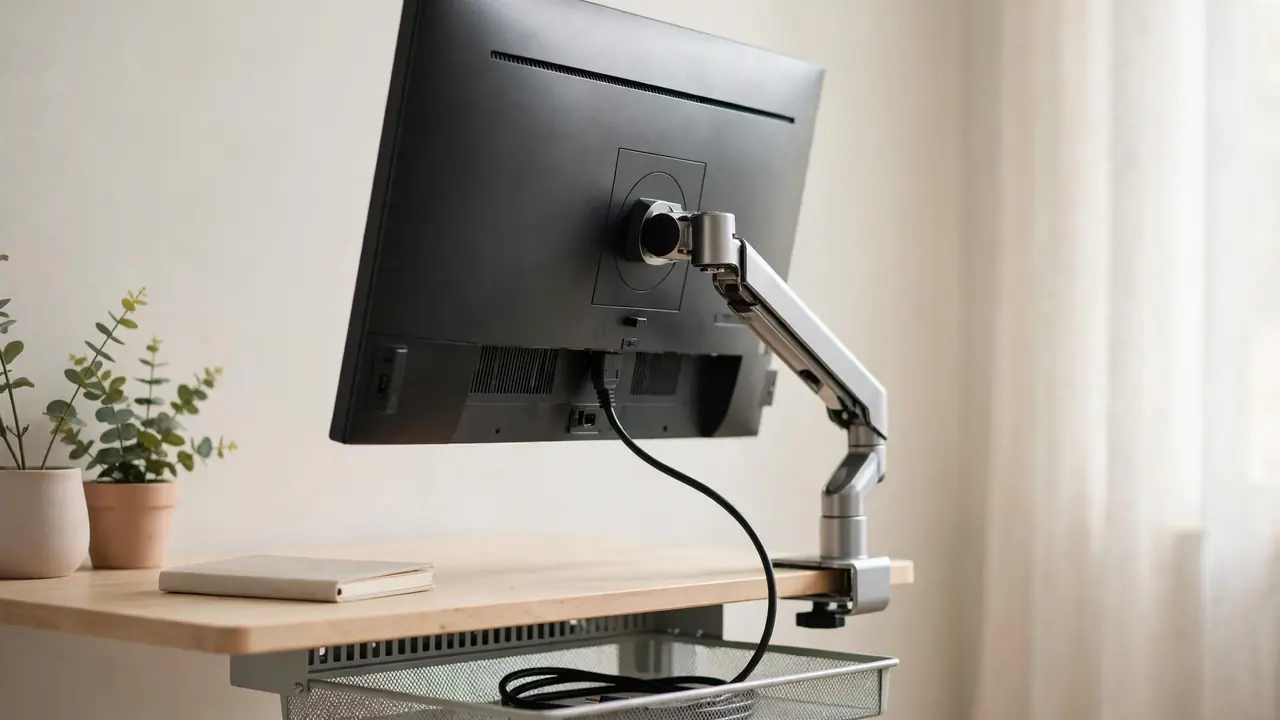
Route the two leads separately. Run the DC lead from the adapter up to the monitor in a gentle curve, with no sharp bends at the plug, and leave a small loop of slack near the monitor so it can tilt, swivel or move on its arm without pulling the connector. If the monitor sits on an arm, leave extra slack for its full range of movement, and check the lead at the highest and lowest positions. A lead that is taut at one end of the arm’s travel will work loose or strain the socket over time.
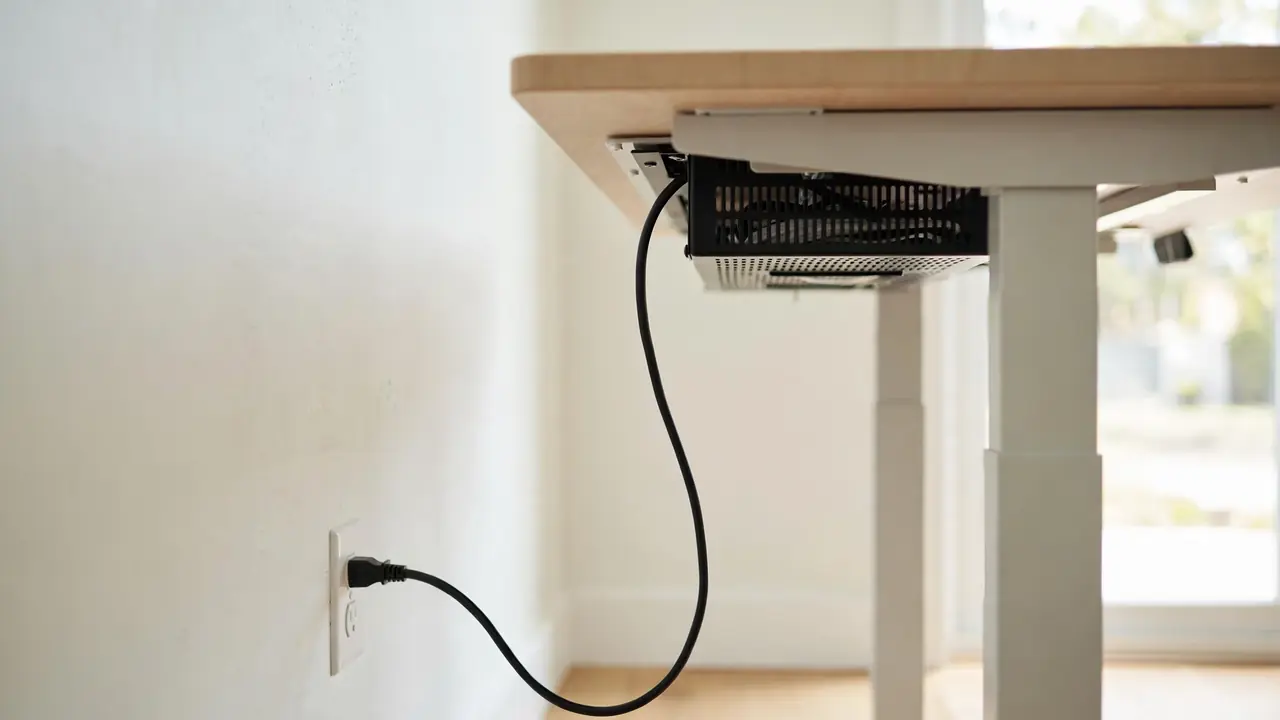
Then route the mains lead from the adapter to the power strip or wall socket. Keep it in the tray for the horizontal run, then drop it once to the floor, down a desk leg or inside a loose sleeve, clear of chair wheels and feet. Do not run it across a walkway, under a rug where it can be crushed, or through a gap where a drawer or moving part can pinch it. Plug the power strip directly into a wall socket — never plug one strip into another — and keep the total load within the rating printed on the strip. If you need more sockets, buy a larger strip or ask an electrician about adding a socket.
Hiding Adapters for Two or More Monitors
Multiple monitors mean multiple adapters, and the most common mistake is to stack them or squeeze them into a tray meant for one. Give each adapter its own ventilated space, side by side in a wide tray or on separate shelves, with a gap between them so air can move around each one. If your tray is too small for two, use a second tray or shelf rather than forcing both into one space.
Standing Desks: Keeping Adapters Safe When the Desk Moves
A standing desk adds one demand: everything under the desk moves up and down, so the adapter and its leads must move with it without pulling, snagging or dropping. Fix the tray or shelf firmly to the moving desktop, not to a fixed leg or the floor, so the adapter rises and falls with the desk. Use screws rather than adhesive where possible, because repeated movement and vibration can loosen adhesive over time.
Leave a generous service loop in the mains lead between the desk and the wall socket — a loose, hanging loop that lengthens as the desk rises and shortens as it lowers, without ever pulling taut. It should hang freely, clear of the floor at the lowest height and clear of the desk frame at the highest, and not catch on chair wheels or the desk’s mechanism. Test the full range, watching the leads at each end of the travel, and check the fixings again after the first week, then every few months.
Checking Warmth, Dust and Wear
Once the adapter is hidden, do not forget about it. Check it after the first day, then once a month, by touching the casing carefully after the monitor has been on for a while. It should feel warm, but not so hot that you cannot keep your hand on it comfortably. If it feels unusually hot, smells of burning, makes a buzzing or crackling sound, or shows damage such as a melted casing, a frayed lead or a loose plug, unplug it from the wall socket straight away and stop using it. Do not open the adapter yourself, and do not try to repair it: contact the monitor manufacturer for a replacement, using the model details on the adapter label. Wipe dust from the tray and casing every few months, as dust insulates the brick and reduces airflow.
Cost, Alternatives and Common Mistakes
You do not need an expensive system to hide monitor power adapter bricks well. A single ventilated mesh tray and a pack of wide hook-and-loop ties is the cheapest effective setup for one monitor, and a second tray or small shelf is the only extra cost for a second. Spend first on the tray and its fixings, where failure causes the most mess, and on a decent power strip with a switch. Avoid the cheapest adhesive trays unless their weight rating comfortably covers your adapter.
Troubleshooting
Adapter feels very hot? Unplug it, let it cool, and check it has clear air around it, is not covered or stacked, and is not sitting on a power strip or another warm device. If it still runs unusually hot in open air, contact the manufacturer. Tray keeps falling down? The fixings are not rated for the weight, or the surface was dusty or greasy. Clean the surface, check the weight rating, and switch to screws or a clamp-on tray. DC lead keeps working loose? There is not enough slack, or the lead is pulled by the adapter’s weight. Add a slack loop near the monitor and support the lead so its weight does not hang from the plug.
Frequently Asked Questions
Can I put a monitor power adapter in a closed cable box? No. A closed box traps heat and restricts airflow, which is unsafe for a warm power adapter. Use an open ventilated tray, basket or shelf instead. Can I wrap an adapter in fabric to hide it? No. Fabric insulates the adapter, traps heat and can be a fire risk. Can I tape or glue an adapter under my desk? It is not recommended. Tape and glue block airflow on one face, may not hold the weight, and leave residue. Can I use the same adapter for a different monitor? No, unless the manufacturer states it is compatible. Adapters are matched to their monitor, and the wrong one can damage the screen. How much slack should I leave? Enough for the monitor to tilt and swivel freely — a hand-width loop at each end is a useful guide.
To hide monitor power adapter bricks well, give each one a ventilated home under the desk, route its two leads with slack and gentle bends, keep it separate from thin data cables, and check it now and then for warmth and dust. The result is a desk that looks tidy from the front, with nothing overheating, pulling loose or waiting to fall behind it.