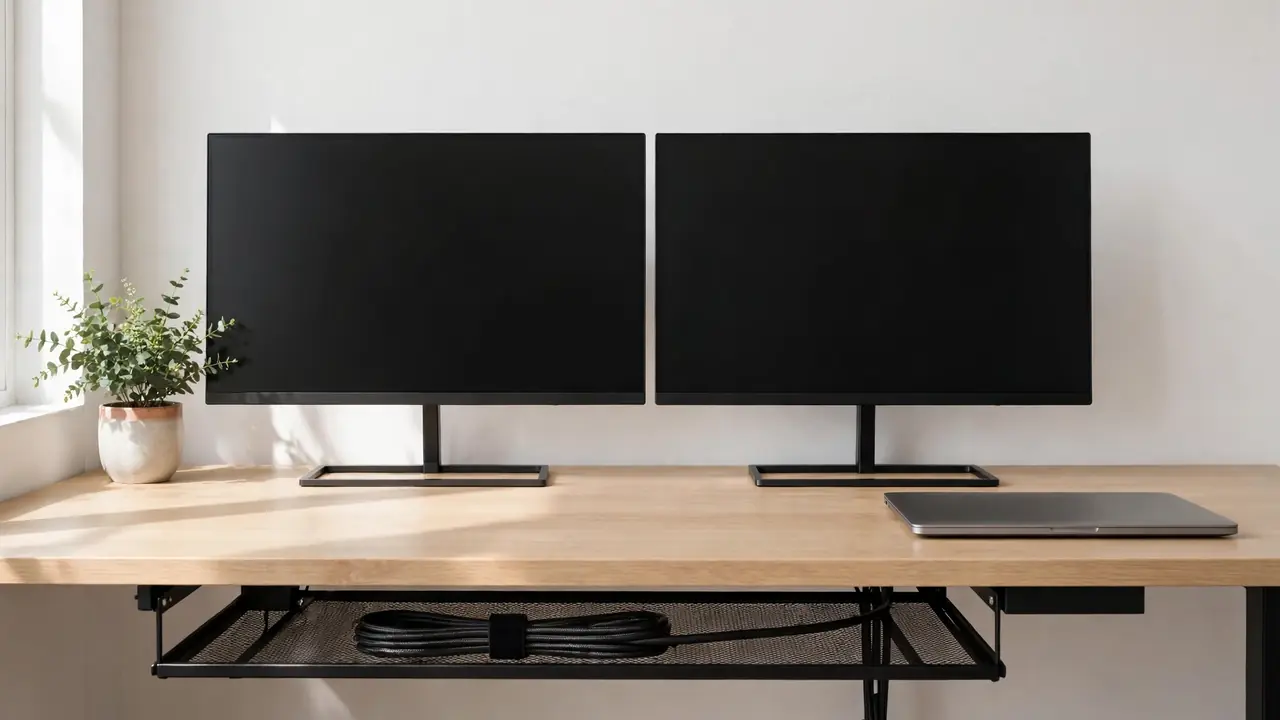
The simplest way to hide cables on a dual-monitor desk is to run every cable from both monitors into one shared route: a cable tray or sleeve under the back edge of the desk, with the power strip inside it and one neat bundle dropping to the wall socket. Unplug everything, group the cables by monitor, route them together, and leave a little slack at each end.
Dual-monitor setups go wrong because each monitor adds a power cable and a video cable, and often a USB cable too. That is six cables before you count the computer, speakers and chargers, and they tangle because they are plugged in one at a time, over weeks, without a plan. This guide gives you that plan for dual monitor cable management.
What You Will Need
Most of this is inexpensive, and you may already own some of it.
- A cable tray or basket: long enough to hold your power strip and both monitors’ adapters.
- A power strip with enough sockets: count every plug first, then choose one with at least two spare sockets.
- Reusable hook-and-loop cable ties: for bundling cables. Avoid single-use zip ties, which you must cut off to change anything.
- Adhesive cable clips: to guide cables along the underside and up to each monitor.
- A cable sleeve or split tubing: to turn the run from the tray to the wall into one tidy tube.
- Video cables of the right length: DisplayPort or HDMI cables that reach with slack. Short cables pulled tight cause loose connections.
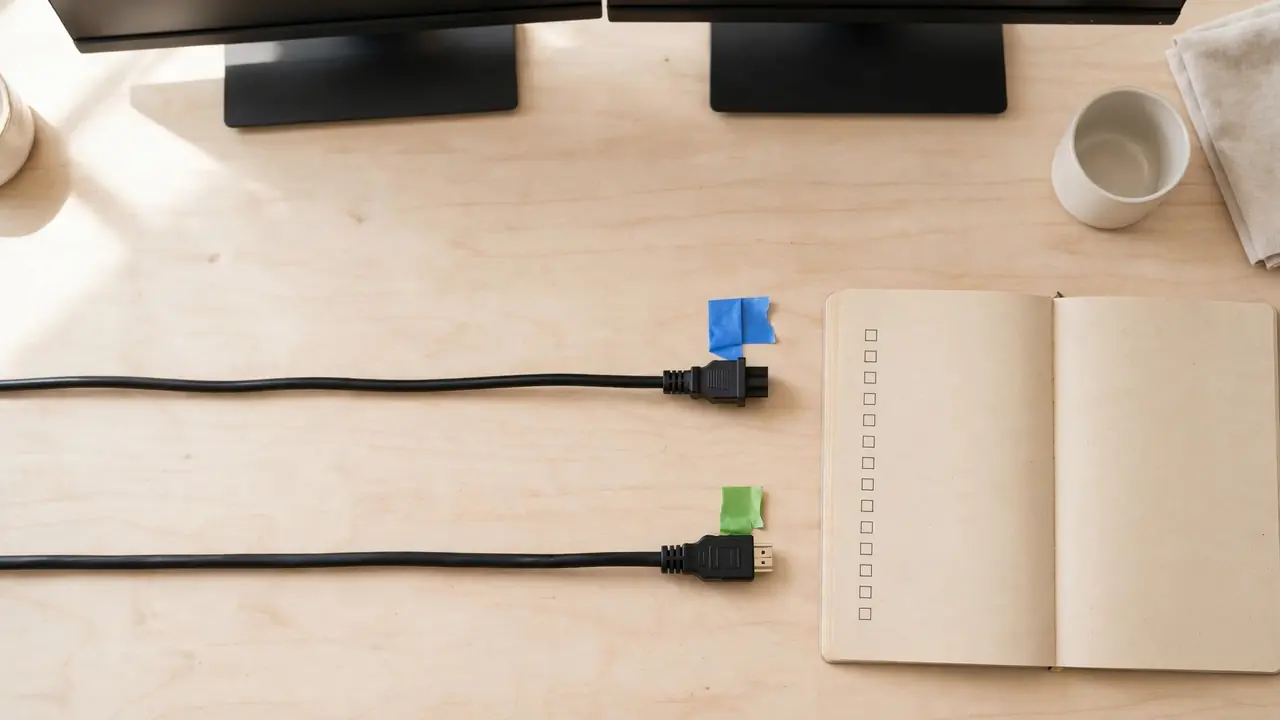
- Coloured tape or small labels: to mark which cable belongs to the left monitor and which to the right.
Check the weight rating and surface guidance on any adhesive product before you buy it. A clip rated for a thin charging cable will not hold a thick monitor power cable, and adhesive bonds poorly to dusty, waxed or rough surfaces.
Step 1: Map Every Cable Before You Move Anything
Switch everything off and unplug every cable from the wall and from each device. Working around live cables under a desk is awkward, and unplugging lets you untangle the whole mess and see exactly what you are dealing with.
Lay the cables out and follow each one from plug to device. A typical setup has two power cables and two video cables, plus a USB cable from each monitor’s hub, a cable to the computer, and cables for speakers or a webcam. Write the list down — it is easy to forget the small ones until they dangle behind the desk again.
While the cables are out, check them for damage: frayed insulation, cracked plugs, bent pins or exposed wires. Damaged cables should be replaced, not hidden, because hiding them makes the damage harder to spot. Also check each cable is long enough to reach the tray and its socket with slack to spare.
Decide which monitor is which. The left and right monitors usually have identical cables, which is why people unplug the wrong one later. Wrap coloured tape around each end of the left monitor’s cables, and a different colour around the right monitor’s.
Step 2: Choose One Shared Route for Both Monitors
The core idea of dual monitor cable management is that both monitors share one route instead of each having its own. Pick it before you plug anything in: from each monitor, down to the back edge of the desk, along the underside to the centre, and then down to the wall socket.
The centre of the desk is usually the best meeting point, because it sits between the two monitors and keeps both runs short and symmetrical. If your computer sits to one side, or your wall socket is at one end, shift the meeting point toward that side. The rule is simple: the shortest tidy route both monitors can share.
Think about how the cables reach the route. Monitors on stands send their cables straight down the back of the stand. Monitors on arms send them along the arm. Monitors on a riser send them down behind the shelf. Each works, as long as the cables join the shared route rather than hanging free.
Step 3: Put the Power Strip in the Tray
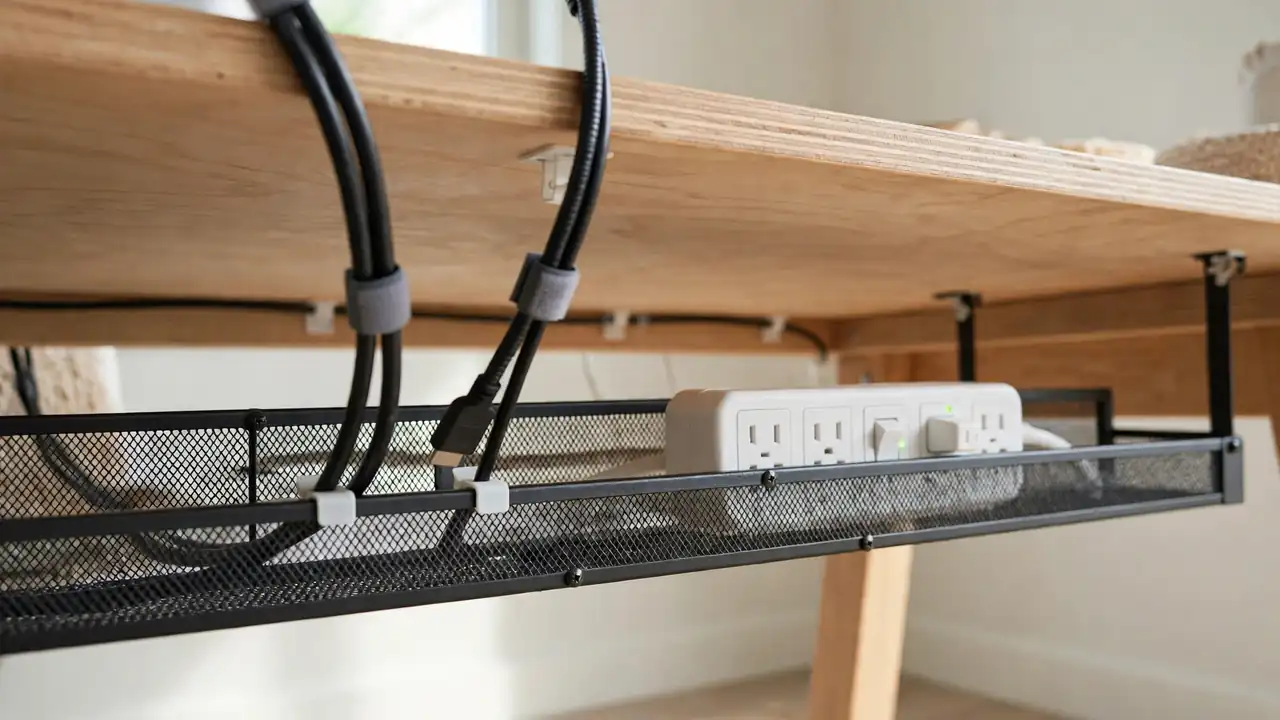
The power strip is the anchor of the setup, so place it first. In most dual-monitor desks it sits inside the cable tray, close to the back edge, with its switch facing outwards so you can reach it without crawling under the desk.
Keep the strip away from the floor and chair legs, and leave space for air to move around it. Never put it inside a closed box with no ventilation, and never cover a power adapter that gets warm in use. If an adapter runs hot, it needs air around it, not a blanket of cables.
Do not daisy-chain power strips, and do not overload a single socket or strip. Check the rating on the strip and the total load of what you are plugging in. If you are unsure whether your setup is within limits, follow the manufacturer’s guidance or ask an electrician.
Step 4: Route Each Monitor’s Cables Into the Shared Run
Start with the monitor furthest from the centre and work toward the meeting point. Guide its power and video cables down the back of its stand or arm, then along the underside to the tray, using adhesive clips every 20 to 30 centimetres so the cable cannot sag or swing.
Leave a loop of slack at the monitor end of each cable. Monitors get tilted, swivelled and pushed back, and a cable with no slack will pull at its socket or drag the monitor. The slack should sit in a gentle curve behind the monitor, not in a hanging loop that catches on things.
Do the same for the second monitor, running its cables along the same path into the tray. Where the two runs meet, they should lie side by side, not cross over each other. Crossed cables are the start of a tangle, and they make it much harder to pull one cable out later.
Step 5: Hide the Drop to the Wall and the Computer Connection
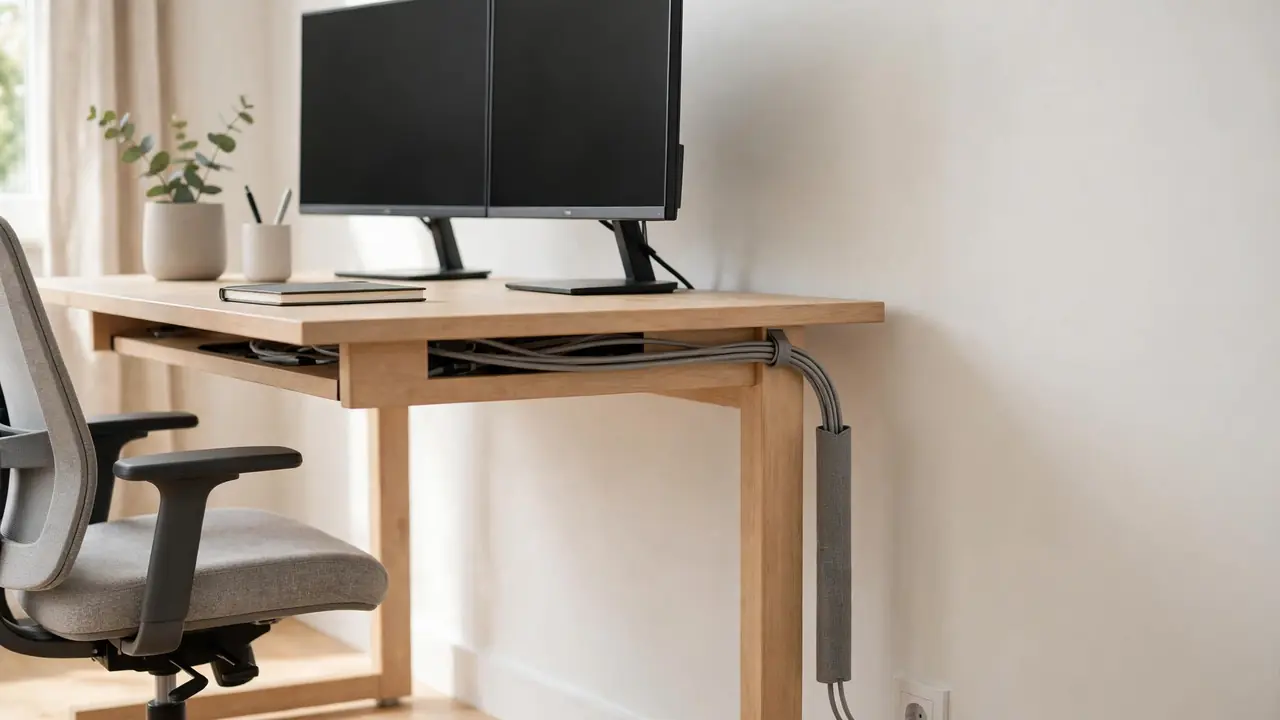
The drop from the tray to the wall socket is the part visitors see, so give it the same attention. Gather the power strip’s cable and any cables running to the computer into one sleeve or length of split tubing, and run it straight down behind the desk. A single tube looks far tidier than three loose cables, and it stops them catching on chair legs.
If your computer sits on the desk, its cables can join the shared route too. If it sits on the floor, run its cables up into the tray, keeping them away from your feet and chair wheels. Never run cables across a walkway or where a chair wheel can roll over them, and never trap a cable under a desk leg or a heavy object.
Finally, sit in your normal working position and look at the desk from the front. If you can see cables, check where they are showing: usually a cable has slipped out of a clip, or the bundle is hanging below the back edge. Push it back into the tray and add a clip where it slipped.
Dual Monitor Cable Management: Layouts Compared
| Layout | Best for | Shared route | Watch out for |
|---|---|---|---|
| Two monitors on stands | Fixed desks, simple setups | Tray under the back edge | Cables dropping behind the stands |
| Two monitors on one dual arm | Adjustable, space-saving setups | Along the arm, then into a tray | Slack at the arm joints |
| Two monitors on separate arms | Different sizes or angles | Each arm to a central tray | Uneven cable lengths |
| Monitors on a riser or shelf | Laptop plus monitor setups | Down behind the riser to a tray | Cables trapped behind the shelf |
| Standing desk, two monitors | Height-adjustable desks | Tray plus cable spine to the floor | Slack for the full height range |
Common Mistakes With Dual-Monitor Cables
- Routing each monitor separately: two independent runs double the visible cable and double the tangling. Share one route.
- Buying video cables that are too short: a cable pulled tight will work loose, strain its socket and stop you adjusting the monitor.
- Using zip ties and cutting them off later: every change means cutting ties and risking a nicked cable. Reusable ties cost little more.
- Letting cables cross over each other: crossed cables knot when you move a monitor. Keep parallel runs parallel.
- Forgetting the USB cables: monitor hubs, webcams and speakers each add a cable. Count them in step 1 or they will dangle.
- Hiding a damaged cable: a frayed cable does not get safer inside a tray. Replace it before you route it.
- Blocking the power strip switch: if you cannot reach the switch, you will leave everything on standby. Face it outwards.
Troubleshooting
One monitor keeps losing its picture
Check the video cable at both ends first. A cable pulled tight by a monitor that has been swivelled will work loose gradually. Give it slack, push the connector firmly home, and check the cable is not pinched where it enters the tray or passes a clip.
The cables look tidy from the front but messy from the side
This usually means the bundle is hanging below the back edge of the desk or the drop to the wall is loose. Raise the tray if you can, tighten the sleeve around the drop, and add a clip where the bundle sags. Check the setup from every angle you normally see it from.
The tray is sagging under the weight
Two monitors’ adapters and a power strip are heavy. Check the tray’s stated weight rating against what is in it, and move the heaviest adapters to the ends near the fixings rather than the middle. If the tray is adhesive, sagging may mean the adhesive has failed — clean the surface and refit it, or switch to a clamp-on tray.
Frequently Asked Questions
Can I use one power strip for two monitors and a computer?
Yes, if the strip has enough sockets and its rating covers the total load. Count every plug, leave at least one spare socket, and check the strip’s rating. Do not daisy-chain a second strip to make up a shortage, and do not plug high-draw appliances such as heaters into the same strip as your computer equipment.
Should both monitors use the same type of video cable?
Not necessarily. Use whichever connection each monitor and your computer support — DisplayPort for one and HDMI for the other is common. What matters is that each cable is long enough and routed the same way. Label them so you know which is which.
The Quick Version
Unplug everything, label each monitor’s cables, and plan one shared route to a tray under the back edge. Put the power strip in the tray, route both monitors into it with a little slack at each end, bundle the shared run with reusable ties, and sleeve the drop to the wall.