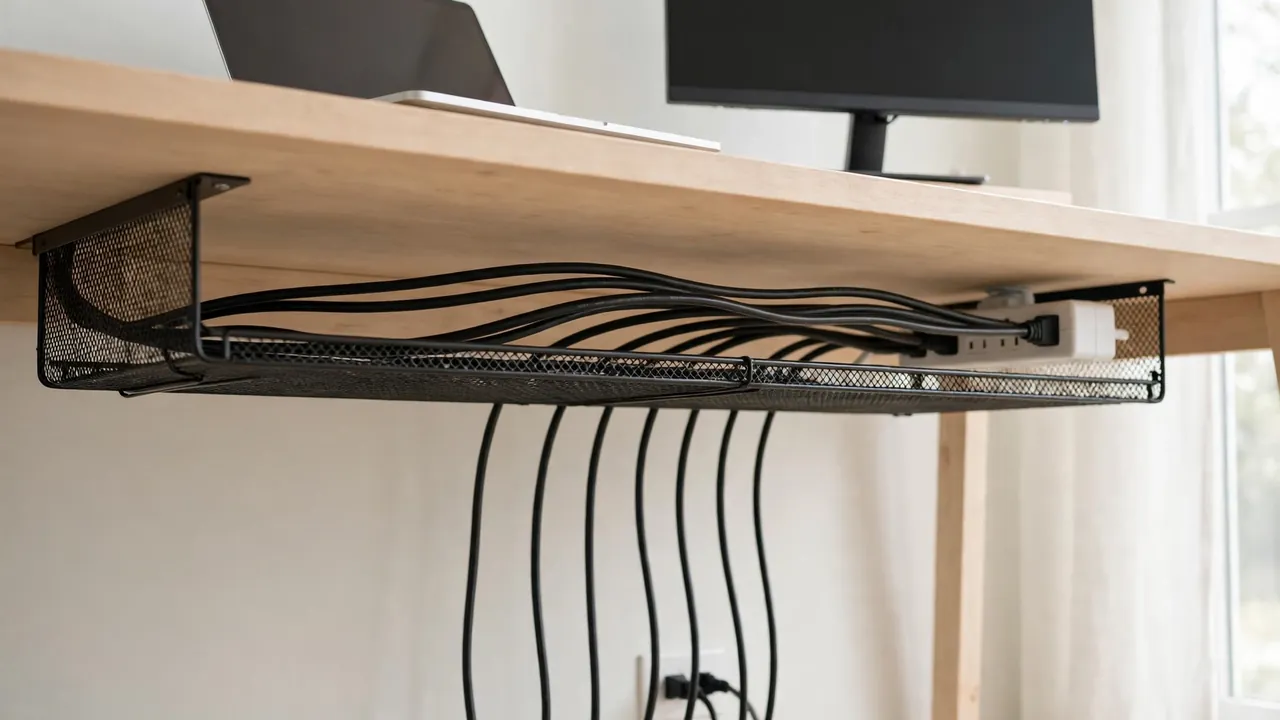
To hide thick cables under a desk, bundle them loosely into one wide channel — a deep cable tray, a wide fabric sleeve, or a J-shaped raceway — fixed to the underside of the desk near the back edge. Thick power cables need space, gentle bends and airflow, so do not force them into narrow clips or small trays meant for thin charging leads. Route the bundle to a power strip mounted under the desk, then run a single mains lead to the wall socket, keeping every bend wider than the cable itself.
That one change — one wide route instead of many small fixes — solves most of the frustration. Power leads for computers, monitors and printers are heavier and stiffer than phone chargers. They resist sharp turns, pull clips off the desk, and sag under their own weight. This guide shows how to hide thick cables under a desk properly, for different desks and budgets, without creating electrical or trip hazards.
Why Thick Power Cables Are Harder to Hide
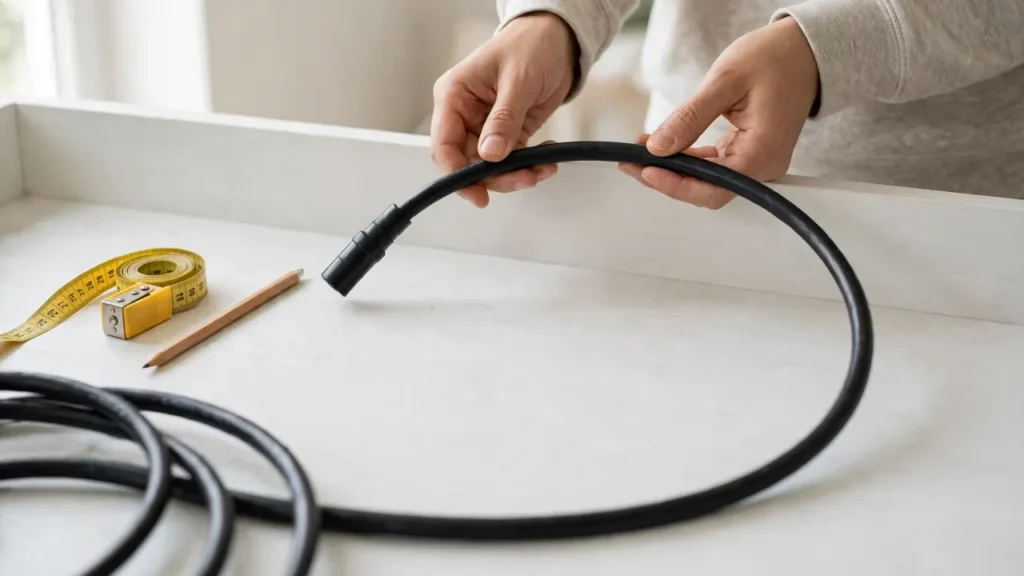
Stiffness is the main problem. A thick mains lead has a minimum bend radius — the tightest curve it can make without stressing the conductors inside. Bend it too sharply and you risk damage over time, and the cable will constantly try to spring back. That spring-back force pulls adhesive clips off, pops lids open and drags a bundle out of a shallow tray. Weight is the second problem: a bundle of four or five thick cables is heavy, and light adhesive fixings may hold for a day, then fail overnight, especially on a warm or dusty surface. Heat is the third factor. Power adapters generate warmth, so thick cables should never be packed into a sealed box or buried under other cables with no air around them.
What You Will Need
- A deep under-desk cable tray, a wide fabric sleeve, or a J-channel raceway — choose one main route.
- Wide reusable hook-and-loop cable ties, plus a few releasable cable ties if you prefer them.
- A measuring tape, a pencil, and a torch or phone light.
- Fixings suited to your desk: screws for solid wood or thick chipboard where drilling is allowed, or heavy-duty adhesive pads or clamp mounts if not.
- A power strip with surge protection and a switch, mounted under the desk rather than left on the floor.
- Optional: a sleeve for the drop to the floor, and small clips for thin data cables only.
Check the weight rating on any adhesive product, and check your desk material. Adhesive sticks well to smooth, clean laminate and painted metal, less well to raw wood or textured finishes. Follow the manufacturer instructions for the tray, sleeve and power strip.
Plan the Route Before You Fix Anything
Unplug everything, then lay each cable behind the desk in the position it will occupy. Identify the heaviest cables first — usually the computer and monitor mains leads — because they dictate the route. Thin cables can follow; thick cables cannot be forced to follow a route chosen for thin ones. Picture the route: devices on the desk, cables dropping at the back, joining into one bundle, running horizontally along the back edge underneath, then dropping once to the wall socket. Use as few direction changes as possible, keep each one a wide curve, and keep the bundle away from chair wheels and feet.
Measure the thickest part of the bundle, and choose a tray, sleeve or raceway comfortably wider than that, with room for one more cable later. If the bundle only just fits, it is too small. A tray that looks oversized when empty is usually about right when full. Decide where the power strip will live: fixed horizontally under the desktop, near the back edge, sockets facing outward or downward, within reach of the wall lead and far enough from the front edge that knees do not knock it.
Method 1: A Deep Cable Tray
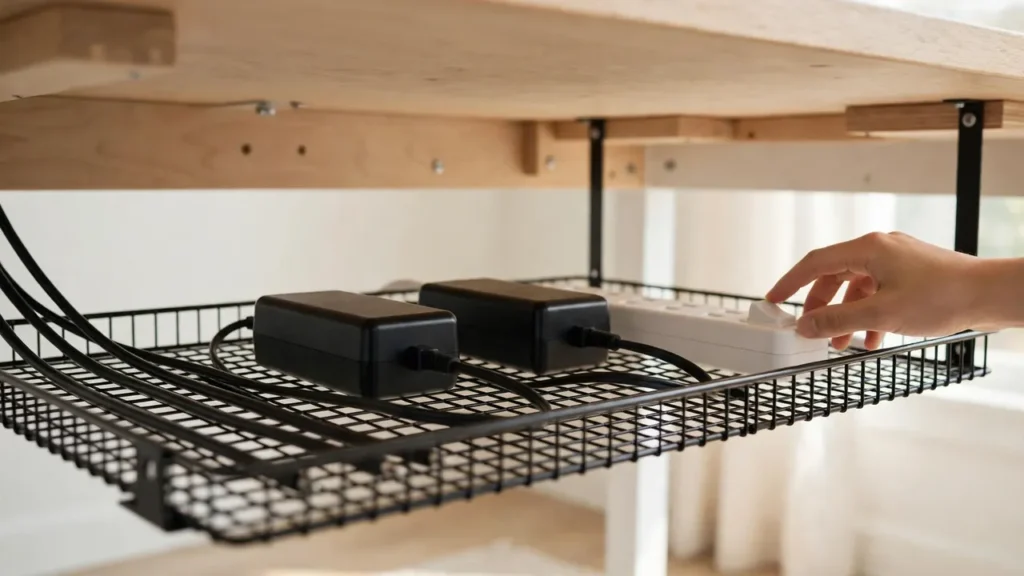
A deep tray is the most forgiving option, and the one to choose if you are unsure. Look for a tray at least 10 cm deep and 10 cm wide, in metal mesh or ventilated plastic, with open ends so cables can enter without sharp bends. Fix it horizontally along the back edge, using screws if possible, so the thickest cables drop straight down into it. If screws are not an option, use a clamp or heavy-duty adhesive tray rated for the weight of a full tray, which is far heavier than an empty one. Lay cables in loose, parallel runs rather than coiling them. Use wide hook-and-loop ties every 30–40 cm, leave a gentle loop of spare cable at each end, and leave the lid off if it has to be forced shut; that means the tray is overfilled.
Method 2: A Wide Fabric Sleeve
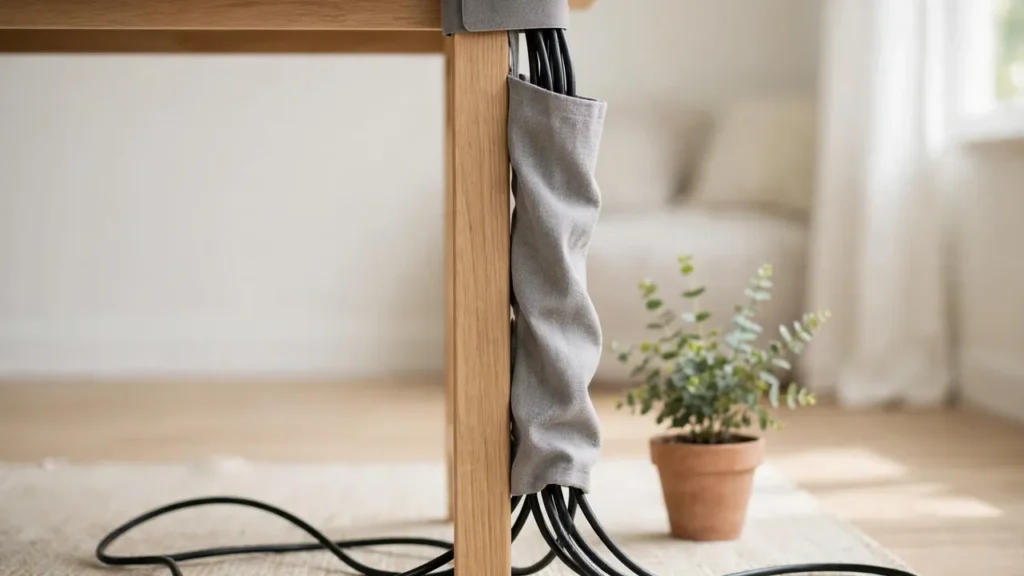
A wide fabric sleeve, or cable sock, works well when most thick cables follow the same path, for example down one desk leg to the floor. Choose a sleeve at least a third wider than your bundle, opening along its length or with a zip, so you can add cables without threading them through. Gather the cables, keeping power on one side and data on the other where possible, and wrap the sleeve loosely around them — never pull it tight, so cables can shift and air can move. Fix the top to the desk underside with a hook-and-loop strap and support the sleeve at intervals if it carries weight. Sleeves suit rented homes, but pair one for the vertical drop with a tray for the horizontal run.
Method 3: A J-Channel or Raceway
A J-channel is a long, open-backed channel, shaped like the letter J, fixed to the desk underside to hold cables in a neat line along the back edge. It suits thick cables better than a narrow raceway with a snap-on lid, because cables can be lifted in and out and the open side gives them room. Choose one wide enough for your bundle, cut it to length if needed and smooth sharp edges. Fix it with screws where possible, spacing fixings evenly so it does not bow. Lay the thickest cables in first, at the bottom, with thinner ones on top, and do not overfill it — if cables sit proud of the top edge, they will fall out when the desk moves. A second channel is better than one stuffed channel.
Handling Power Strips and Large Adapters
Large power adapters are often the hardest part to hide, and the part most often hidden badly. Never cover an adapter with fabric, bury it under cables, or seal it in a closed box. Adapters need airflow, and covering them can shorten their life and create a fire risk. If one feels uncomfortably hot during normal use, unplug it, let it cool, and check the manufacturer guidance. Give each adapter its own space in the tray, sitting flat with air around it, never stacked on others. Use one good power strip, never plug one strip into another — daisy-chaining is unsafe — and if you need more sockets, buy a larger strip or ask an electrician about adding a socket. Plug the strip directly into a wall socket and keep its total load within the rating printed on it.
Step-by-Step in an Afternoon
Step 1: Clear and clean. Unplug everything, remove old ties, and wipe the underside where fixings will go; dust and grease are the most common reasons adhesive fails. Step 2: Position the tray and strip. Hold the tray along the back edge, mark fixing points, and check it clears legs, any modesty panel and your knees. Step 3: Fix them. Drill pilot holes for screws, or follow adhesive instructions exactly, including waiting time before loading. Tug each fixing firmly before trusting it. Step 4: Route the thickest cables first, dropping each straight into the tray, keeping bends wide and parallel, then adding thinner cables alongside. Step 5: Bundle loosely, with wide ties leaving a finger’s width of play and a small slack loop near each device. Step 6: Drop to the wall, running the mains lead down a leg or in a sleeve, clear of feet and wheels, then switch on and test every device. Step 7: Label and re-check after a day, moving the chair and pulling the desk out slightly to check nothing pulls or catches.
Cost-Conscious Alternatives and Common Mistakes
A single deep mesh tray and a pack of wide hook-and-loop ties is the cheapest way to hide thick cables under desk height, and you can add a sleeve later for the floor drop. Spend first on the fixing and tray, where failure causes the most mess. The most common mistakes are forcing thick cables into narrow clips, pulling the bundle drum-tight, coiling spare cable into a tight roll, stacking adapters, running cables across the floor where chair wheels catch them, and using light fixings for a heavy bundle.
Troubleshooting
Tray sagging? Add a centre fixing or switch to metal; check it is not overfilled. Cables slipping out? The tray is too shallow or too full — use a deeper or second tray. Adhesive failing? Clean the surface, check the weight rating, and consider screws or clamps; warmth and dust weaken adhesive over time. Cable too short? Do not stretch it — move the strip closer or use a longer cable of the correct type. Device losing power? Check for a sharp bend at a plug or a plug half-pulled out by the bundle’s weight, and add slack near the device.
Frequently Asked Questions
Can I use zip ties on thick power cables? You can, but wide hook-and-loop ties are better: zip ties are easy to overtighten and must be cut off to change anything. If you use them, leave them loose and choose releasable ones. How much slack should I leave? Enough for the device to move a few centimetres and the plug to come out without pulling the bundle — a hand-width loop at each end is a useful guide. Is a fabric sleeve safe for thick power cables? Yes, if the sleeve is loose, cables are not packed tightly, and adapters stay out or ventilated. What if my desk cannot be drilled? Use a clamp or heavy-duty adhesive tray rated for the weight, or a freestanding box behind a leg, and check your rental agreement first.
Thick power cables do not need to be a permanent eyesore, or an expensive system to hide well. Give them a wide route, gentle bends, solid fixings and room to breathe, and they will stay hidden, safe and easy to change — the real test of any cable management setup.