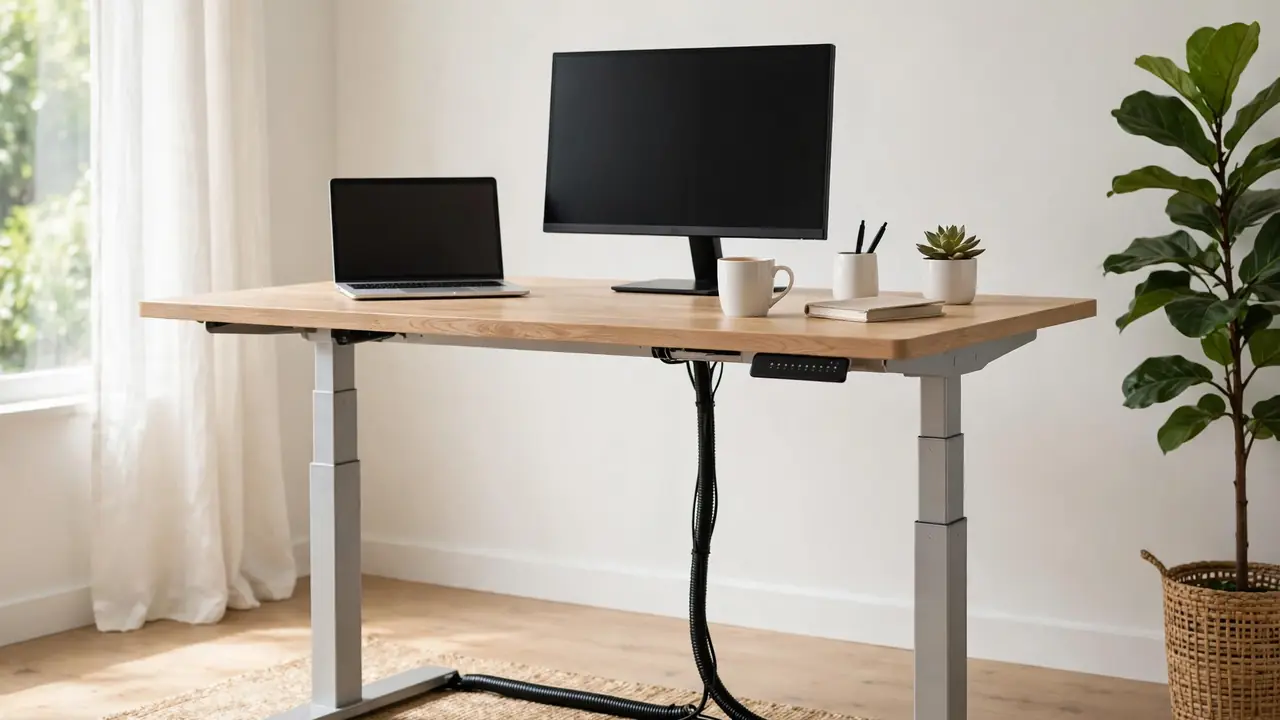
You can manage standing desk cables without a cable tray by using a cable spine or chain to carry the drop to the floor, adhesive clips and a sleeve under the desk, and a power strip fixed to the desktop frame or desk leg. The key is handling the movement: leave enough slack for the full height range, keep the drop vertical and guided, and never let a cable hang loose where it can catch on the frame. A tray is convenient, but it is not essential.
Many standing desks are sold without a tray, and many people do not want to drill into a new desk to fit one. A standing desk without cable tray storage can still be just as tidy, as long as you solve the two problems a tray normally solves: hiding the cables under the desk, and carrying them safely to the floor while the desk moves up and down.
Why a Standing Desk Is Different
A fixed desk only needs its cables hidden. A standing desk needs its cables hidden and able to move. Every time the desk rises or lowers, the distance between the desktop and the floor changes, and the cables have to absorb that change without pulling tight, snagging on the frame, or dangling into the mechanism.
What You Will Need
- A cable spine or cable chain: the best tray-free way to carry cables to the floor. A spine is a flexible tube that hangs from the desk to the floor; a chain is a series of linked segments that does the same job.
- Adhesive cable clips: to fix the cable route under the desktop. Choose clips rated for the weight of the cables they will hold, and check that adhesive suits your desk material.
- Reusable hook-and-loop cable ties: for bundling cables under the desk and inside the spine.
- A cable sleeve, spiral wrap or split tubing: to turn the under-desk bundle into one neat run.
- A power strip with enough sockets: count every plug first, and leave at least one spare socket.
- A way to fix the power strip without a tray: adhesive strips rated for the strip’s weight, a clamp-on holder, or screws into the desk frame if the manufacturer allows it. Check the desk manual before drilling or screwing into any part of the frame.
- Cables of the right length: measure with the desk at full height. Every cable that runs to the floor needs to reach at full height with slack to spare.
Step 1: Map Your Cables and Measure at Full Height
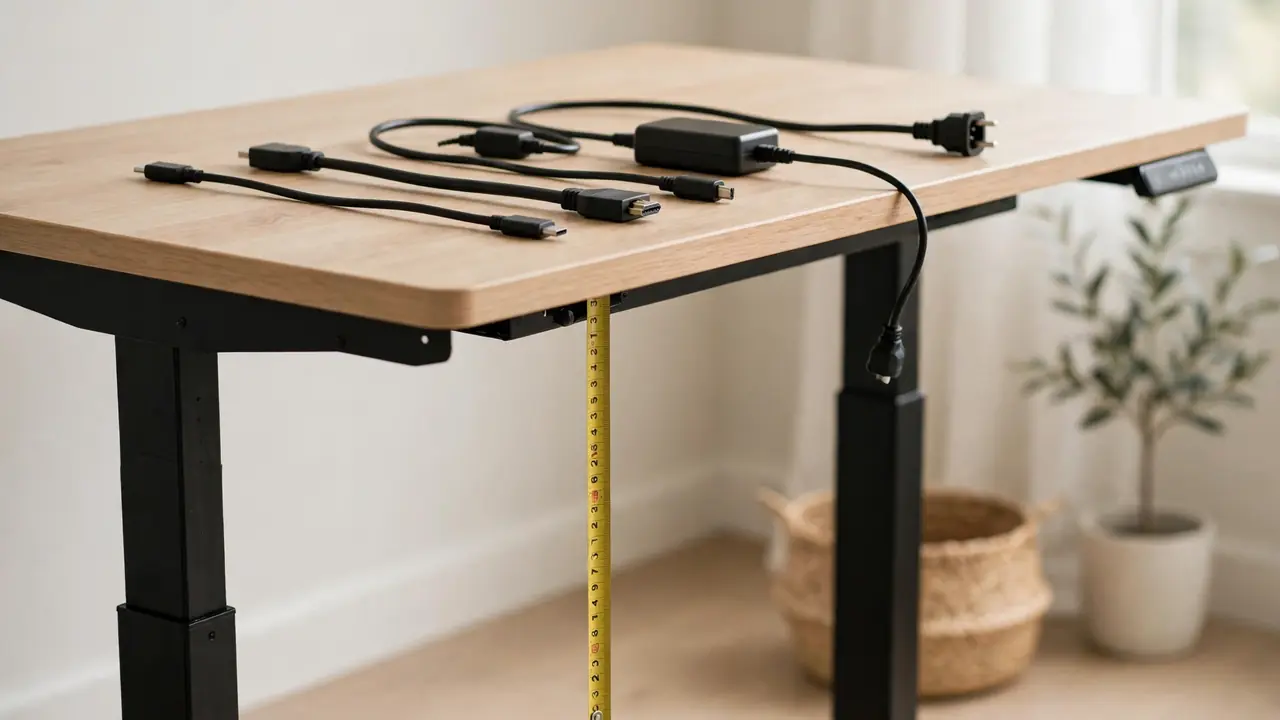
Raise the desk to its highest position and leave it there while you plan. Every measurement that matters — cable length, slack, the drop to the floor — must be taken at full height, because that is when the cables are stretched furthest. A setup that looks fine at sitting height can pull tight the first time you stand.
Switch everything off and unplug every cable. Lay them out and list what you have: monitor power and video cables, computer cables, USB cables, speaker cables, a lamp, chargers, and anything else. Count the plugs, because the power strip needs enough sockets, and note which cables run to the floor and which stay on the desktop.
Check each cable for damage — frayed insulation, cracked plugs, bent pins — and replace anything damaged rather than routing it. Measure the drop from the underside of the desktop to the floor at full height, and check it against the length of the spine or chain you plan to use.
Step 2: Fix the Power Strip to the Desk Frame
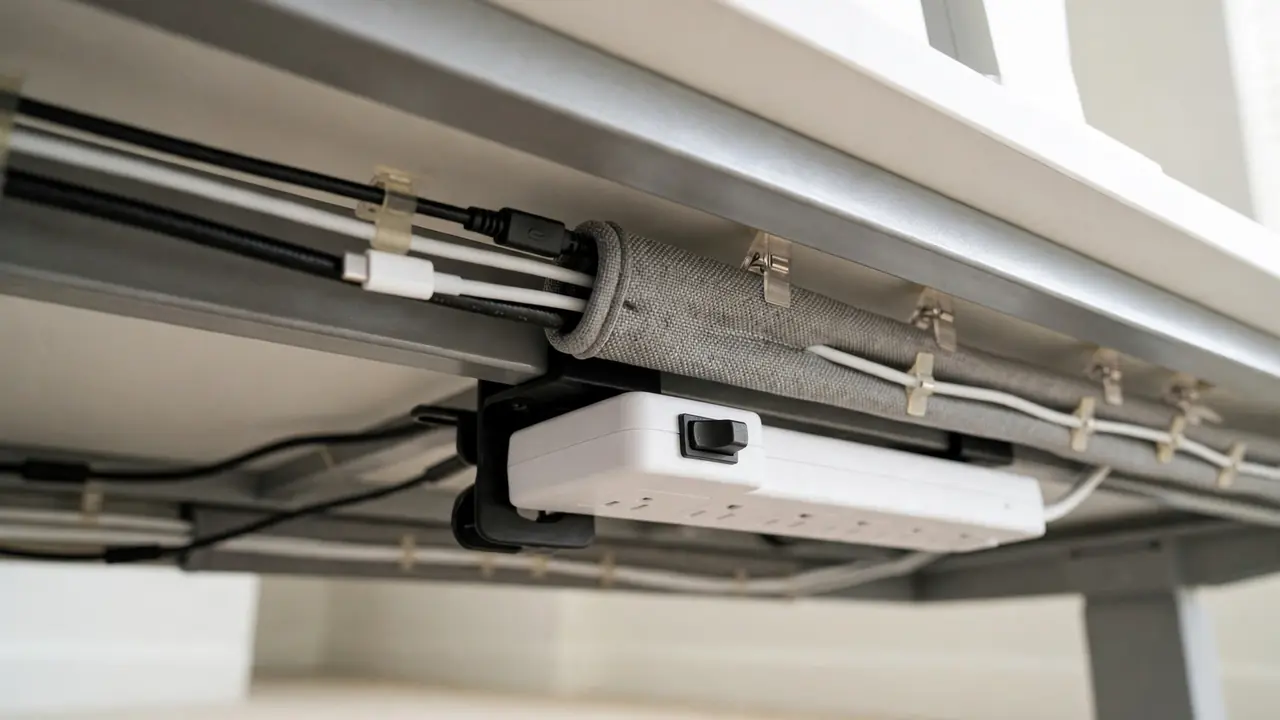
Without a tray, the power strip needs another home. The best options are fixing it to the underside of the desktop near the back edge, or to a desk leg or crossbar, using the fixing method that suits your desk.
Adhesive strips or pads rated for the strip’s weight are the simplest option, and they suit rented desks and desks you do not want to drill. Clean the surface first, press firmly, and leave the strip empty for the curing time on the packet before you load it. If the strip is heavy, use several wide pads rather than two small ones.
A clamp-on holder grips the edge of the desktop or a frame member without adhesive or screws, and it is easy to remove later. Check the clamp range against the thickness of the desktop or frame member, and make sure it does not foul a drawer or the lifting mechanism. Never drill into a lifting column, a motor housing or a part of the frame that moves.
Whichever method you use, keep the strip accessible, with its switch facing outwards. Never enclose it in a sealed box with no ventilation, and never cover an adapter that gets warm. Do not daisy-chain power strips, and do not overload a single strip — check the rating and the total load, and follow the manufacturer’s guidance or ask an electrician if you are unsure.
Step 3: Route the Cables Under the Desktop
With the power strip fixed, route every cable along the underside of the desktop to the strip, using adhesive clips spaced every 20 to 30 centimetres. The clips are doing the job a tray would do: holding the cables up, keeping them parallel, and stopping them swinging or dropping.
Keep the cables close to the back edge of the desktop, where they are hidden from the front and least likely to be knocked. Run them parallel, not crossed, and leave a slack loop at each device so devices can move without pulling their cables.
Bundle the cables that run together with reusable hook-and-loop ties, kept loose enough to slide a finger underneath. A sleeve over the bundle turns it into one neat run and stops the cables catching on the frame. Keep the bundle clear of the lifting columns and any moving part of the frame, and check the clearance by raising and lowering the desk once the bundle is in place.
Step 4: Fit a Cable Spine or Chain for the Drop to the Floor
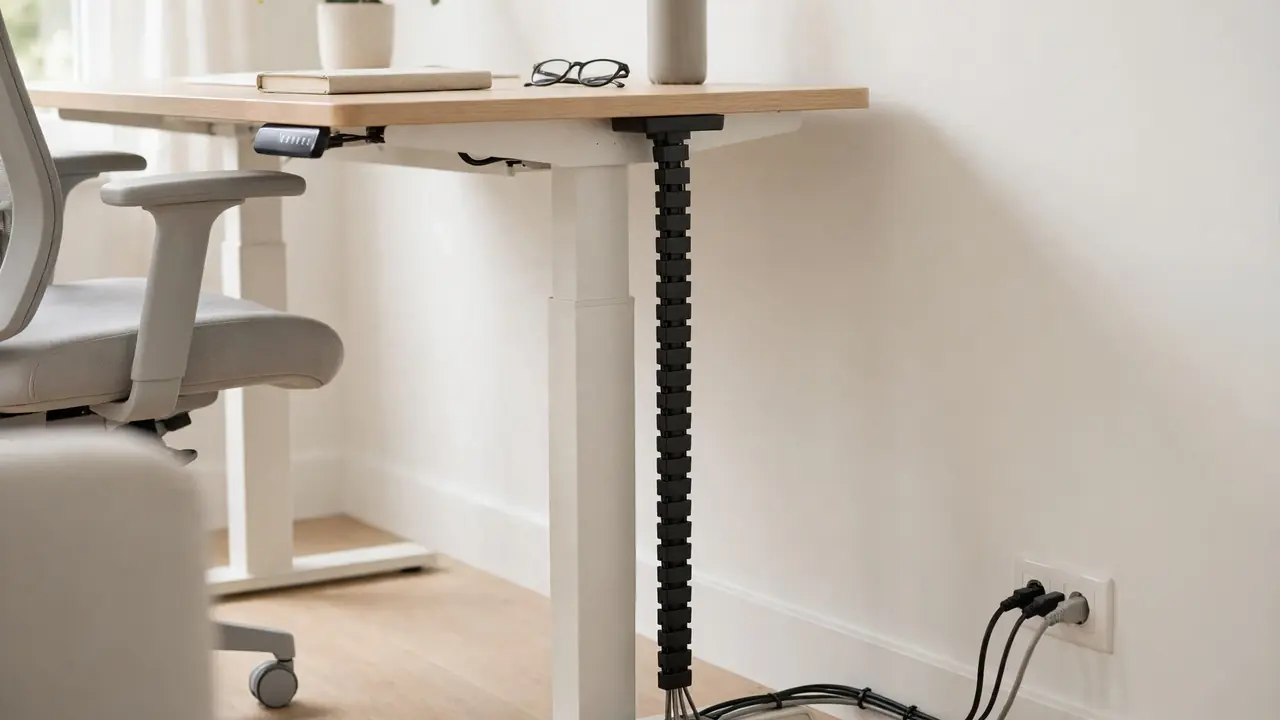
The cable spine or chain is the heart of a tray-free standing desk setup. It carries the cables from the desktop to the floor in a guided, vertical run that lengthens and shortens as the desk moves, instead of letting them hang loose.
Fix the top of the spine to the underside of the desktop, close to the power strip, using the fixing supplied with the spine. Check the desk manual before screwing into the desktop. The bottom of the spine should rest on the floor or sit in a weighted base, so it stays upright and does not swing.
Thread the cables that run to the floor through the spine: the power strip’s cable, and any cable that runs to a floor-standing computer or a wall socket. Feed them through from the top, keeping them parallel and filling no more than about two-thirds of the space inside, so they can shift as the desk moves and reach the floor at full height with a little spare.
Step 5: Route the Floor End and Test the Full Range
Where the cables leave the bottom of the spine, guide them to the wall socket or the floor-standing computer in a short, tidy run. Keep them against the wall or behind the desk leg, and never run them across a walkway or where a chair wheel can roll over them.
Now test the full range. Raise the desk to its highest position, check every cable and every fixing, then lower it to its lowest position and check again. At full height, no cable should be taut, and no connector should be under strain. At the lowest height, no cable should be bunched, pinched or trapped in the frame, and the spine should compress neatly without kinking. Do this test with everything switched on and working.
Standing Desk Without Cable Tray: Options Compared
| Method | Best for | Cost | Watch out for |
|---|---|---|---|
| Cable spine | Most standing desks | Moderate | Length must suit the height range |
| Cable chain | Desks with a long travel range | Moderate | Segments can separate if overloaded |
| Adhesive clips + sleeve | Light setups, low budgets | Low | No guided drop; needs careful slack |
| Clamp-on strip holder | Rented desks, no-drill setups | Low to moderate | Clamp range must suit the desktop |
Common Mistakes Without a Cable Tray
- Measuring cables at sitting height: everything must be measured at full height, or the cables will pull tight when you stand.
- Letting the drop hang loose: an unguided drop swings, catches on the frame and gets pinched. Use a spine or chain.
- Overfilling the spine: if the cables are packed tight, they cannot shift as the desk moves. Keep it no more than two-thirds full.
- Fixing cables to a moving part of the frame: cables clipped to a lifting column will be dragged up and down. Fix them to the desktop or a fixed frame member only.
Troubleshooting
The desk pulls a cable tight at full height
Stop, lower the desk, and find the cable that is taut. It is either too short, or its slack is trapped somewhere along the route. Replace it with a longer cable, or free the trapped slack and re-route so the cable can extend fully. Never force the desk higher against a taut cable.
The spine leans or swings when the desk moves
Check the top fixing first — it may have worked loose — and then the base. The spine needs to be secure at the top and stable at the bottom. If the base is a weighted foot, make sure it is sitting flat on the floor and not caught on a rug edge or a cable.
Frequently Asked Questions
Is a cable spine better than a cable chain?
Both do the same job. A spine is a flexible tube and usually looks neater; a chain is made of linked segments and can suit desks with a very long travel range. Choose whichever fits your desk height, your budget and the number of cables you need to carry. Either is far better than an unguided drop.
Can I manage without a spine or chain at all?
Yes, for a light setup. Adhesive clips under the desktop, a sleeve, and a generous slack loop that hangs in a controlled curve behind the desk can work, as long as the loop cannot catch on the frame and the cables are long enough for full height. Check the loop every time you change height until you are confident it stays clear. For heavier setups, a spine is worth the cost.
The Quick Version
Measure everything at full desk height, fix the power strip to the desktop or frame, and route the cables under the desktop with adhesive clips, keeping them parallel and clear of moving parts. Carry the drop to the floor in a cable spine or chain, leave slack inside it, and test the full height range with everything switched on.