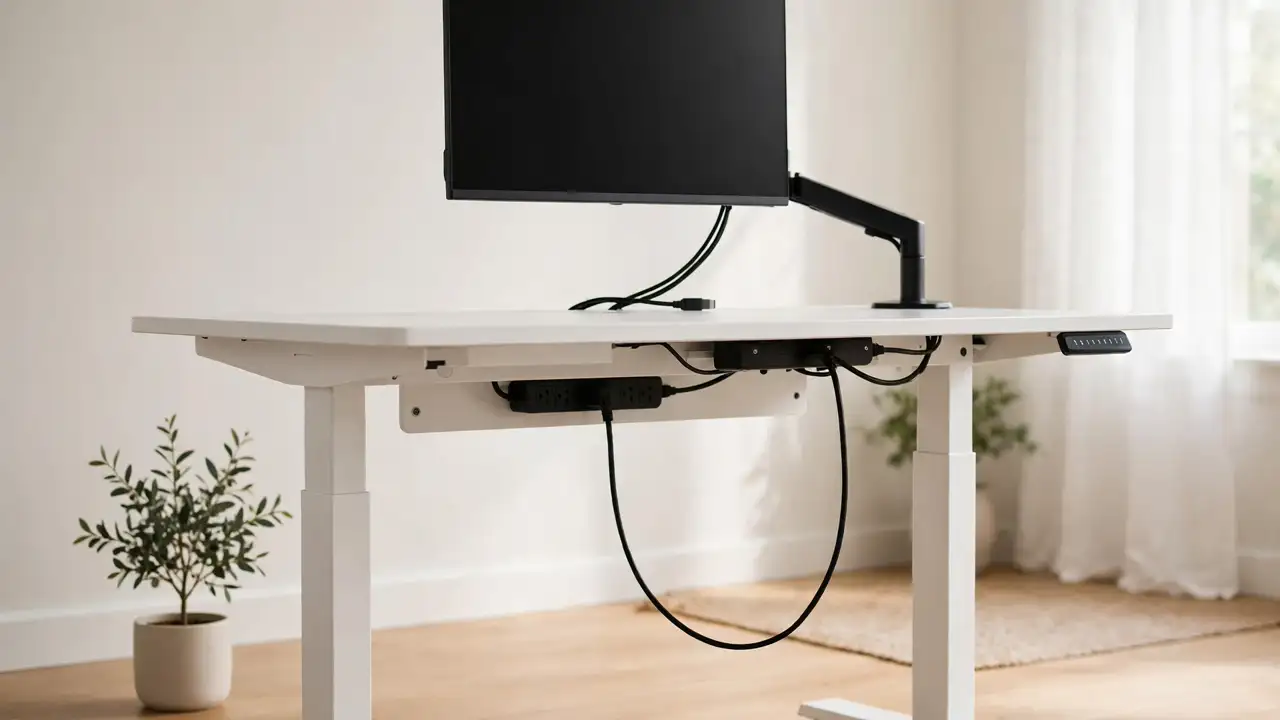
If your monitor cables pull tight every time you raise your standing desk, the fix is almost always the same: give the cables a route that travels with the desktop, with enough slack for the full height range. Reroute them so nothing is fixed to the floor, the wall, or the static frame, and add a slack loop or cable spine that moves with the desk. Then check the result at the highest setting.
Why Monitor Cables Pull When a Desk Rises
The desktop moves, but the wall socket, a floor-standing PC tower, and the static desk legs do not. Any cable joining the moving desktop to something fixed must absorb the whole change in height.
- Too short. A cable just long enough seated has nothing left standing — the most common cause.
- Routed to a fixed point. A cable to a wall strip, floor socket, or tray on the static frame is anchored at one end while the other rises.
- Caught on the frame. A cable over a crossbar, through a fixed grommet, or behind a leg can snag partway up.
- Arm moving independently. A gas-spring arm swings and tilts, so cables clipped tight to it go taut.
Diagnose the Culprit Before You Buy Anything
Ask someone to raise the desk slowly while you watch from the side. Check each cable — power, video (HDMI or DisplayPort), and USB. Which goes tight first, and where? Stop as soon as one goes taut and note the height: tight halfway up means you need a different route or a much longer cable.
Then trace each cable end to end at sitting height. Any cable whose far end is fixed to something that does not rise is a suspect: power to a floor strip, video to a tower on the floor. Cables between two things that both sit on the desktop, such as monitor to laptop, rarely pull unless caught on the arm. Feel along each cable for snags, and check plugs and ports for looseness.
What You Will Need
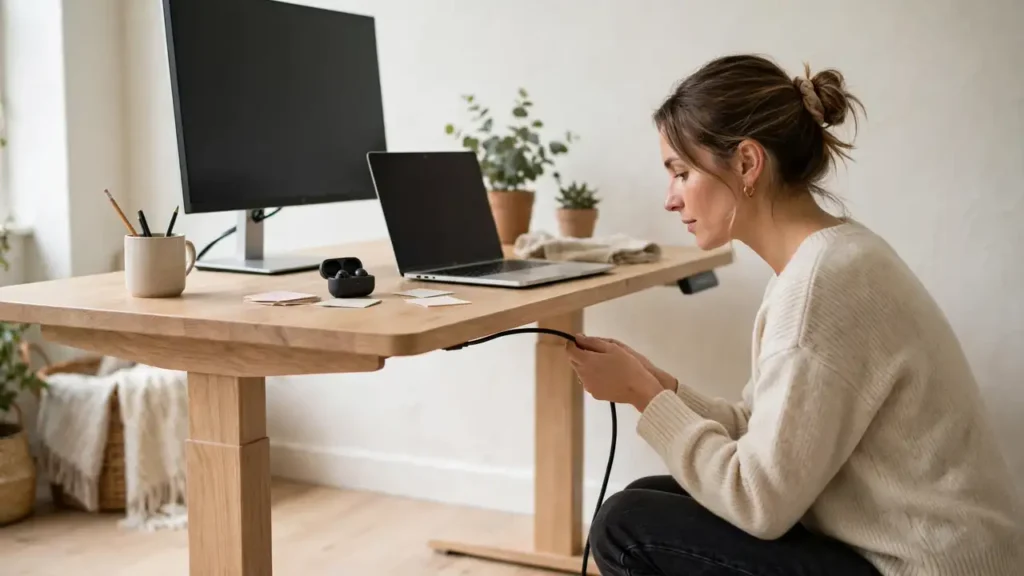
A tape measure; longer cables if needed; adhesive or screw-in cable clips (check the adhesive weight rating and that it suits your desk material); reusable hook-and-loop ties; and optionally a cable spine and a power strip to mount under the desktop. Measure before buying.
Step by Step: Reroute So Cables Travel With the Desktop
As much of each run as possible should sit on parts that move together. Cables should only cross from the moving desktop to the fixed world at one controlled point, with enough slack for the full travel.
Step 1: Lower the desk and unplug at the monitor
Lower the desk to sitting height, switch the monitor off, and unplug its power, video, and USB cables at the monitor end. Leave the other ends connected so you can see where they go.
Step 2: Move the power strip onto the desktop
If the monitor plugs into a strip on the floor or wall, move that strip under the desktop if you can do so safely. Mount it per the manufacturer’s instructions, keep it accessible with vents clear, and never cover a warm adapter or the strip with fabric, paper, or an unventilated enclosure. Do not daisy-chain power strips, and do not overload a socket or strip.
Step 3: Reroute video and USB cables across the desktop
Run the video cable across the back of the desktop to the computer, on the surface or clipped to the rear edge. If the computer sits on the desk, that cable now travels entirely with the desktop and stops pulling. If it is a tower on the floor, the cable must cross to the fixed world and needs slack. Leave a little slack at the monitor end so the arm can tilt and swivel freely.
Step 4: Create one controlled drop point
Pick a single place where cables leave the desktop for the floor — at the back, near a leg, away from feet and chair wheels. Bring every floor-bound cable there, bundle them loosely, and let them drop from that point. Do not clip them to a static leg or thread them through a fixed grommet — either anchors the cable.
Step 5: Raise the desk and check at full height
Reconnect everything and raise the desk slowly to maximum height while watching the cables. Each should keep a gentle curve — none straight, taut, or pulling at a plug. Lower the desk and check the slack clears the floor and chair.
Slack Loops: How Much Is Enough?
A slack loop is a deliberate dip in a cable that pays out spare length as the desk rises. Measure the desktop-to-floor distance seated and standing: the difference is roughly the extra length the drop cable must provide. A desk rising from 73 cm to 118 cm needs at least 45 cm of extra travel, plus a margin for the curve and arm movement.
Put the loop at the drop point, not at the monitor, where it would swing with the arm and catch on things. Make it generous but not sloppy: a loop hanging to the floor when seated is a trip hazard. Aim for one that hangs just below the desktop seated and straightens to a gentle curve at full height, held with a loose tie.
Using a Cable Spine
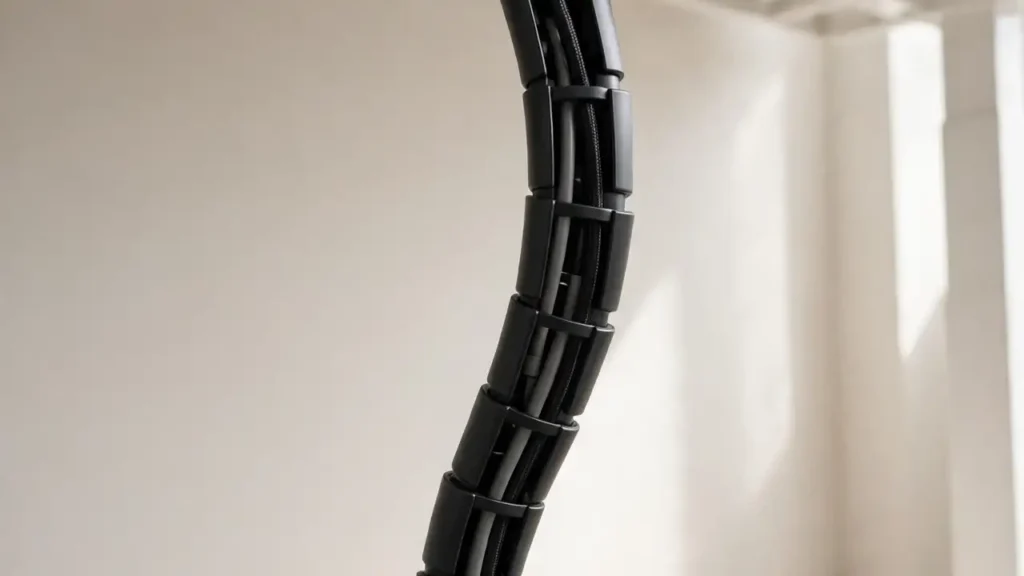
A cable spine — also called a cable chain or snake — is a flexible segmented tube carrying cables from desktop to floor, bending as the desk moves. It is the neatest option when several cables must make the trip, and it stops individual cables snagging on the frame. Mount the top under the desktop at the drop point, let the bottom rest on the floor or a weighted base per the manufacturer’s instructions, and thread the cables through with enough slack inside that they are never taut when the spine is fully extended. It cannot help if the cables inside are too short, so measure first.
Routing Cables on a Monitor Arm
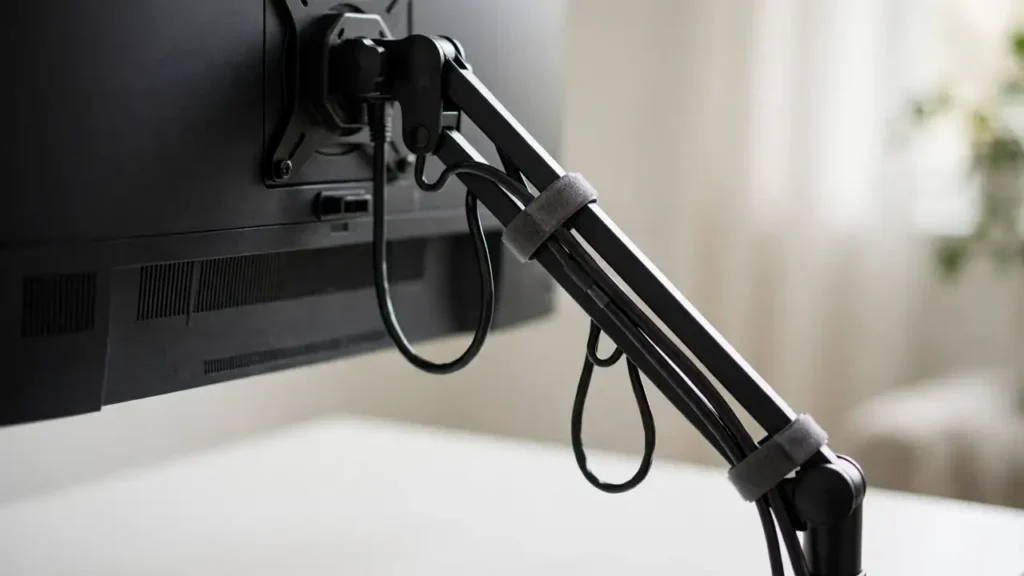
Most arms have clips or a channel for cables — use them loosely. Leave a small loop of slack at each joint, since a cable clipped tight across a bending joint goes taut as soon as the joint moves. Route cables along the underside or rear of the arm, not across the front where they can be knocked. Do not overfill the channel: forcing four cables into a space made for two makes them bind and pull, so route extras along the desktop edge. Test the arm’s full range and add slack wherever a cable pulls.
Choosing Longer Cables
When a cable is simply too short, buy a longer cable of the correct type rather than an extension made from adapters, which add connection points that can loosen and can affect video signal reliability. Raise the desk to maximum height and measure along the actual route — monitor, desktop or arm, drop point, destination — following the curves, not a straight line. Add at least 30 cm for slack and arm movement, then round up to the next standard length. Match the power cable’s connector type; never modify a mains cable.
Very long passive HDMI or DisplayPort cables can struggle with high-resolution, high-refresh-rate signals, so check the cable’s stated specification for your resolution and refresh rate. Flicker or dropouts at the longer length mean the cable is not up to the job, not that the monitor is faulty. Keep USB runs short, with the hub on the desktop where possible. Before buying, check whether the fix is free — moving the strip under the desktop, or a laptop onto it, may remove the need for a longer cable.
Protecting Monitor Ports From Strain
Repeated pulling damages ports slowly: a socket tugged sideways many times can loosen so no cable swap fixes it, and a bent pin can damage the socket it is forced into. Leave a short loop of slack behind the monitor so the cable meets the port in a gentle curve, and clip heavy cables nearby so the port carries no weight. Inspect connectors when rerouting, replace damaged cables, and if a port feels loose, have the monitor checked.
Checking Your Work and Common Mistakes
Test the full range, not just sitting height. Raise the desk in stages, pausing every 20 cm; at the top, each cable should show a visible curve, none straight or pulling at a plug. Swivel and tilt the monitor at standing height, then lower the desk and check loops clear the floor and chair wheels. Raise and lower it a few times — cables settle after the first cycle. If anything goes taut, stop and add slack; never force the desk to the top against a taut cable.
| Mistake | Why it causes pulling | What to do instead |
|---|---|---|
| Clipping cables to a static leg | The leg does not rise with the desktop | Clip only to the desktop, arm, or spine |
| Using the short boxed cable | Made for a fixed desk | Measure the route and buy that length |
| Pulling cable ties tight | Stops cables taking up slack | Use loose hook-and-loop ties |
| Threading cables through a fixed grommet | Anchors the cable | Use a rear drop point |
| Testing only at sitting height | Only shows standing | Test the full range, in stages |
| Covering a power adapter | Adapters get warm and need airflow | Leave adapters ventilated |
Troubleshooting: Still Pulling After a Reroute?
- One cable still taut: it is still too short or still anchored. Trace it end to end at full height to find where it stops moving.
- Pulls when the monitor swivels, not when the desk rises: the fault is in the arm routing. Add slack at the arm joints; check the channel is not overfilled.
- Picture flickers standing but not seated: stop using the desk at height until you find the fault — a height-dependent flicker suggests strain or a loosening connector. Check the port and try a known-good cable of the right length.
- Loop drags on the floor seated: the loop is too big. Shorten it or fit a spine to control the drop.
Frequently Asked Questions
How long should monitor cables be for a standing desk?
No single length suits every desk — it depends on the height range, where the computer sits, and the route. Measure the route at maximum height, following the curves, and add at least 30 cm for slack. That measurement is the length to buy.
Should monitor cables hang loose or be clipped tight?
Neither. Clipped tight, cables have no give when the desk rises; left loose, they snag and trip. Clip the bundle loosely along the desktop and at the drop point, with a deliberate slack loop where cables leave the desktop.
The Bottom Line
Monitor cables pulling on a standing desk almost always means a cable that is too short, routed to something that does not move, or caught on the frame. Trace the culprit, move power onto the desktop where you can, give drop cables a slack loop or spine, and test the full range.