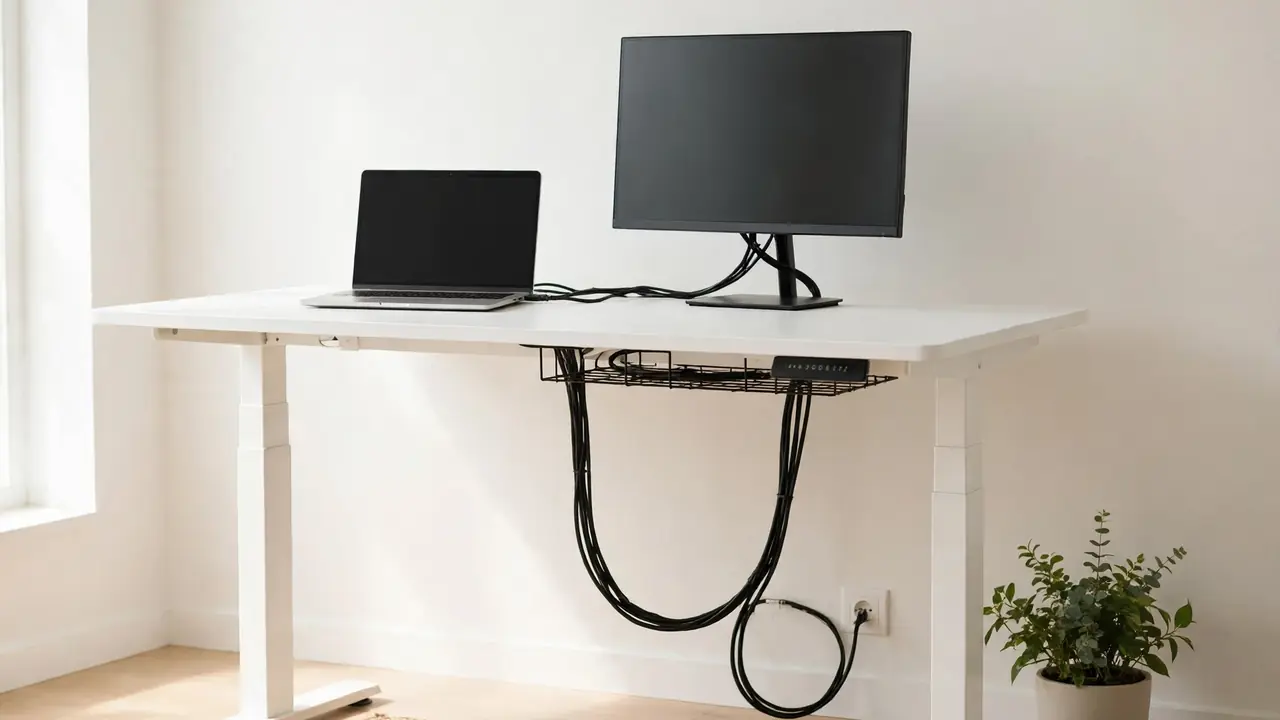
Standing desk cable slack is the extra length that lets your desk rise from sitting to standing height without pulling a plug out or straining a socket. There is no single correct number of centimetres that suits every desk: the right amount depends on how far your desk travels, where each cable starts and ends, and the route it takes. Measure the run at the lowest position and again at the highest, then add a small service loop. A cable crossing from the moving desktop to a fixed floor or wall socket usually needs roughly the full height change, plus enough extra to follow its tray or clips without pulling tight at the top.
What Standing Desk Cable Slack Means
Slack is not spare cable left on the floor. It is deliberate extra length, held in a controlled loop, that is used up as the desk rises and released again as it lowers. A cable with no slack at sitting height has nothing left to give when the desktop lifts, so the tension goes into the plug, the socket, or the monitor port.
Two ideas matter. Travel slack covers the change in height between sitting and standing. Route slack covers the extra length for the cable to follow its real path — down from a monitor, along a tray, around a corner — rather than the straight-line distance between its ends. You need both: a cable measured only as a straight line will be too short in practice.
How to Measure the Slack You Need
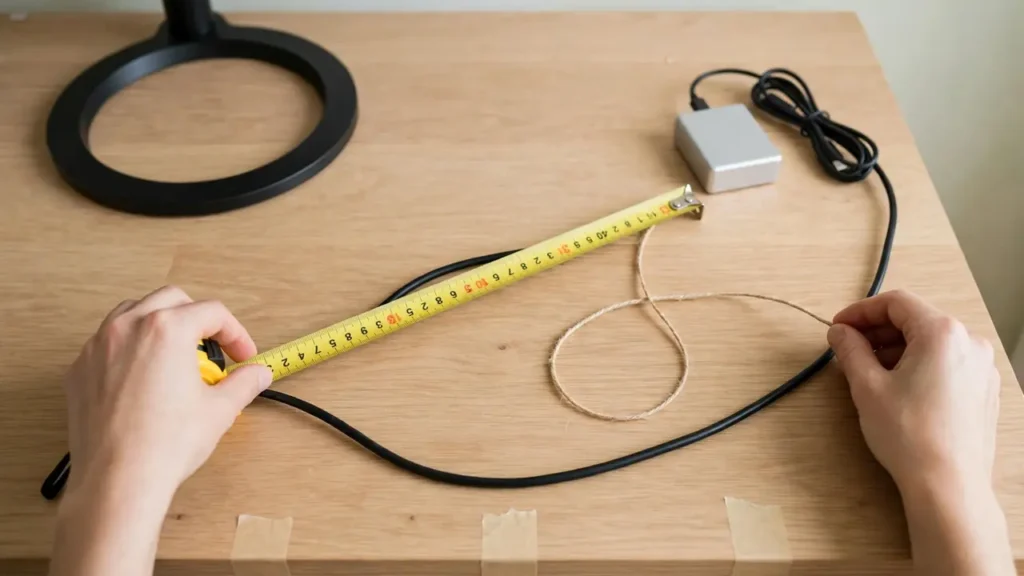
You need a tape measure, a length of string, and masking tape. Unplug the desk from the mains while you measure and re-route. Measure each cable run separately, as power, monitor, and USB cables rarely follow the same route.
Step 1: Find the Travel Range
Lower the desk fully, then raise it fully, and note the desktop height at each end. The difference is the travel range. As an example only, a desk going from 72 cm to 118 cm has a travel range of 46 cm; yours may differ. Check whether the cable tray rises with the desktop, and whether the power strip sits in the tray or on the floor — that decides which cables stretch.
Step 2: Map the Real Route
Follow one cable from end to end at sitting height, noting every bend, clip, and tray edge. Mark its fixed points, such as a wall socket or a clip on a fixed leg. If a cable just lies loose in a tray with no fixed point at the desk end, it can creep, so add a clip to hold it where you want the loop to form.
Step 3: Measure at the Lowest Position
With the desk low, lay string along the exact route the cable will take, following every bend. Mark the string at the far end, then measure it. Add around 5 to 10 cm as a starting point, so the cable is not drum-tight even at its shortest position. It should sit in a gentle curve, not a tight kink or a dangling U-shape below the tray.
Step 4: Measure Again at the Highest Position
Raise the desk fully with the string or cable loosely in place. It should be straighter, with the loop partly taken up. If it pulls tight before full height, you do not have enough slack. If it still hangs in a large loop, you have more than needed — not a fault, but the extra length must be managed so it does not snag when the desk lowers.
Step 5: Add a Service Loop and Test
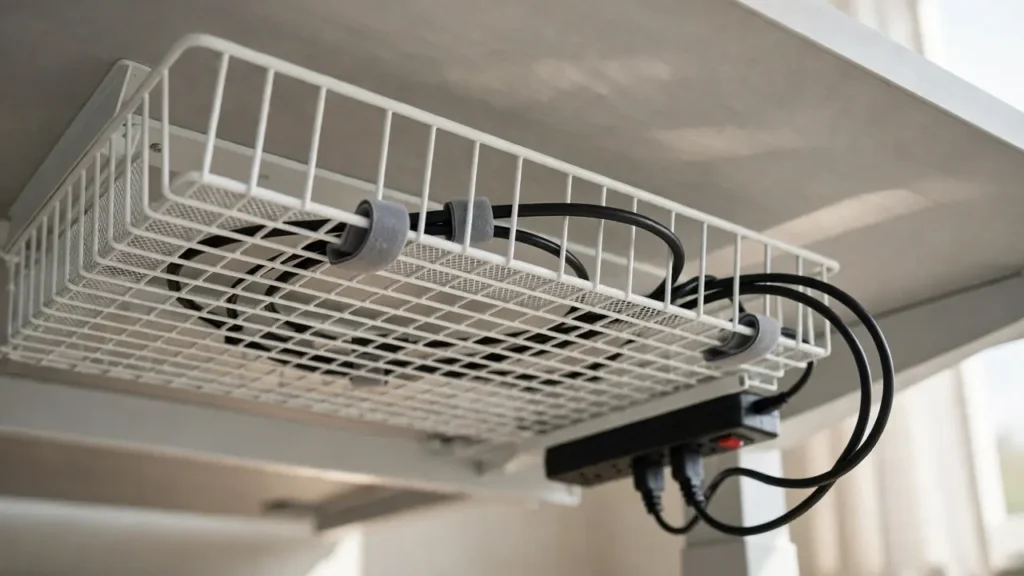
Add a service loop of around 5 to 10 cm, held by a clip or Velcro tie inside the tray, giving room to unplug or swap a cable without replacing it. Test the full movement three times. Nothing should pull or catch. At the lowest setting the loop should reform in the same place; at the highest, the cable should be straight but not taut, with a centimetre or two of sideways give.
A Worked Example
These figures illustrate the method; they are not a rule for your desk. Suppose a desk travels 46 cm, from 72 cm to 118 cm. A power cable runs from a strip in the tray to a wall socket: at sitting height the string measures 90 cm along the real route, and at standing height about 136 cm. Add a small allowance and a service loop, and the cable needed is around 145 to 150 cm, with the extra held as a loop in the tray when the desk is low.
Cables That Travel Together vs Cables That Stay Fixed
If both ends sit on or under the moving desktop — a monitor cable to a dock on the desk, a USB cable to a hub in a tray, a power cable to a strip inside a moving tray — the distance between them barely changes. They need only route slack and a small loop. Keep these loops short and clipped inside the tray, or they can catch on a drawer or the frame as the desk lowers.
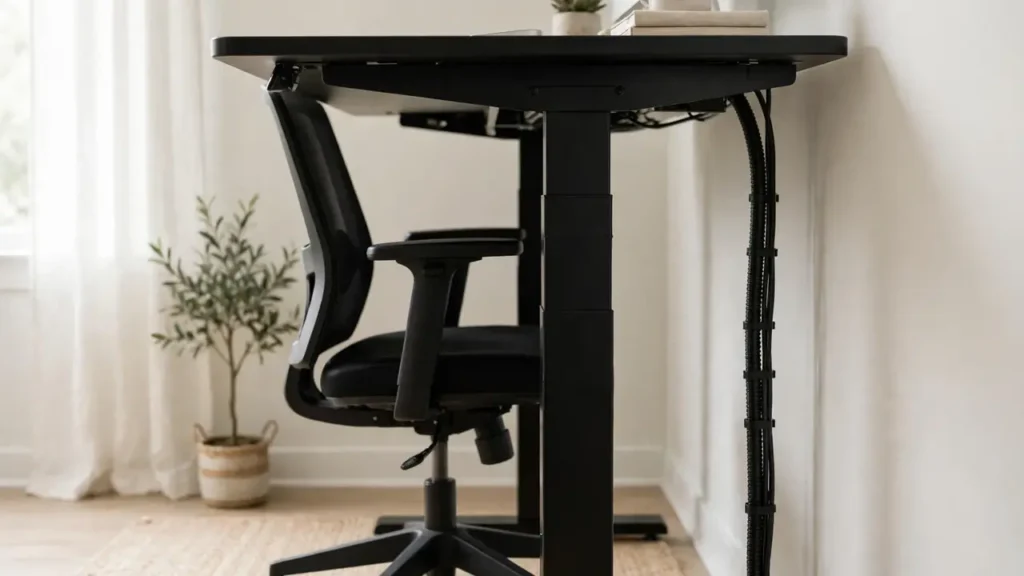
Putting as much as possible on the moving side helps: if the strip sits in a tray under the desktop, only its mains lead has to cross to the fixed wall socket. Other crossing cables — to a fixed PC on the floor or a wall port — need the full travel range. Control that length with a cable spine or chain, or a guided loop held by clips so it folds in the same place each time, not a loose hanging loop.
Different Cables Need Different Slack
Thicker, stiffer cables need larger, gentler loops, and a desk that changes height several times a day puts far more flex cycles on its cables than one that moves once a week.
| Cable type | Slack needed |
|---|---|
| Mains power lead | Full travel range plus a service loop. Keep clear of moving frame parts and never let it rest where it can be crushed. |
| Monitor cable | Route slack to follow the monitor arm plus a service loop. Avoid tight bends near the connector; allow extra for arm movement. |
| USB cable | Small loop only if both ends move together. Thin cables kink easily, so keep loops gentle. Allow full travel if it crosses to a fixed PC. |
| Ethernet cable | Full travel range if it crosses to a fixed wall port. Fairly stiff, so use a generous loop and do not crush it in a clip. |
Too Little Slack vs Too Much Slack
Too little slack is the more urgent problem. Signs include a plug slowly working out of a socket, a monitor that flickers or a USB device that disconnects at standing height but works when lowered, and a cable that is visibly taut at full height. If you see any of these, stop using the desk at full height until you fit a longer cable, and check plugs and sockets for damage.
Too much slack is a tidiness and snagging problem: a loop hanging below the tray, cables tangling as the desk lowers, or a loop pinched between desktop and frame. Do not remove the slack the desk needs — control it with a clip, a tray, or a spine.
What to Do When a Cable Is Too Short
Do not force the desk to full height on a short cable. For a mains lead, fit a longer lead of the same type, rated for the load, long enough to reach at full height plus a service loop. If the strip has a fixed lead, replace the strip or move it closer to the socket. Never join two mains extension leads together, and never daisy-chain power strips: both can overload a socket. If you need a new fixed socket, ask a qualified electrician.
For a monitor cable, buy a longer one of the length your measurement calls for, without buying far more than needed, as very long monitor cables can cause signal issues. For USB, a longer cable usually works, but webcams and drives can be less reliable on very long passive cables; a powered hub on the desktop is often tidier. If a cable is only a few centimetres short, check the route first — a shorter, straighter route may gain the length you need.
Setting Up Slack So It Stays Tidy
A tray under the desktop holds the strip, service loops, and short travelling cables so they rise together out of sight; a spine handles the cables that must cross to the floor. Clip loops rather than coiling them loosely, and use Velcro ties instead of tight plastic zip ties, which pinch. Run mains leads on one side and data cables on the other where you can. Never cover a warm power adapter or seal a strip in a closed box with no ventilation.
Common Mistakes
- Measuring only at sitting height, never testing at full height.
- Buying cables to the straight-line distance instead of the real route.
- Leaving the power strip on the floor, making every desktop cable a crossing cable.
- Using zip ties pulled tight, which pinch a cable and stop it flexing.
- Letting loops hang below the tray, where they snag or get trodden on.
- Running cables where the frame moves, so they can be crushed.
Troubleshooting
A plug pulls out when the desk rises. The crossing cable is too short or its loop is caught. Lower the desk, measure at full height, and fit a longer lead.
The monitor loses signal only at standing height. The cable is pulling taut or bending sharply at the connector. Add slack and reroute it with a gentler curve.
Cables tangle every time the desk lowers. Too much uncontrolled slack. Shorten free loops with clips, separate power and data runs, or fit a spine.
Frequently Asked Questions
How much cable slack does a standing desk need?
Enough standing desk cable slack to cover the travel range, plus the real route and a small service loop. For a cable crossing to a fixed socket, that is roughly the height change between sitting and standing. For a cable where both ends move together, only route slack and a small loop are needed.
Should I buy longer cables just in case?
A little extra is useful, but very long cables mean more loop to manage, more tangling, and, for monitor and USB cables, a greater chance of signal issues. Buy the length your measurement calls for, plus a modest service loop.
How often should I check the cables?
Check the full movement after any change, such as a new monitor or a moved strip, and look over the cables every few months for wear near plugs and ports. Replace a damaged cable rather than continuing to use it.
The right amount of standing desk cable slack is the amount your desk, route, and cables actually need. Measure at both ends of the travel, give crossing cables the full height change plus a service loop, and test the full movement first.