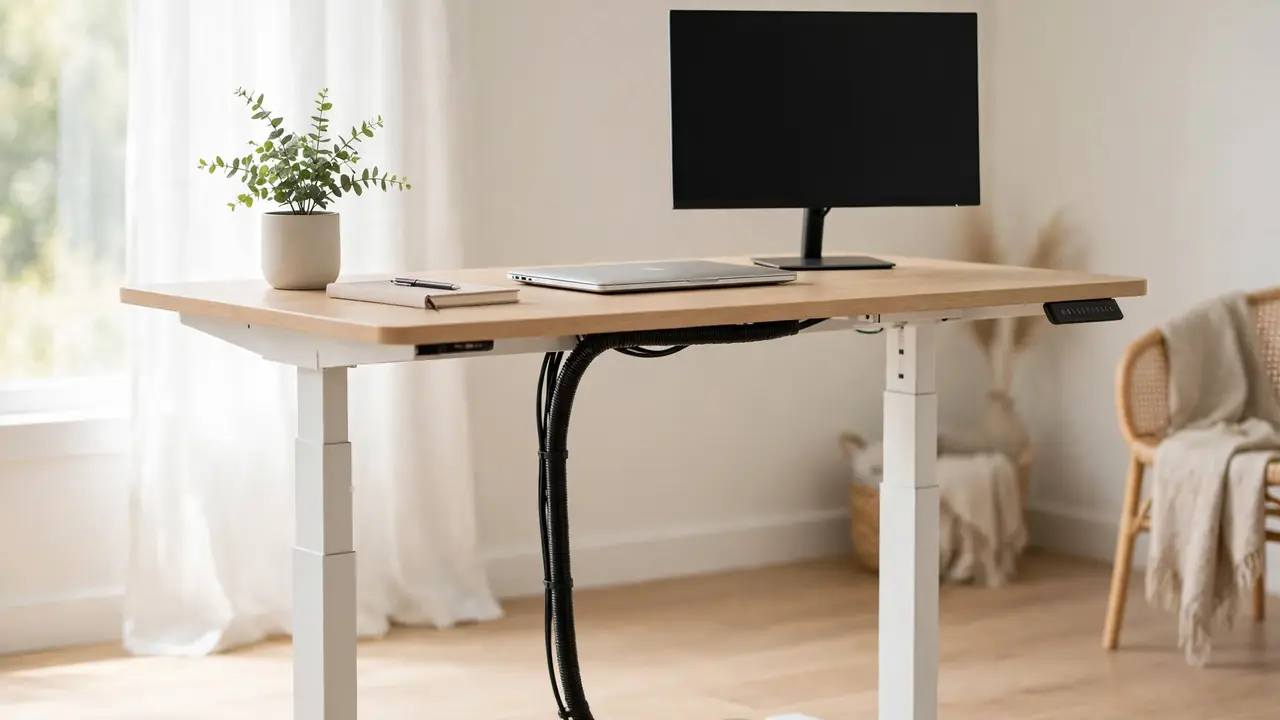
Good standing desk cable management comes down to one rule: every cable must move with the desktop. Fix cables to the moving desktop, give them slack for the full travel range, and guide the run to the floor through a flexible spine or chain. Do that, and your cables will rise and fall smoothly with the desk.
This guide covers the setup step by step: planning the layout, choosing a spine and tray, routing monitor, laptop and dock cables, and keeping power safe. It applies to most two-leg and four-leg electric height-adjustable desks. Check the manufacturer’s instructions before drilling or sticking anything load-bearing.
Why standing desk cable management is different
On a fixed desk, cable management is a tidying job: route cables once and they stay put. On a height-adjustable desk, the desktop moves — often by 60 cm or more — and every cable on the desk must travel with it. A cable neatly clipped at sitting height can pull taut or snag when the desk rises.
The movement creates three problems. First, slack changes constantly: a cable with a comfortable loop at sitting height may be stretched tight at standing height, or pool into a tangle at the low end. Second, snag points move too: the lifting columns, crossbar, motor housing and feet all shift relative to the floor. Third, pull matters more: a dangling power brick tugs on a connector every time the desk moves.
Think of your cables as two groups. The first lives entirely on the moving desktop: monitor, keyboard, mouse, laptop charger, dock and lamp cables. The second is the run from the desk to the wall: usually one mains lead from a power strip under the desk, plus any wired network cable that must reach a fixed point. That run needs a flexible guide and a service loop — a deliberate extra length that absorbs the movement.
What you need
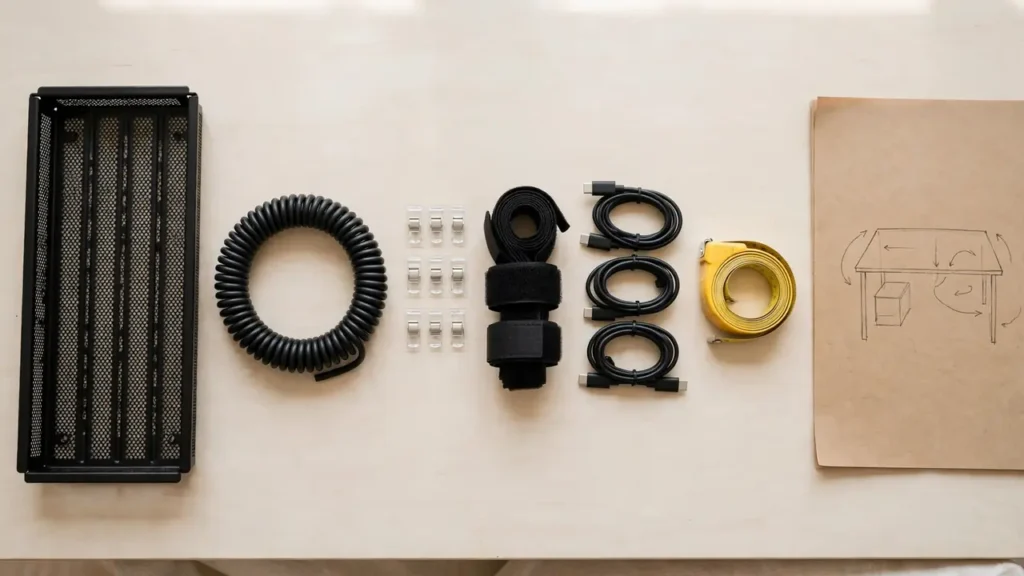
- Under-desk cable tray — holds the power strip and slack.
- Cable spine or chain — guides the desk-to-floor run as the desk moves.
- Adhesive cable clips — fix light cables to the desktop underside.
- Hook-and-loop cable ties — bundle cables loosely; easy to reopen.
- Short cables (0.5–1 m) — replace long trailing leads.
- Tape measure — for measuring travel range and slack.
Choose a tray and spine rated for the weight you plan to put in them — a tray full of power bricks is heavy, and adhesive fixings have weight limits that vary by product and surface, so check the rating before relying on adhesive for anything heavy.
Plan the layout before you fix anything
- List every device: monitors, laptop or desktop computer, dock, keyboard, mouse, lamp, speakers, phone charger, and anything else.
- Decide where power lives. Usually a power strip inside an under-desk tray, fixed to the desktop underside so it travels with the desk. Everything on the desktop plugs into that strip, and a single mains lead runs to the wall socket.
- Pick the spine position. It needs a clear vertical path to the floor at every height, without crossing a leg, crossbar or motor housing. On most desks that is near the rear centre or the rear of one leg.
- Keep power and data apart where you can. Run mains and data cables (USB, HDMI, DisplayPort, Ethernet) in separate bundles — it makes the setup easier to change and simpler to trace when something stops working.
- Measure the travel. Run the desk to its lowest, note the height, then to its highest. The difference is the distance your desk-to-floor cables must absorb, and it sets the length of your service loop.
Step-by-step: set up cables that move with the desk
Step 1: Clear the desk and unplug everything
Take everything off the desktop and unplug all cables. Working on an empty desk is faster, and it stops you routing a cable around a monitor stand you later move.
Step 2: Fit the under-desk tray
Mount the tray to the underside of the desktop, towards the rear, out of sight but still reachable. Fix it to the desktop itself — not to the frame, the crossbar or a leg — so it rises and falls with the surface. Follow the manufacturer’s guidance on screw length, or for adhesive clean the surface first and let it cure before loading. Put the power strip inside with its switch reachable, and fill the tray no more than about two-thirds full.
Step 3: Connect the desktop devices with short cables
Plug each desktop device into the power strip with the shortest cable that reaches comfortably — a 0.5 m cable is tidier and lighter than a 2 m cable coiled up. Route each cable along the desktop underside with adhesive clips, keep runs short and direct, and leave a little slack at each plug so the cable never pulls on a port. Bundle cables loosely with hook-and-loop ties, never cable ties pulled tight.
Step 4: Measure and fit the service loop
This step makes or breaks standing desk cable management. At the highest position, route the mains lead from the power strip through the spine to the wall socket, and check it reaches with slack to spare — the cable should never be taut at the top of the travel. At the lowest position, the extra length should gather in a controlled loop inside the spine or tray, not spill onto the floor or catch on the frame. As a rough guide, the loop should be at least as long as the desk’s travel range.

Step 5: Fit the cable spine or chain
Fix the top of the spine to the desktop or tray, and weight the base so it stays put, hanging vertically with a gentle curve. Thread the mains lead — and any data cable that must reach the floor, such as Ethernet — through it, but keep the number of cables low: a stuffed spine cannot flex properly. Check it through a full up-and-down cycle — it should bend smoothly, stay clear of the legs and crossbar, and never kink.
Step 6: Test the full travel range
With everything connected, run the desk slowly from lowest to highest and back, watching the cables. Look for anything pulling tight, catching on the frame, rubbing against a leg, or dropping onto the floor. Then use the desk normally and run it up and down again — problems that only appear in use are worth finding now.
Choosing a cable spine or chain
A cable spine (also sold as a cable chain or cable snake) is a segmented tube that flexes one way and holds its shape the other. It hides the desk-to-floor run and stops it snagging as the desk moves. Check four points: length — measure from the desktop underside to the floor at maximum height, then add 15–20 cm for the curve; width — it must hold your cables without squeezing them; mounting — the top fixing must be on the moving desktop, not the frame; and flex direction — fit it to bend front to back, the way the desk moves. A fabric sleeve is cheaper, but check it regularly and keep the loop off the floor.
Under-desk trays that travel with the desktop
The tray is where the mess lives, and that is the point. Put the power strip, power bricks and coiled excess into a tray fixed under the desktop, and the whole bundle moves as one unit. Fix it to the desktop, not the frame, or cables will be pulled every time the desk rises. Leave space for air: power bricks give off heat, so do not pack them tightly, wrap them in fabric, or cover a warm adapter. Re-check the fixings after the first week — adhesive mounts can creep under a sustained load.
Routing monitor, laptop and dock cables
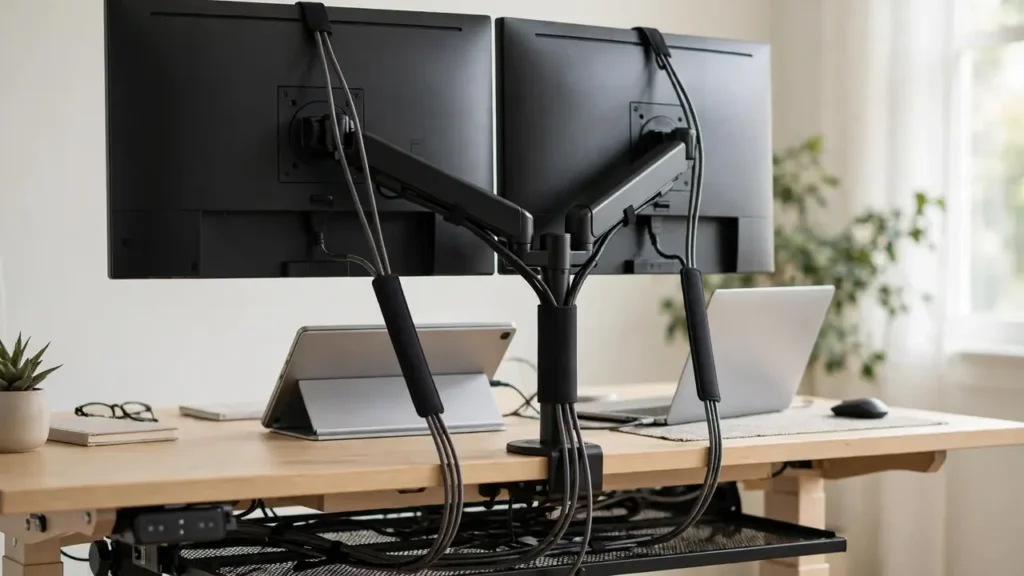
Monitors are usually the hardest part: they sit at the back of the desktop, often on arms that move independently of the desk. Route monitor cables down the back of the arm or stand, then along the desktop underside to the tray, leaving a small loop of slack where each cable leaves the monitor so tilting it does not tug on the port. Put a laptop dock at the back centre, close to the tray, to keep its cables short. For dual monitors, route both sets of cables as one bundle and label the plugs “left” and “right”.
Power: keeping it safe
- One power strip, one wall socket. Never daisy-chain power strips or plug one extension lead into another. If you have run out of sockets, you need an electrician to add one.
- Do not overload. Check the strip’s rated load. Heaters and kettles do not belong on a desk power strip.
- Keep cables clear of moving parts. No cable should pass near the lifting columns, motor or crossbar. A crushed cable can be damaged without any visible sign until it fails.
- No cables on the floor. The desk-to-floor run goes through the spine and straight to the wall, not across a walkway where it is a trip hazard.
- Fixed wiring is a job for a professional. New sockets or changes to fixed wiring need a qualified electrician, following local wiring regulations and the manufacturer’s instructions.
Common mistakes to avoid
- Fixing cables to the frame instead of the desktop. The frame does not move with it.
- Measuring slack at one height only. Always test both extremes of the travel.
- Skipping the spine. A loose mains lead will swing, snag and eventually get caught.
- Overfilling the tray. A packed tray traps heat and hides damage.
- Leaving the service loop on the floor. The loop belongs in the spine or the tray.
Troubleshooting
The desk stops or judders when it moves
Stop the desk and look for a cable caught on the frame, a leg or the crossbar. Do not keep running the motor against a snag. Free the cable, re-route it clear, and test the full travel again.
A monitor loses signal when the desk rises
A video cable is probably pulled tight at the top of the travel. Lower the desk, add slack at the monitor end and in the run to the tray, and check the cable is not clipped to the frame. If it still fails, try a different cable.
Frequently asked questions
How much slack do my cables need?
Enough to cover the full travel range plus a small margin, so no cable is ever taut at maximum height. Travel ranges differ, so measure your own.
Will cable management void my desk warranty?
It depends on the manufacturer. Sticking clips to the desktop underside is normally fine; drilling into the desktop or frame, or modifying wiring, may not be. Check the warranty first.
A height-adjustable desk only earns its keep if you actually change its height, and that only happens comfortably when the cables cooperate. Tray on the moving desktop, a measured service loop, a spine for the floor run, and a full-travel test — get those right and the desk moves freely at any height.