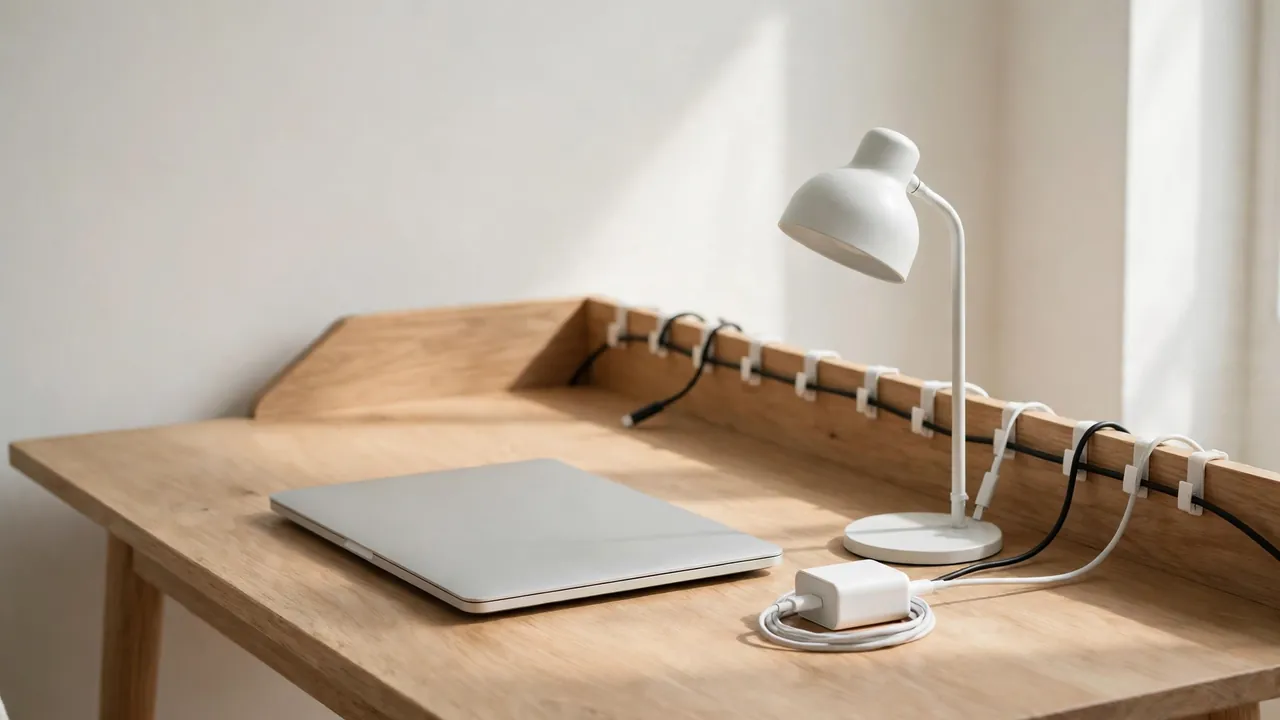
To remove adhesive cable clips without damaging a desk, warm the adhesive gently with a hairdryer on a low setting for 20–30 seconds, then slide dental floss or fishing line behind the clip in a slow sawing motion while lifting one edge with a plastic card. Work slowly, keep the pull close to the surface, and clean any residue afterwards with a soft cloth and a little warm soapy water. Never yank a clip off, use a metal scraper, or apply strong solvents before you know what your desk surface can tolerate.
Most damage from removing cable clips is avoidable. It happens when a clip is pulled straight up, when adhesive is still cold and brittle, or when the wrong cleaner is used on the wrong surface. This guide shows how to remove adhesive cable clips safely from wood, laminate, glass, metal and painted desks, deal with the residue left behind, and avoid the mistakes that cause most damage.
Why Clips Damage Desks
Adhesive cable clips usually use foam tape or a strong acrylic adhesive. The bond is designed to hold a cable’s weight for months or years, and it often bonds more strongly to the desk than to the clip itself. When you pull the clip upwards, the force concentrates at one edge and can lift a thin veneer, peel paint, or pull fibres out of chipboard. Heat and a slow, sideways pull spread that force over a wider area and soften the adhesive, which is why they work. Cold adhesive is stiff and tears; warm adhesive stretches and releases. Scraping with a metal blade, or using a solvent that also dissolves the desk finish, can do more harm than the clip itself — always test any cleaner on a hidden spot first.
Identify the Clip, the Adhesive and the Desk
Before you start, look at what you are dealing with. Is the clip a small plastic cable clip, a larger cable holder, or a flat adhesive pad? Is the adhesive a thin clear film, a thick foam pad, or a removable putty-like strip? Foam pads are the most common and easiest to cut through with floss. Next, identify the desk surface. Laminate and painted metal are the most forgiving. Solid wood with a hard lacquer is usually fine if you work gently, but veneer, thin paint and unfinished wood are vulnerable, because the top layer can lift. Glass is hard to damage with heat or floss, but easy to scratch with a blade, so use only plastic tools on it. If unsure, treat it as veneer: low heat, no solvents, and test on a hidden corner first.
What You Will Need
- A hairdryer with a low heat setting, or a warm cloth — never a heat gun, which is far too hot for most desk finishes.
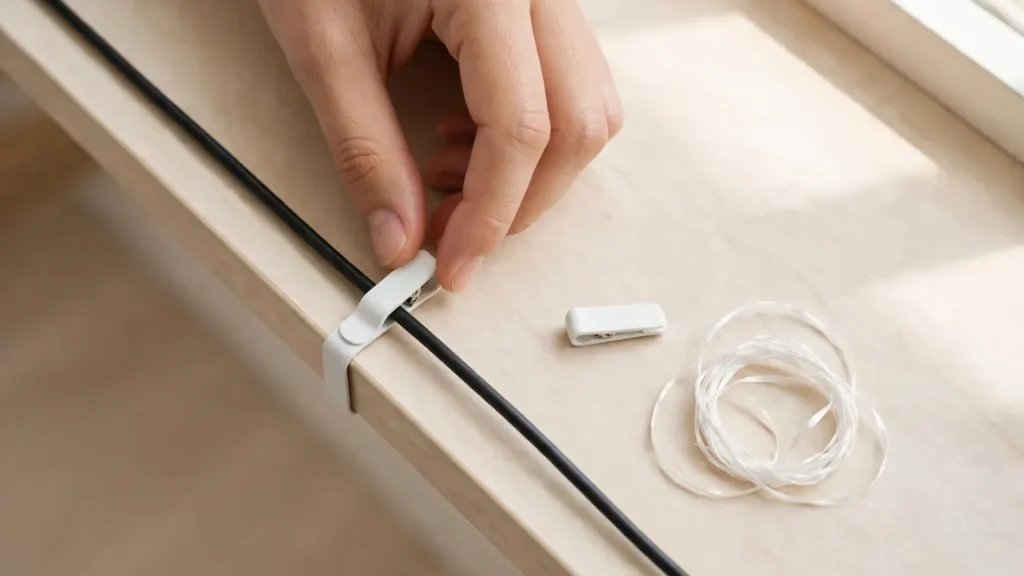
- Dental floss, fishing line, or thin strong thread for cutting through foam adhesive.
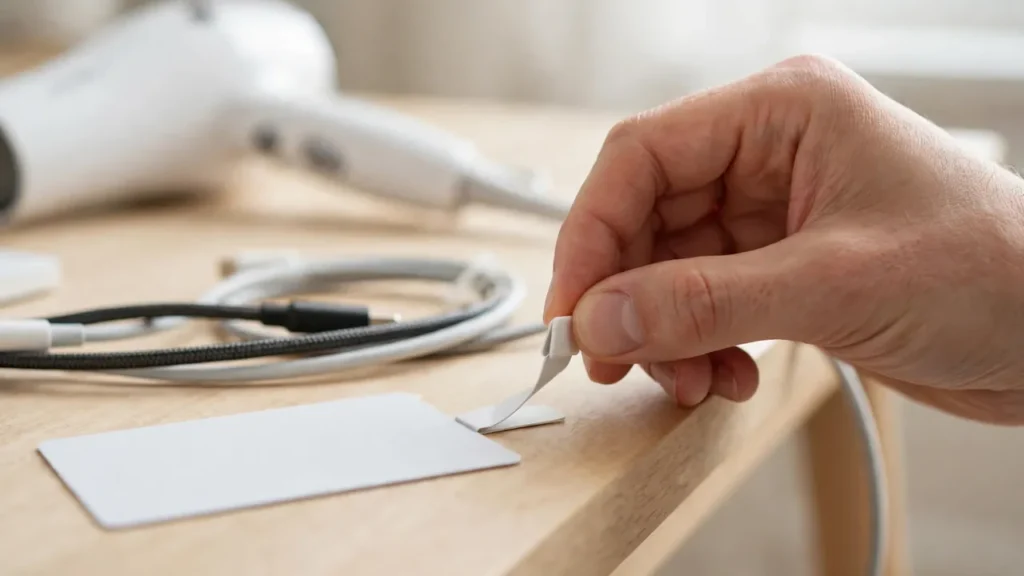
- A plastic card, such as an old loyalty card, or a plastic scraper — never a metal blade or knife.
- A soft microfibre cloth, warm water, and a small amount of mild washing-up liquid.
- Optional: a small amount of cooking oil or a citrus-based adhesive remover, for stubborn residue only, after a patch test.
- A pencil and labels, so you can note where each cable went before you remove its clip.
Label or photograph the cables first — it is easy to forget which went where once the clips are gone.
Method 1: Heat and Floss (Best for Most Desks)
This is the safest method for most surfaces, and the one to try first. Warm the clip and the adhesive beneath it with a hairdryer on low, held about 15 cm away, for 20–30 seconds. Keep the dryer moving and test with your hand — it should feel warm, not hot. Slide a length of dental floss or fishing line behind one edge of the clip, holding it taut with both hands, and work it back and forth in a slow sawing motion, moving across the adhesive pad. Let the floss do the cutting; do not pull the clip at the same time. If it resists, warm it again and repeat.
Method 2: Slow Peel With a Plastic Card
For thin film adhesives, or clips that are already lifting at one edge, a slow peel can work well. Warm the clip as above, then lift the loosest edge by a millimetre or two with a plastic card, keeping the card flat against the desk so it does not dig in. Peel the clip back slowly, close to the surface, at a low angle — almost parallel to the desk, not pulled up at 90 degrees. A low, slow pull spreads the force; a fast, upright pull risks lifting the finish. If the surface starts to lift, stop, warm it again, and switch to floss.
Method 3: Warm Soapy Water for Stubborn Pads
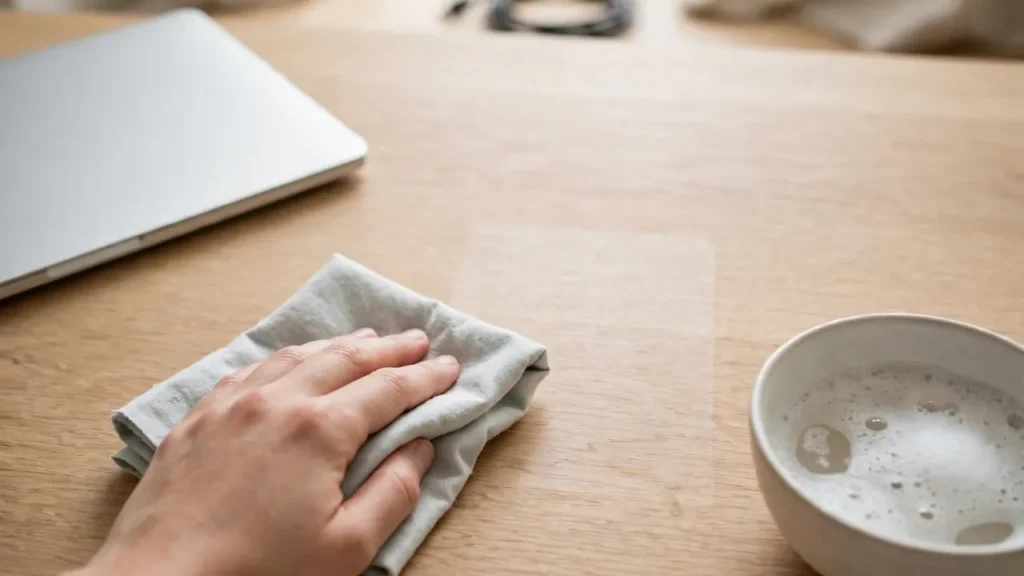
Some foam pads, especially older ones, respond better to moisture and patience than to heat alone. Dampen a cloth with warm, mildly soapy water, lay it over the clip for a few minutes, then try the floss or slow peel again. The water helps soften the foam and the adhesive edge, and the soap acts as a gentle lubricant for the floss. Use it sparingly on unfinished wood or veneer — wring the cloth out well and dry the desk immediately afterwards.
Removing the Residue
Most clips leave some residue, even when the clip itself comes off cleanly. Start with the gentlest option: rub the residue with a dry finger or a soft cloth, rolling it into a small ball that can be lifted off. Foam residue often comes away this way, without any cleaner at all. If that does not work, use a cloth dampened with warm soapy water, rubbing in small circles and rinsing the cloth often. For stubborn residue on laminate, glass or metal, a tiny amount of cooking oil can dissolve the glue — rub gently, then clean it away with soapy water. A citrus remover can also work after a patch test. Never use acetone, nail varnish remover, white spirit or abrasive cleaners unless the manufacturer says they are safe: they can dissolve lacquer and strip paint.
Surface-by-Surface Notes
Laminate: most forgiving — heat, floss and soapy water, avoiding abrasive pads. Solid wood with lacquer: low heat, floss and soapy water only; avoid solvents. Veneer: most vulnerable — low heat, floss rather than peeling, no solvents; if an edge is lifting, stop and seek advice. Glass: heat and floss are safe; use only plastic tools, never a blade. Painted metal: check for chipped paint first, which adhesive can lift. Unfinished or oiled wood: avoid water and solvents, which can stain; use gentle heat and floss.
Step-by-Step: Removing a Row of Clips
Step 1: Photograph and label the cables and clips, so you can put them back if needed. Step 2: Unplug or slacken the cables held by the clips, so nothing pulls while you work. Step 3: Warm one clip for 20–30 seconds on low heat. Step 4: Cut through the adhesive with floss, or peel slowly with a plastic card at a low angle. Step 5: Lift the clip away and set it aside. Step 6: Remove the residue with a dry rub, then warm soapy water, and only then a patch-tested remover if needed. Step 7: Dry and inspect the surface before moving on to the next clip.
What to Do If Something Goes Wrong
If veneer or paint lifts, stop at once, press it back gently, and seek advice from the manufacturer or a furniture repairer. If residue will not come off, leave it a day and try again. If the surface is sticky after cleaning, wash it again with warm soapy water. If a clip breaks and leaves its base stuck, warm it and cut it off with floss.
Common Mistakes
- Yanking the clip straight up. The fastest way to lift veneer or paint. Always pull low and slow, or cut through with floss.
- Using a metal scraper or knife. It will scratch or gouge the surface. Use a plastic card only.
- Using a heat gun. Far too hot for most finishes. A hairdryer on low is enough.
- Applying solvent before a patch test. Test on a hidden spot first, and wait a few minutes to check for damage.
- Soaking the desk. Excess water marks wood and veneer. Use a wrung-out cloth and dry promptly.
- Removing all the clips at once. Cables fall, tangle, and pull on sockets. Work one clip at a time, with cables slackened first.
Cost-Conscious Alternatives and Reuse
You do not need a specialist remover: a hairdryer, floss and soapy water handle most clips, and cooking oil replaces a commercial remover after a patch test. Next time, consider reusable fixings — hook-and-loop straps, screw-fixed clips where allowed, or removable adhesive strips — which save the desk when you move things again. Most adhesive clips are single-use; reusing a weak one means it will fall off later.
After Removal: Checking the Surface
Once the last clip is off and the residue is gone, inspect the desk in good light, from several angles. A faint outline where a clip sat is common, especially on a desk that has been in sunlight, and it usually fades with normal cleaning over a few weeks. If the outline is sticky, wash it once more with warm soapy water. If it is a pale patch on wood, do not try to stain or polish it straight away — give it a few days, and check the manufacturer’s care guidance first. A surface that looks clean and feels smooth to the touch, with no raised edges or loose finish, has come through the job well.
Frequently Asked Questions
Can I use a hairdryer on wood? Yes, on low, kept moving, for 20–30 seconds at a time. Will floss scratch the desk? No, if kept flat with a slow sawing motion. What removes residue from glass? Warm soapy water, with a little oil for stubborn spots. Can I use nail varnish remover? Avoid it — acetone can dissolve lacquer, paint and many plastics. How do I stop this happening again? Use removable strips, hook-and-loop fixings, or screw-fixed clips where allowed.
Removing adhesive cable clips is a slow job done well, and a quick job done badly. Warm the adhesive, cut it with floss or peel it low and slow, clean the residue gently, and test everything first — and the desk will look as good after the clips are gone as it did before they went on.