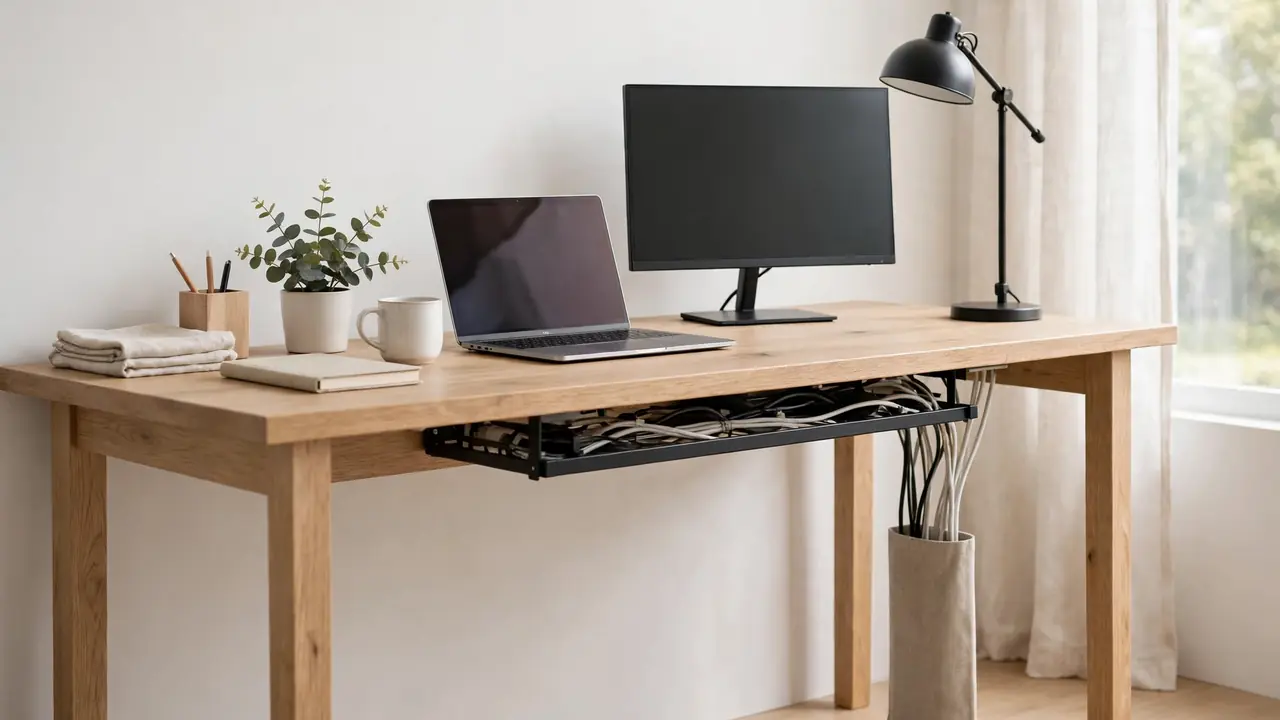
To organise cables around desk legs, run them down one leg — the leg nearest the wall socket — inside a fabric sleeve, a clip-on leg channel, or a series of wide hook-and-loop straps, keeping the bundle tight to the leg and clear of the floor. Start by gathering all cables into a single under-desk tray or bundle at the back of the desk, then bring them together at the top of the chosen leg and guide them straight down to the floor, leaving a small slack loop at the top so plugs are never pulled tight.
Desk legs are the natural route from desk to floor, and the place where cable management most often fails. Cables left to hang behind a leg snag on chair wheels, get kicked, pull on sockets, and look untidy from every angle. A leg that is used properly, on the other hand, hides the whole drop in plain sight. This guide covers desk leg cable management for wood, metal and panel legs, for desks against a wall and desks in the middle of a room, and for rented homes where drilling is not an option.
Why Desk Legs Cause So Many Cable Problems
Most desks have four legs, but only one or two are useful for cables. The leg nearest the wall socket is the obvious choice, yet cables often end up spread across all four, with a monitor lead down one leg, a charger down another, and a printer cable trailing across the floor between them. That spread is what creates tangles: each cable moves independently, catches on something different, and pulls in a different direction when the desk is moved. Bringing them together at one leg solves most of it at once. Legs are also in the way of feet and chairs, so any cable sticking out from a leg or crossing the floor at ankle height is a snag and trip hazard. The bundle should follow the leg closely, with nothing protruding beyond its outline, and with slack at the top so it is not pulled tight when the desk moves.
What You Will Need
- A fabric cable sleeve, a leg channel, or a set of wide hook-and-loop straps — choose one main method for the leg itself.
- An under-desk tray or a bundle point at the back of the desk, so cables arrive at the leg together.
- Wide reusable hook-and-loop ties for grouping cables, and cable clips sized to the leg if you use them.
- A measuring tape, a pencil, and a torch to check the back of the leg.
- Fixings suited to the leg: adhesive pads for smooth metal, screws for wood where allowed, or clamp and strap fixings that need no holes at all.
- Optional: a short cable sleeve for the floor run to the socket, and labels for each cable.
Check the leg material and shape before buying: round, square, flat panel and trestle legs need different fixings. Measure the leg and the cable bundle at its thickest point before ordering.
Choose the Right Leg
Pick the leg closest to the wall socket, and closest to where the cables already gather under the desk. That is usually a back leg. Avoid a front leg if you can: cables down a front leg are more visible, more likely to be kicked, and more likely to be caught by a chair. If your desk sits in the middle of a room, choose the leg furthest from where people walk past, and plan a short floor run to the socket that follows a wall or skirting board rather than crossing open floor.
Check what is already on that leg: some have a built-in channel or hollow leg — use those first. On a height-adjustable desk, leave extra slack for the full range of movement and never fix cables where they could be trapped when the desk rises or falls.
Method 1: A Fabric Sleeve Down the Leg
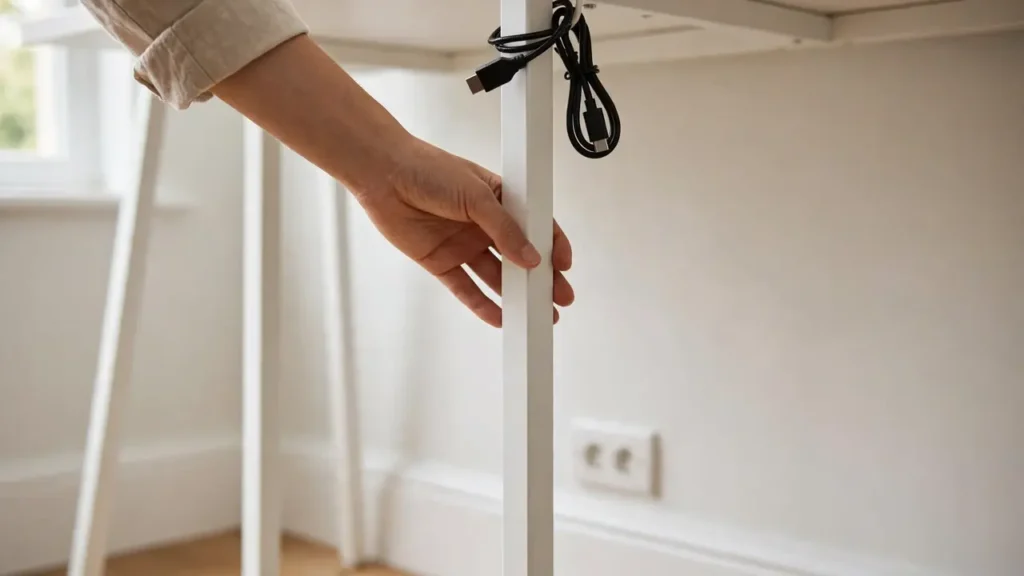
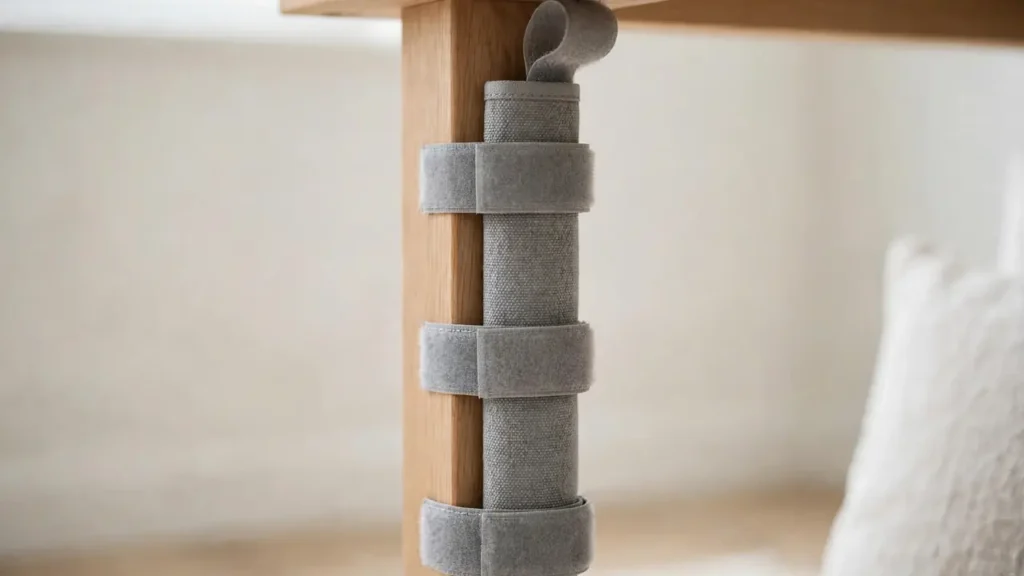
A fabric sleeve is the simplest and most forgiving way to organise cables around a desk leg. Choose a sleeve at least a third wider than your bundle, opening along its length or with a zip, so you can add or remove cables without threading them through. Gather all the cables at the top of the leg, wrap the sleeve loosely around them, and fix the top of the sleeve to the desk underside or the top of the leg with a hook-and-loop strap. Let the sleeve follow the leg down to the floor, fixing it to the leg with two or three more straps spaced evenly, so the weight is shared and the sleeve does not swing free.
Do not pull the sleeve tight, and do not let the whole weight hang from the top fixing. At the bottom, let cables leave close to the floor and run to the socket along the skirting board. Sleeves suit rented homes and round and square legs alike, but they hide cables completely, so label each cable at both ends first.
Method 2: A Clip-On Leg Channel
A leg channel is a rigid plastic or metal channel that clips or screws to the back of a desk leg and holds cables in a neat line down its length. It gives the tidiest finish, and the best protection against kicks and chair wheels, because the cables sit inside a hard cover. Choose a channel made for your leg shape, or a universal channel with adjustable straps, and check that it is wide enough for the whole bundle with room to spare. Fix it to the back face of the leg — the face away from the room — so it is hidden from the front and sides.
Lay the thickest cables in first, leave a slack loop at the top, and close the cover loosely. Channels suit desks that stay in one place, and square and flat panel legs best; on a round leg, a sleeve or straps usually fit better.
Method 3: Straps and Clips Directly on the Leg
If you prefer a low-cost, flexible setup, fix the bundle directly to the leg with wide hook-and-loop straps or adhesive cable clips. Group the cables with hook-and-loop ties first, then strap the bundle to the leg at three points: near the top, in the middle, and near the floor. Each strap should hold the bundle close to the leg without crushing it, leaving a finger’s width of play. This method is cheap, easy to change, and works on almost any leg shape, including round and trestle legs where channels do not fit.
Use adhesive clips only for thin data cables on smooth, clean metal or laminate. Thick power cables will pull them off, so use straps that wrap right around the leg, or screw-fixed clips where drilling is allowed.
From the Desk to the Leg, and the Leg to the Floor
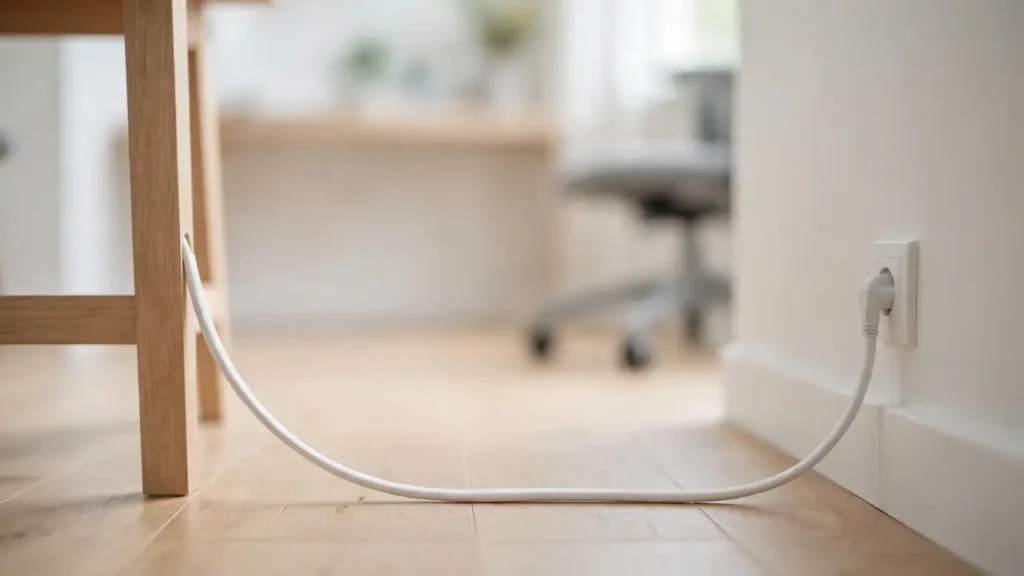
The two transitions — desk to leg, and leg to floor — are where most leg setups fail. At the top, cables should arrive at the leg from the under-desk tray or bundle in a single, gentle curve, not at a sharp angle. Leave a slack loop at the top of the leg, roughly a hand’s width, so a device can be moved or a plug removed without pulling the whole bundle. At the bottom, cables should leave the leg close to the floor and turn towards the socket in a wide curve, never at a right angle, and never trailing across open floor. If the socket is not near the leg, run the floor section along the skirting board in a sleeve, or use a low-profile floor cable cover. Never run cables where they will be stepped on, rolled over by a chair, or pinched under the desk leg itself.
On a standing desk, leave a generous loop at the top and check the full range of movement: the cable should never go taut at the highest setting or catch on the frame at the lowest.
Step-by-Step: Organising Cables Around One Leg
Step 1: Gather under the desk, grouping cables into a tray or bundle above the chosen leg. Step 2: Fit the sleeve, channel or straps to the leg, starting at the top. Step 3: Route the thickest cables first, then add thinner ones alongside. Step 4: Strap at intervals, sharing the weight and leaving slack at the top. Step 5: Finish the floor run along the skirting board. Step 6: Test by moving the chair and pulling the desk out slightly, checking nothing pulls or snags. Label each cable first.
Cost-Conscious Alternatives
Wide hook-and-loop straps cost very little and will tidy most leg runs. A sleeve is the next step up, and a rigid channel the most expensive but most durable. You do not need a channel on every leg — one leg, done well, is enough. Reusable ties are worth the small extra cost over zip ties, because you will re-route cables more often than you expect.
Common Mistakes Around Desk Legs
- Spreading cables across several legs. One leg, one bundle, is tidier and safer than a cable down each leg.
- Fixing cables rigidly with no slack. The bundle pulls on sockets when the desk moves. Leave a loop at the top.
- Letting the bundle hang free of the leg. A swinging bundle snags on chairs. Strap it to the leg at intervals.
- Using small adhesive clips for thick power cables. They will fail. Use straps or screw fixings for heavy cables.
- Running the floor section across open floor. Route it along the skirting board or use a floor cover.
- Mixing power and data cables into one crushed bundle. Keep them loosely separated where you can, and never crush thin cables under heavy ones.
Troubleshooting
Bundle slipping down? Add another strap and check the top fixing is taking some weight. Sleeve swinging away? Add a middle strap, or use a second sleeve for data cables. Cables catching on the chair? Move the bundle to the back face of the leg. Cable too short? Do not stretch it — move the power strip closer or use a longer cable. Channel popping open? It is overfilled; remove a cable or use a wider channel.
Frequently Asked Questions
Which leg? The back leg nearest the wall socket; avoid a front leg where cables will be kicked. Can I use a round leg? Yes — a sleeve or wrap-around straps fit round legs better than a rigid channel. Do I need to drill? No — straps and adhesive fixings work on most legs, and many channels clip on. How do I add a cable later? Open one fixing and slip it in alongside the others, then label it. Is it safe to strap power cables to a metal leg? Yes, provided cables are in good condition, not crushed, and not bent sharply.
Desk leg cable management is less about a specific product than about choosing one leg, keeping the bundle close to it, and leaving enough slack for real life.